Substrate Sterilization: Pressure Cooker and Autoclave Methods
Everything you need to know about Substrate Sterilization: Pressure Cooker and Autoclave Methods — from materials to first harvest.
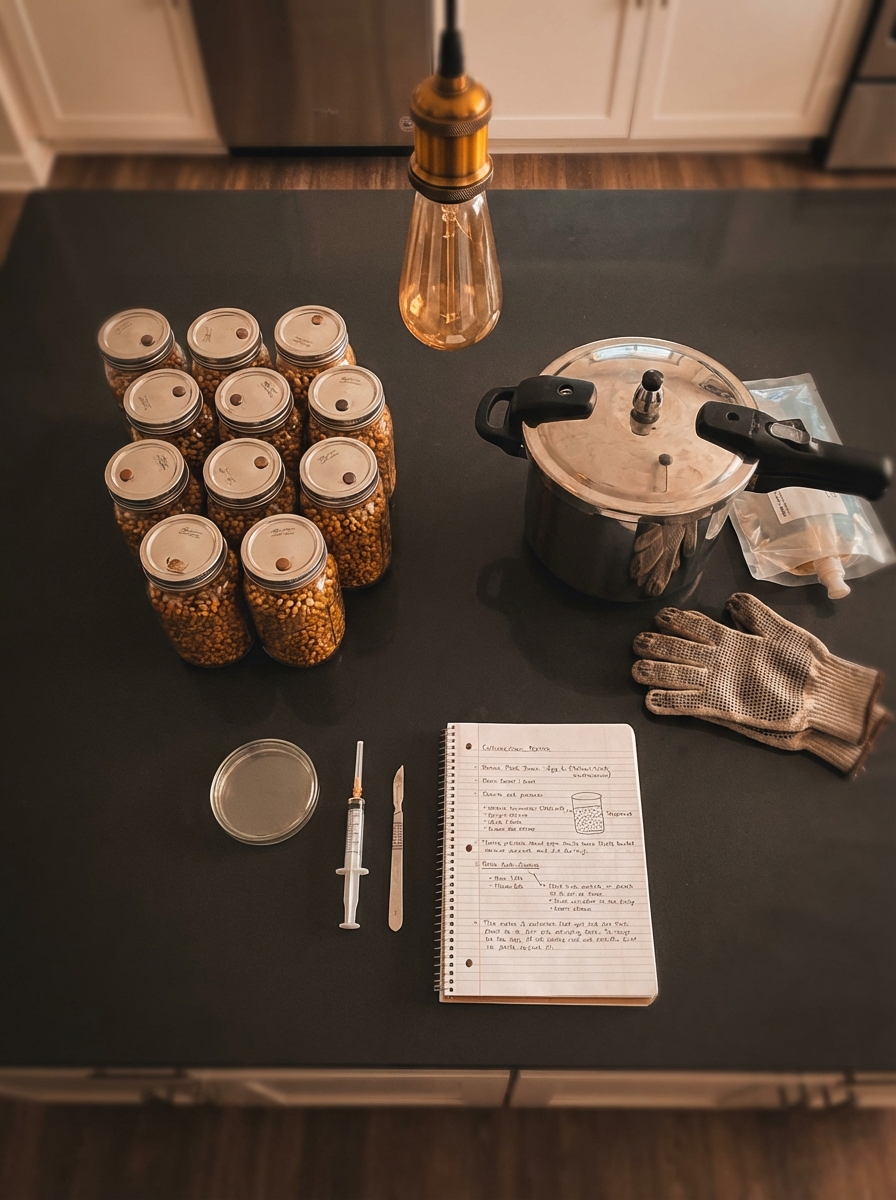

What You'll Need
- See full supply list in guide below.
Find grow supplies at vendors in our Directory.
Step-by-Step Process
Substrate Sterilization: Pressure Cooker and Autoclave Methods
Every contamination problem in mushroom cultivation has a source. Most trace back to inadequate sterilization or pasteurization of substrate and grain. Understanding the difference between sterilization and pasteurization, and applying the correct technique for each substrate type, is foundational.
Sterilization vs. Pasteurization
These terms are often used interchangeably but describe different processes with different outcomes.
Sterilization: Kills all living organisms including heat-resistant endospores. Requires temperatures above 121°C (250°F) — achievable only under pressure. Results in a completely sterile substrate. Required for grain spawn, supplemented substrates, and agar.
Pasteurization: Kills non-spore-forming bacteria, molds, and yeasts but does NOT kill heat-resistant endospores (like Bacillus species). Achieved at 140-160°F (60-71°C) for 1-2 hours. Appropriate for bulk substrates (coco coir, straw) where spore-forming bacteria are not the primary risk, and where competitive mycelium (Trichoderma, Penicillium) is the main concern.
Rule of thumb:
- Grain spawn, agar, supplemented substrates → sterilize (pressure cooker)
- Coco coir, straw, hardwood fuel pellets in CVG mixes → pasteurize (boiling water or steam)
Using pasteurization on grain spawn is a common beginner mistake that leads to Bacillus contamination (wet, sour, slimy grain).
Pressure Cooker Sterilization
Equipment
Minimum: 8-quart stovetop pressure cooker. Many cultivators use 16-23 quart models for larger batches.
Pressure: Must maintain 15 PSI (1 atmosphere above ambient). This corresponds to 121°C (250°F) — the temperature at which autoclaving kills endospores.
Caution: "Pressure cookers" that only reach 10-12 PSI are not sufficient for sterilization. Know your equipment.
Procedure
- Prepare jars: Fill to 50-60% capacity. Add polyfill filter or injection port lid.
- Add water: Add 2-3 cups of water to the bottom of the pressure cooker (not so much it submerges jars; steam, not submersion, is how sterilization works).
- Elevate jars: Use a rack or folded foil to keep jars off the bottom. Direct contact with the bottom causes thermal shock.
- Build pressure: Heat on high until pressure gauge reaches 15 PSI. Reduce heat to maintain 15 PSI.
- Hold time:
- Half-pint jars: 60 minutes
- Quart jars: 90 minutes
- Gallon jars: 2.5+ hours
- Natural depressurize: Turn off heat and let pressure drop naturally. Do NOT use quick release — rapid pressure change stresses the jar and can cause boiling of substrate contents.
- Cool completely: Let jars cool overnight before inoculating. Inoculating warm substrate increases condensation inside the jar and risks contamination.
Common Mistakes
Inadequate water: Not enough water means the pressure cooker may run dry. At minimum, add enough water to generate steam throughout the full sterilization period.
Quick-release: Releasing pressure rapidly can cause boiling of substrate contents (wet mess inside jars) and thermal shock to glass.
Inoculating warm jars: Warm jars create condensation when cooled after inoculation. The moisture supports contamination.
Overcrowding: Jars touching each other or the sides of the cooker reduces steam circulation and can cause uneven sterilization.
Autoclave Sterilization (For Larger Scales)
Commercial autoclaves reach higher temperatures and maintain pressure more reliably than stovetop pressure cookers. Used in research settings and by serious large-scale cultivators.
Types
Gravity displacement autoclaves: Standard hospital/lab type. Steam enters from above, pushes air out from below. Good for solid materials.
Vacuum-assisted (pre-vacuum) autoclaves: Remove air before steaming — better penetration into dense materials like grain bags.
Home Autoclave Options
All-American pressure canners (15-22 PSI capable) are the most common "home autoclave" option, offering greater capacity than standard pressure cookers.
For grain bags (polypropylene grow bags), home cultivators often use larger pressure canners that can accommodate bags laid flat.
Pasteurization Methods
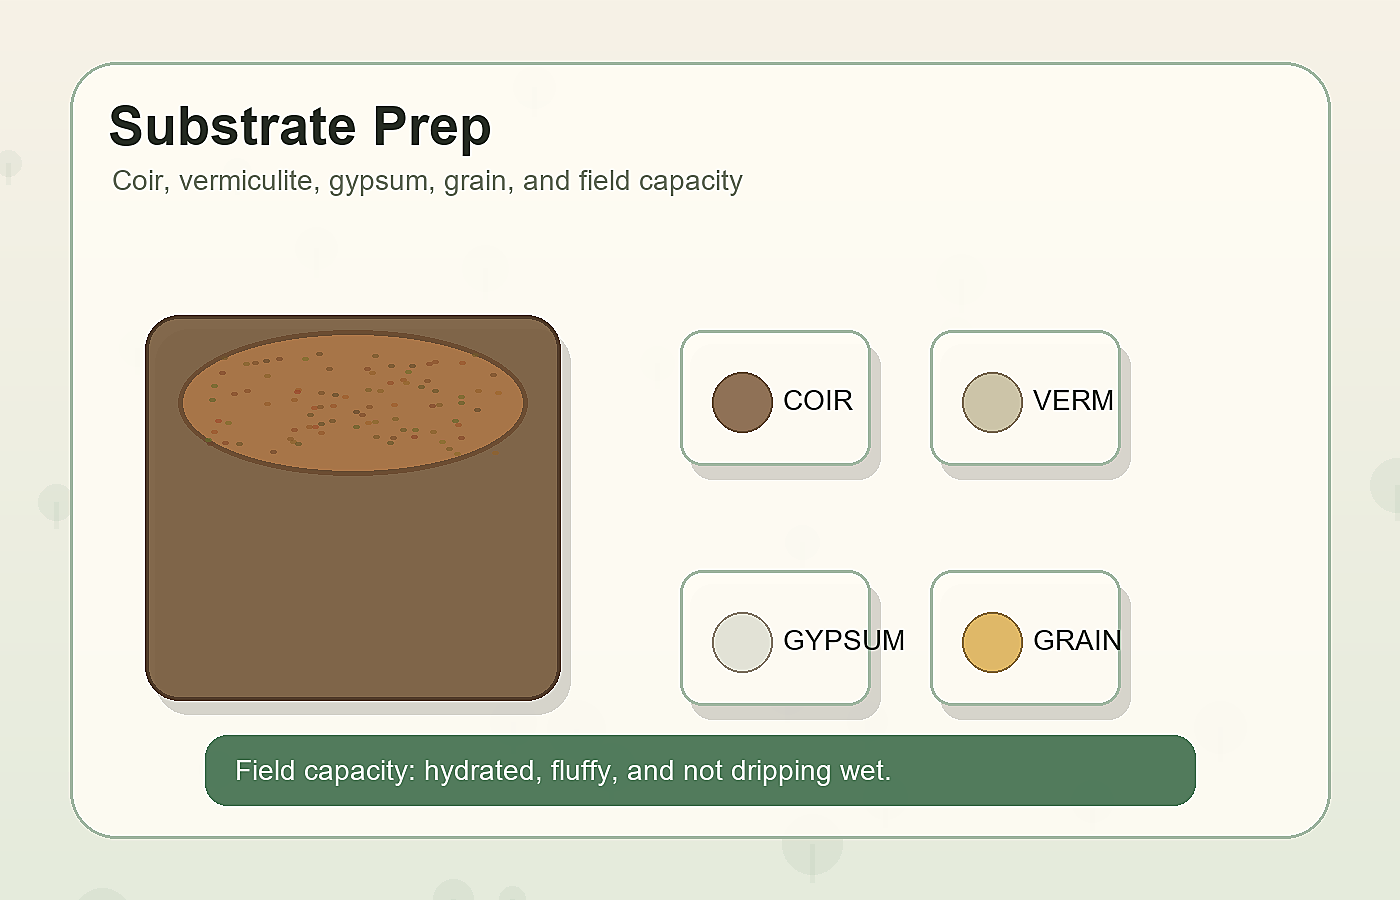
Boiling Water Pour (for CVG / Coco Coir)
The simplest pasteurization method for coco coir-based substrates:
- Mix dry coco coir with vermiculite (50/50 typical)
- Boil a kettle of water
- Pour boiling water over the dry mix — enough to bring to field capacity
- Cover with foil or plastic wrap
- Allow to cool completely (several hours to overnight)
- Use once cooled to below 80°F
This achieves adequate pasteurization for the primary competitors (Trichoderma, molds) that threaten coco coir mixes. Bacillus endospores survive but are poor competitors in coco coir substrate without additional nitrogen.
Oven Pasteurization
For small quantities, spreading substrate 2-3 inches deep on a baking sheet and baking at 180°F for 1-2 hours achieves pasteurization temperatures throughout.
Monitor with a thermometer — oven temperatures vary and you need the substrate itself, not just the air, to reach 160°F.
Steam Pasteurization
Steaming substrate in a covered stock pot for 1.5-2 hours achieves pasteurization. Simpler and more reliable than oven for larger quantities.
Substrate-Specific Recommendations
Whole Brown Rice Flour (WBRF) / Brown Rice + Vermiculite (BRV)
Sterilize (grain-equivalent nutrient density makes endospores a real risk)
Standard: 60 minutes at 15 PSI in half-pint jars.
Coco Coir + Vermiculite (CVG)
Pasteurize (boiling water pour is adequate; grain sterilization is overkill)
Note: CVG with supplementation (wheat bran, coffee grounds) should be sterilized or pasteurized at higher temperature, as supplements make it much more contamination-prone.
Rye, Wheat, Oat Grain
Sterilize — always, without exception.
90 minutes at 15 PSI per quart jar.
Masters Mix (Hardwood + Soy Hulls)
Sterilize — soy hulls require full sterilization.
Typically sterilized in polypropylene bags: 2.5-3 hours at 15 PSI.
Straw
Pasteurize — lime pasteurization or hot water soak.
Straw has its own preferred method: hydrated lime pasteurization (cold method) or submerging in 160-180°F water for 1-2 hours.
Confirming Sterilization Success
A jar that has been properly sterilized will:
- Show no growth of any kind for the first 7-10 days after inoculation (if contaminated during inoculation, growth appears in this window)
- Have clear water at the bottom (cloudy water suggests bacterial contamination)
If you consistently see contamination appearing in the first 5 days — especially the slimy, sour-smelling kind — this indicates sterilization failure (likely Bacillus), not post-inoculation contamination.
Common Problems & Troubleshooting
See the Contamination Guide for common issues.
Tips for Success
Take notes at every stage. Consistency beats perfection.