Casing Layer Tek: Boosting Your Fruiting Yields
Everything you need to know about Casing Layer Tek: Boosting Your Fruiting Yields — from materials to first harvest.

What You'll Need
- See full supply list in guide below.
Find grow supplies at vendors in our Directory.
Step-by-Step Process
Casing Layer Tek: Boosting Your Fruiting Yields
A casing layer is a non-nutritive top layer applied over colonized substrate to initiate and support pinning. It's one of the most reliable methods for increasing pin density and overall yield in Psilocybe cubensis grows. This guide covers what casings do, how to make them, and how to apply them.
What a Casing Layer Does
When fully colonized grain or bulk substrate is exposed to the surface environment — dropping CO2, increasing humidity, changing temperature cues — it may or may not pin reliably. Adding a casing layer:
- Creates a moisture reservoir: The casing holds water and releases it slowly, maintaining the surface humidity that triggers pinning without waterlogging the substrate
- Buffers CO2: The layer creates a gradient between the substrate and the surface air
- Blocks light penetration into the substrate: Psilocybe cubensis pins from the surface of the casing, not from within the colonized substrate
- Provides a neutral pH surface: Properly buffered casing brings the surface to a pH range optimal for pinning (~6.5–7.5)
- Reduces contamination risk: Fresh casing added after colonization is cleaner than the surface of bulk substrate that's been handled
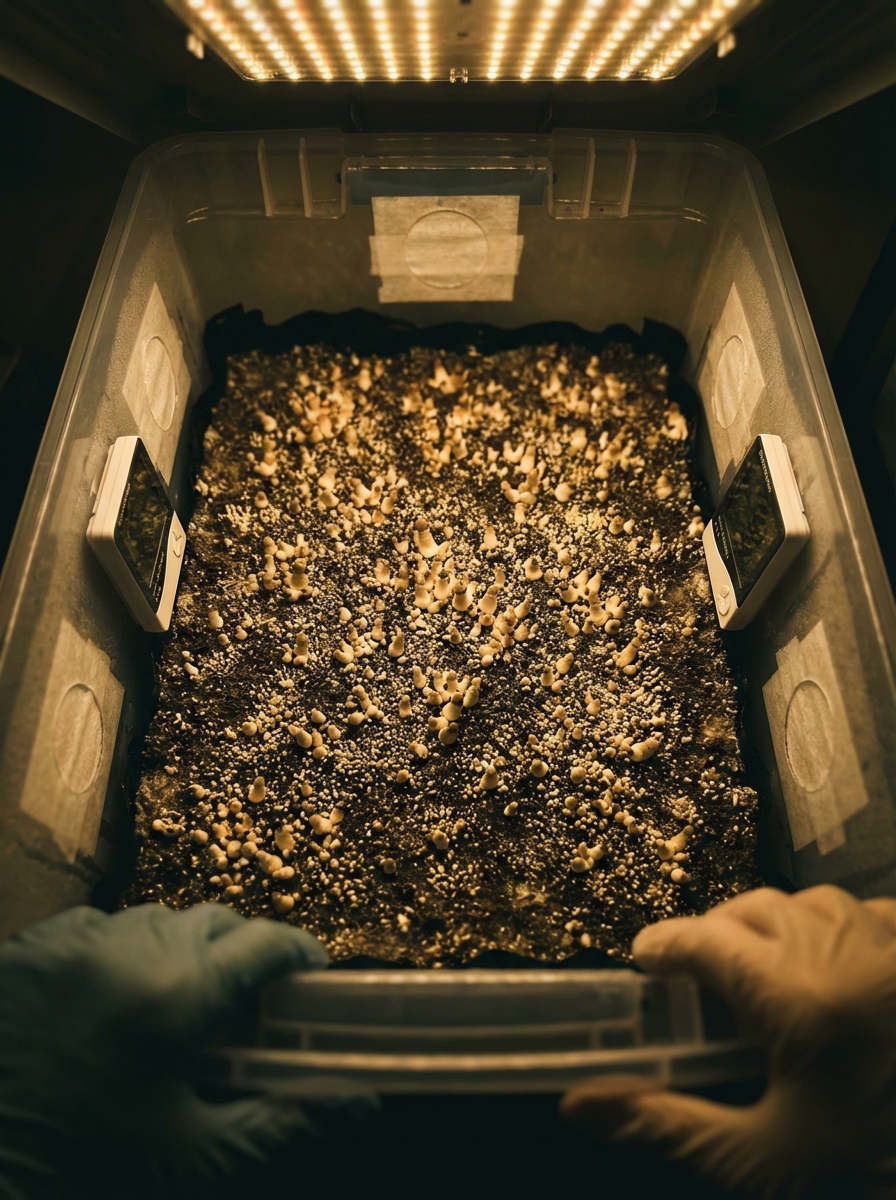
In practice: well-cased tubs produce more pins and more consistent flushes than uncased substrate.
When to Apply a Casing Layer
Apply after the bulk substrate is fully colonized (white mycelium visible throughout, no green, black, or pink patches) but before initiating fruiting conditions.
- Do not apply over partially colonized substrate — wait until at least 95-100% colonization
- Do not apply if there is any contamination visible — the casing will not save a contaminated grow
- Timing: typically 1–2 weeks after bulk inoculation for a well-colonized monotub
Casing Layer Recipes
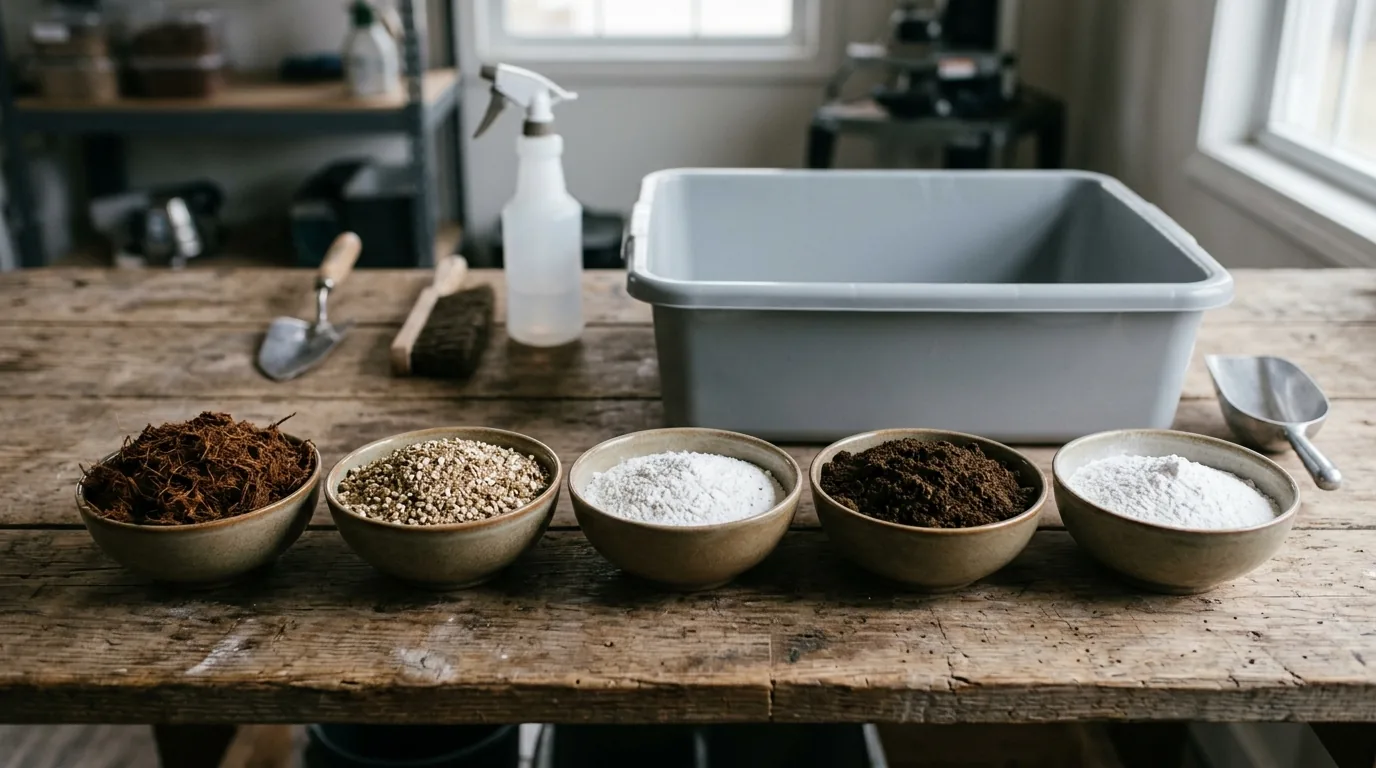
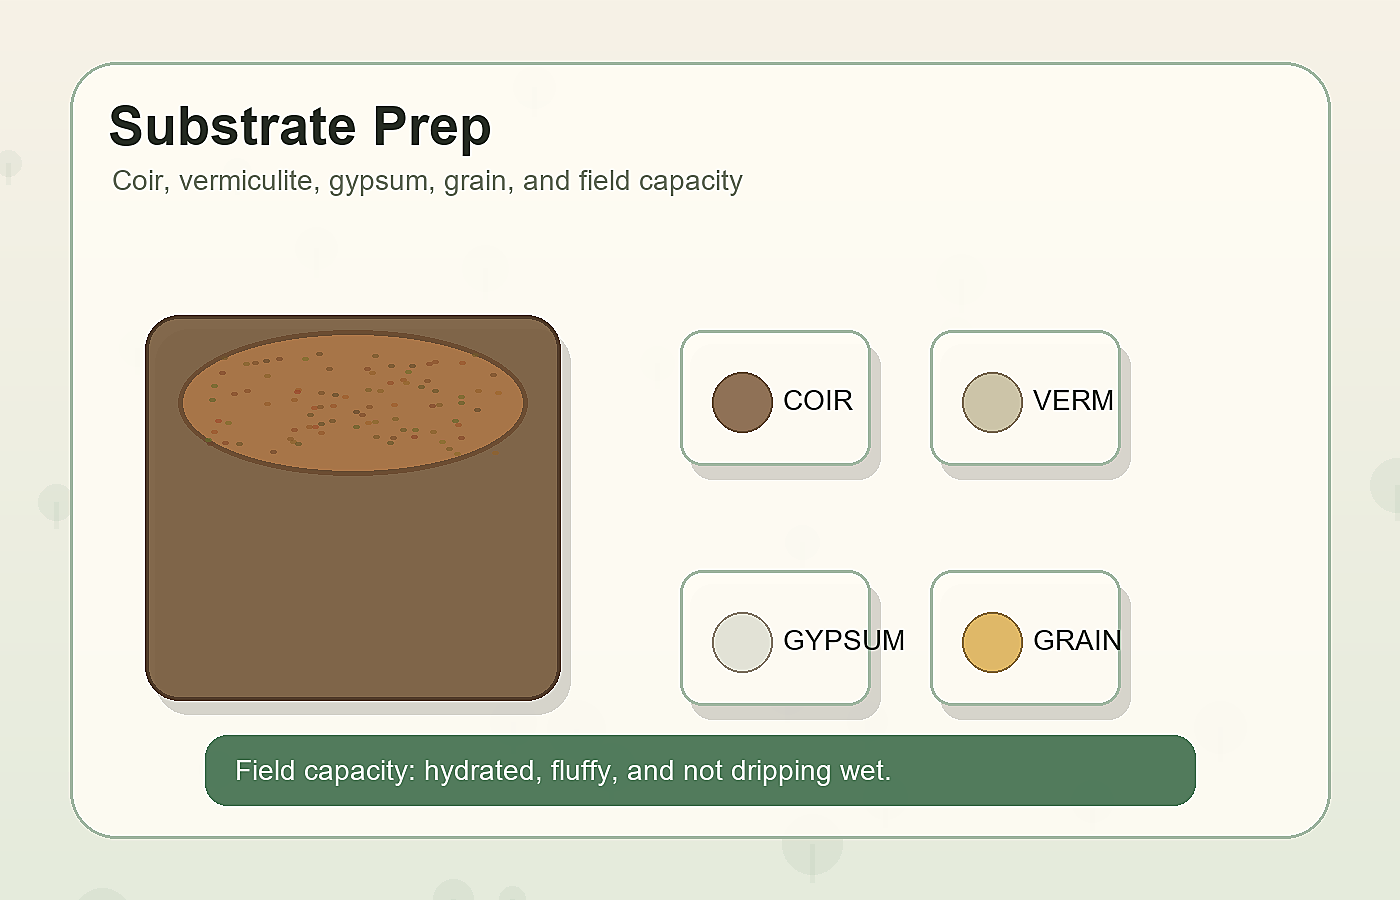
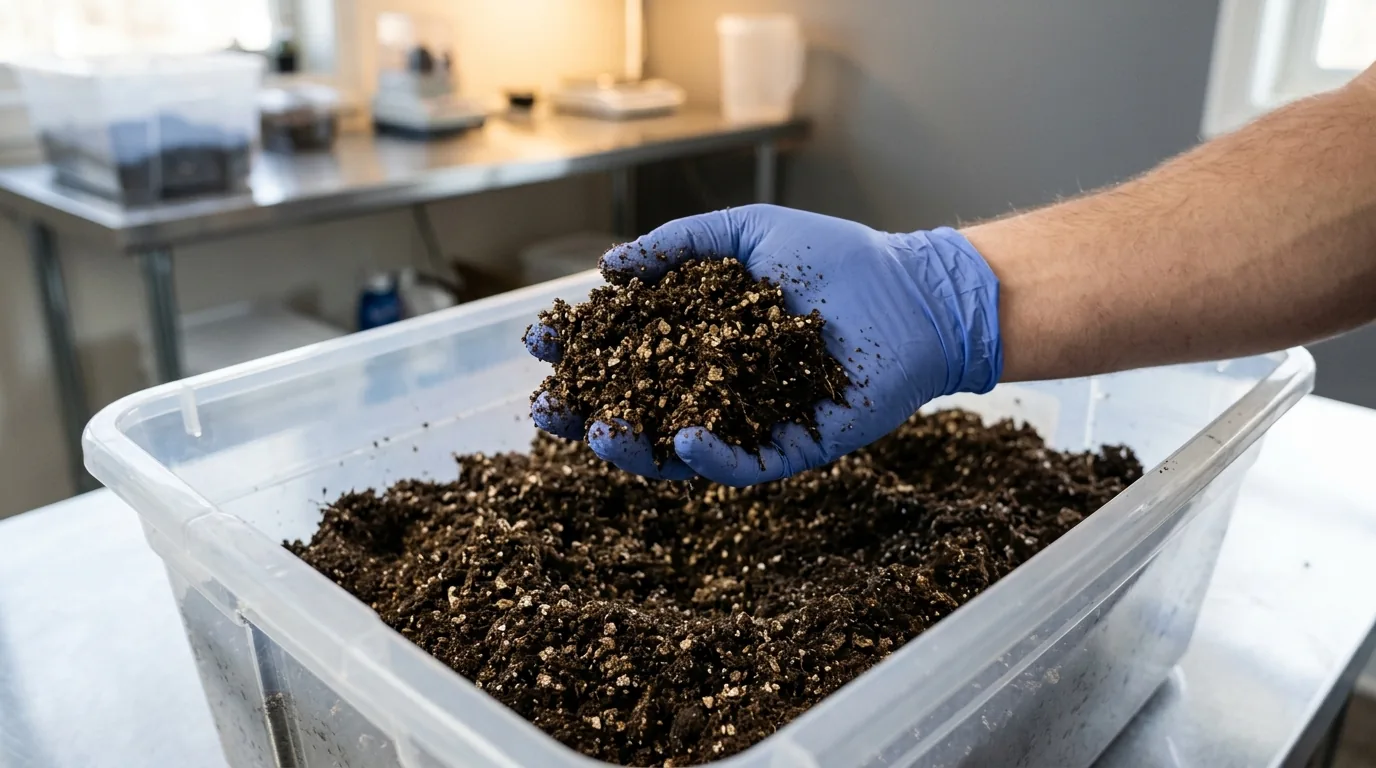
Recipe 1: CVG Casing (Most Popular)
Coco coir, vermiculite, gypsum — the industry standard for a reason.
Ratio:
- 3 parts coco coir (brick, hydrated)
- 2 parts coarse vermiculite
- 1/4 part food-grade gypsum
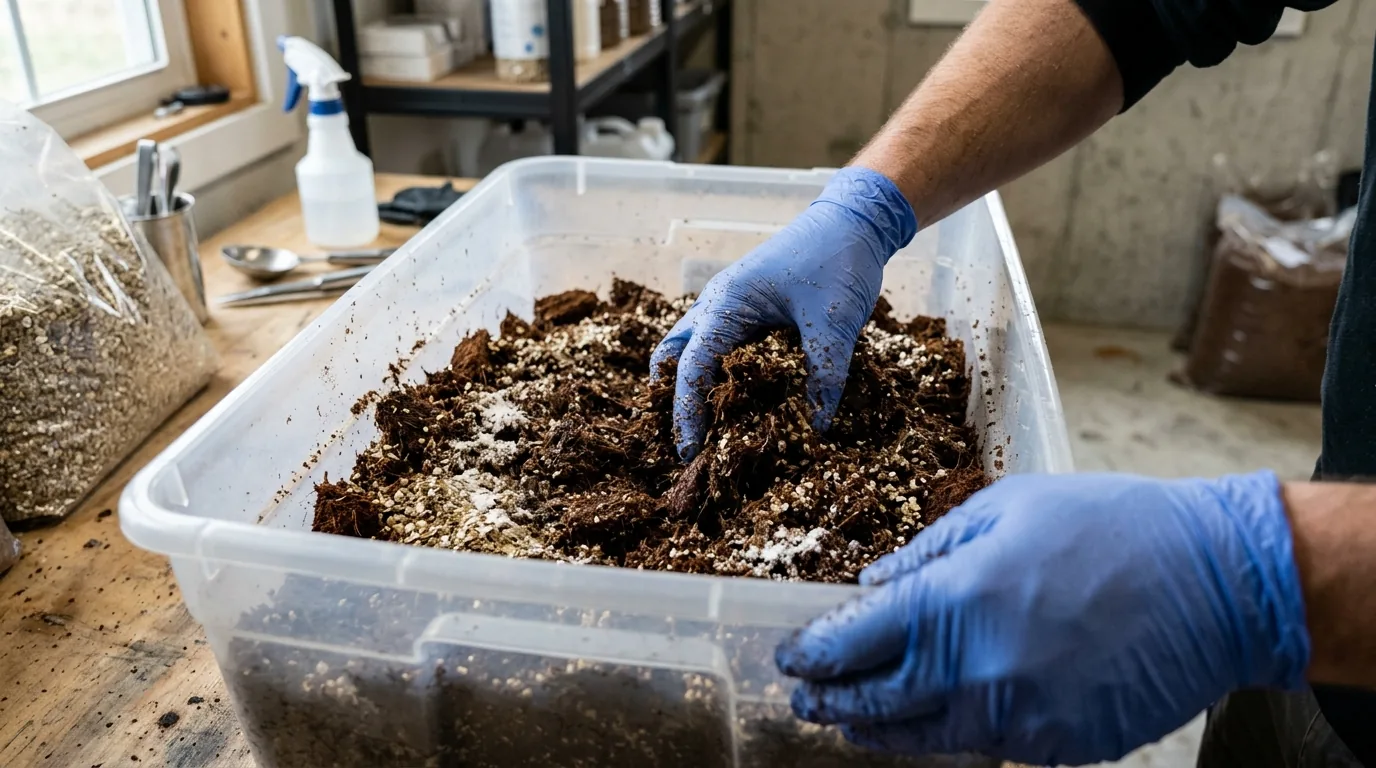
Preparation:
- Hydrate the coco coir brick with boiling water (the heat pasteurizes while hydrating)
- Mix in vermiculite and gypsum while coir is hot
- Allow to cool to room temperature before applying (don't apply hot)
- Field capacity test: squeeze a handful — no more than a few drops should come out; it should feel moist but not dripping
- The casing does not need to be sterile — pasteurized is sufficient (the boiling water from coir hydration achieves this)
Thickness: Apply 1/2 inch (12mm). Thicker than 3/4 inch creates excess CO2 buildup under the casing; thinner than 1/4 inch doesn't provide adequate moisture buffering.
Recipe 2: Peat Moss Casing
Peat moss + hydrated lime — the traditional monotub casing approach.
Ratio:
- 3 parts peat moss (sphagnum peat)
- 1 part hydrated lime (to buffer pH — peat is naturally acidic)
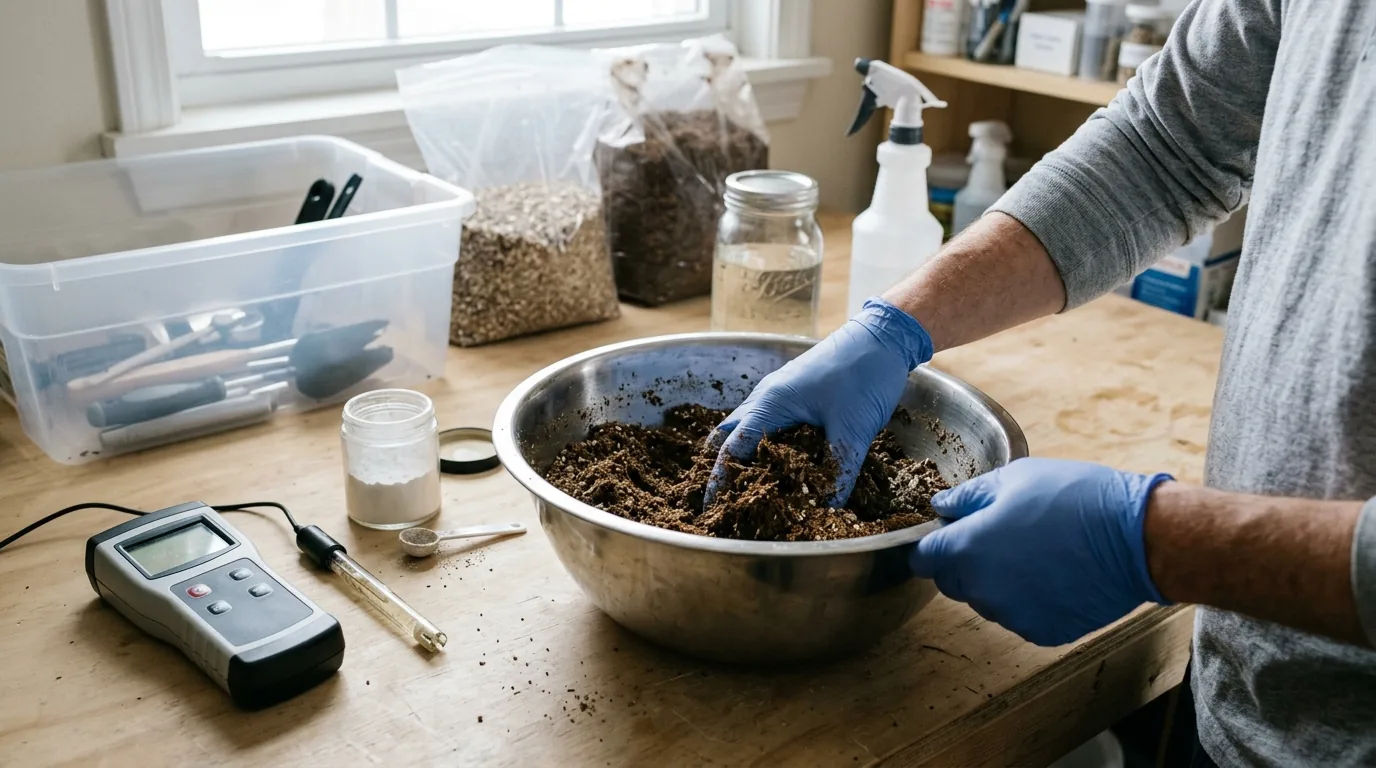
Preparation:
- Mix peat and lime dry
- Hydrate with distilled water to field capacity
- Allow to sit 30 minutes (lime needs time to buffer pH)
- Test pH if you have a meter — target 6.5–7.5
- Pasteurize: steam pasteurize or pour boiling water over the mix and let cool before applying
Recipe 3: Soil Casing (Simple)
For minimal input, a 50/50 mix of commercial potting soil and coarse vermiculite, hydrated to field capacity, pasteurized, is an effective casing. More contamination risk than CVG but simpler.
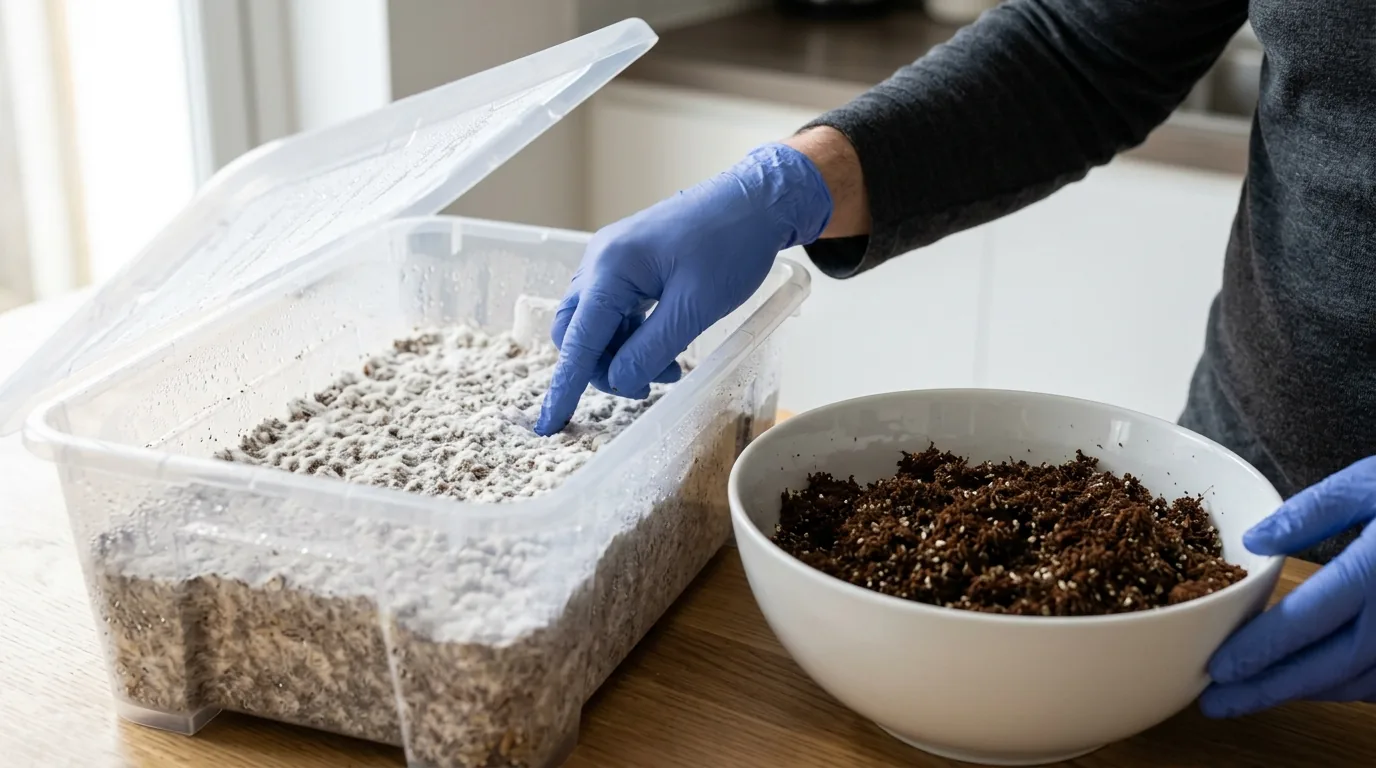
Application
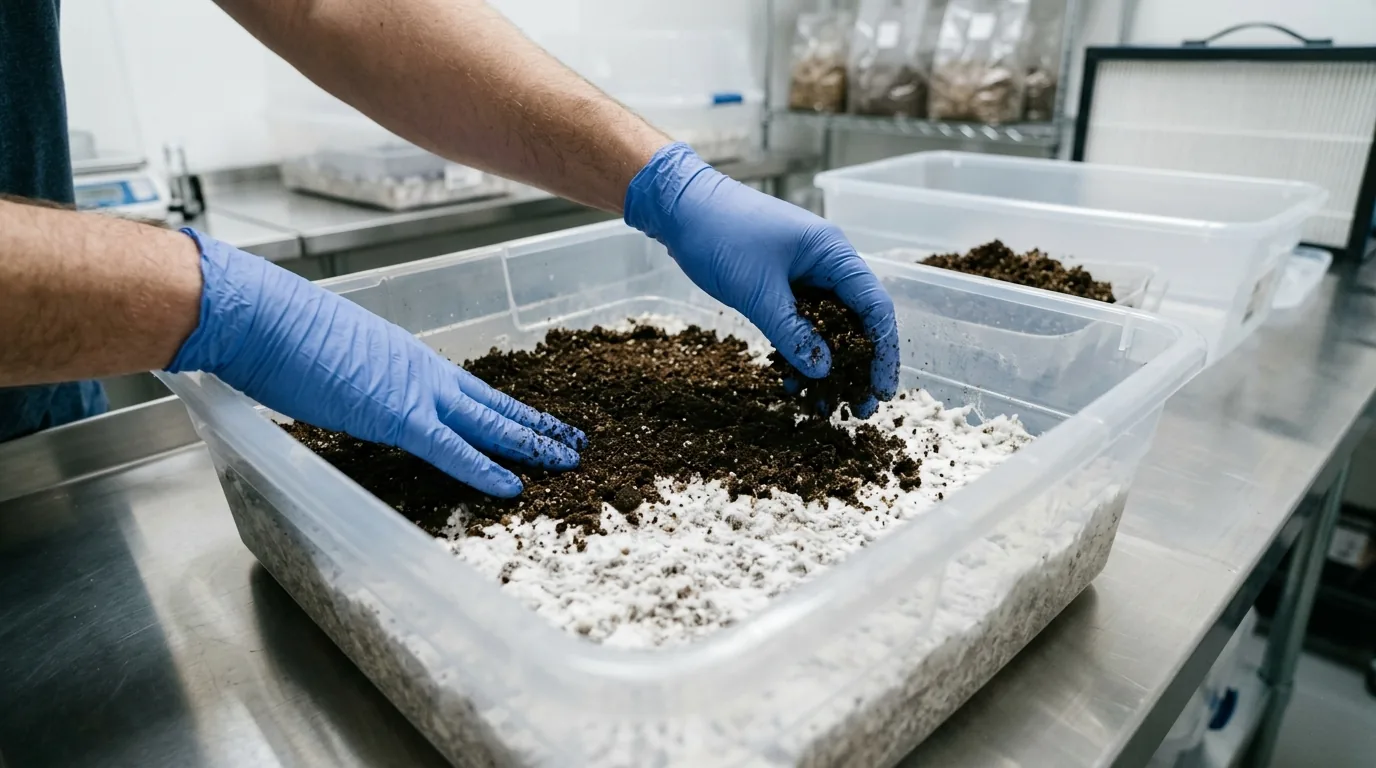
- Clean your gloved hands with isopropyl alcohol before handling colonized substrate
- Scratch the surface of the colonized substrate very lightly — just the top 2-3mm. This breaks surface mycelium and is sometimes recommended to improve casing adherence
- Apply the casing evenly in 1/2 inch layer. Do not press hard — you want loose contact, not compaction
- Level: Use a gloved hand or clean spatula to even the casing layer
- Return to fruiting conditions: Maintain 90-95% humidity at the surface, 70-75°F, with appropriate FAE
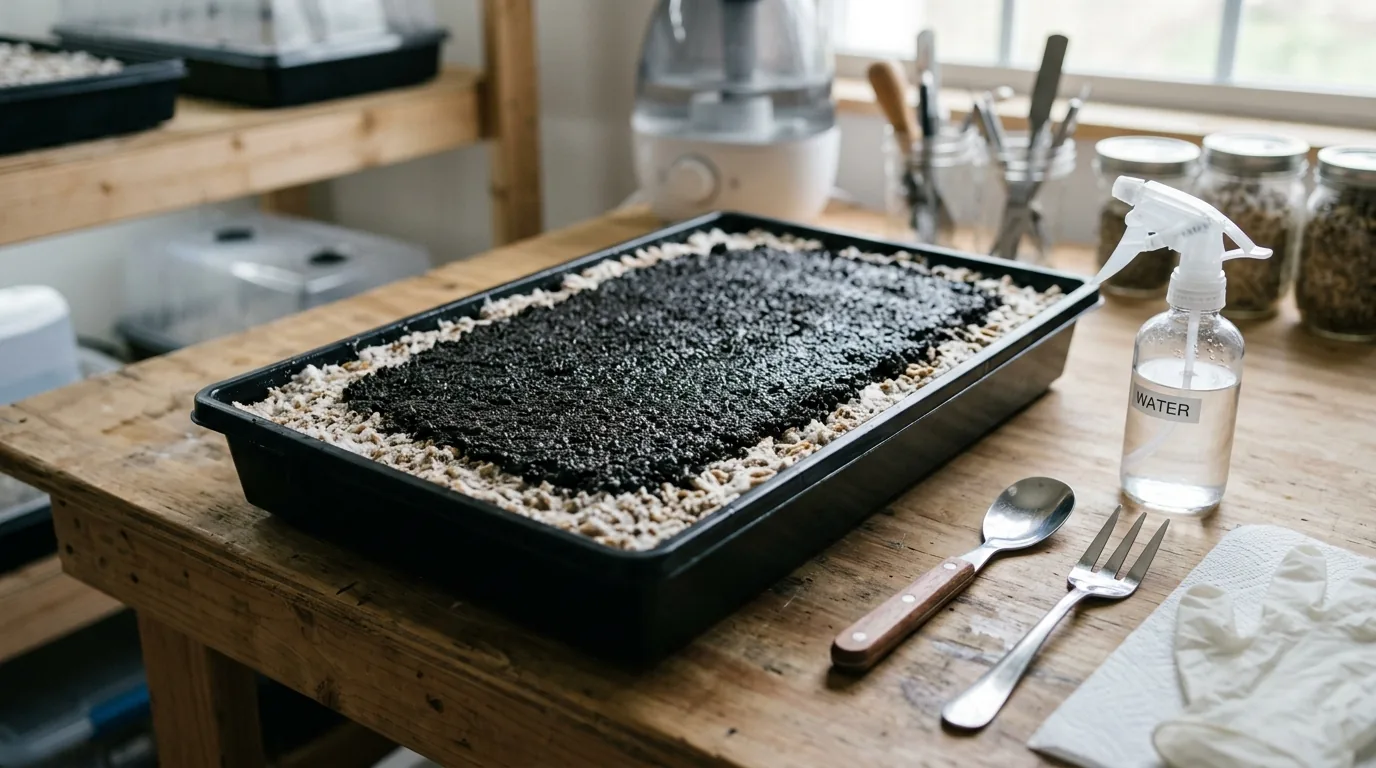
After Casing: What to Expect

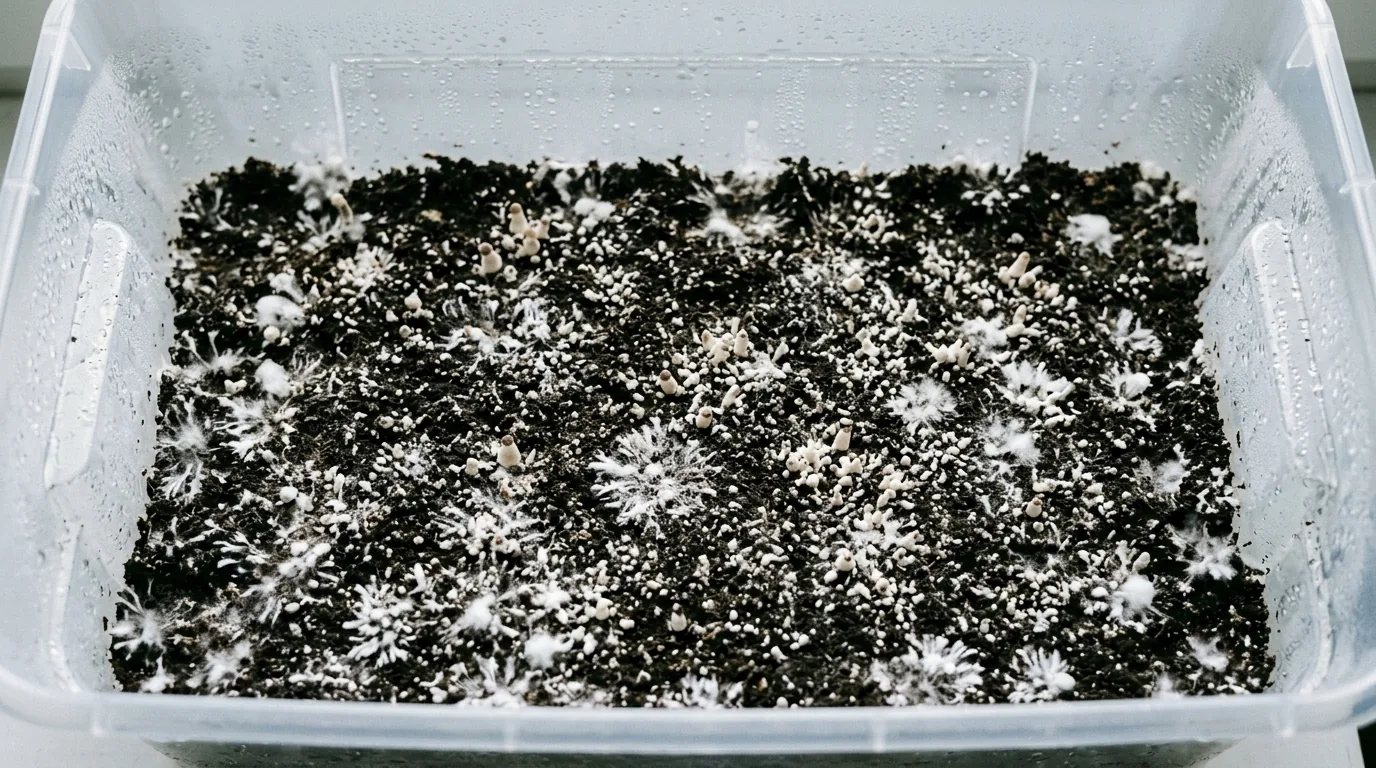
- Colonization of the casing: Your mycelium will begin to grow into the casing layer. This takes 3–7 days. You'll see white growth appearing at the surface.
- Pinning: Pins initiate when the mycelium has colonized the casing and encountered the fruiting triggers (CO2 drop, humidity, temperature cues). This typically begins 5–14 days after casing.
- First flush: Typically 14–21 days after casing application, depending on genetics and environmental conditions.
Common Casing Mistakes

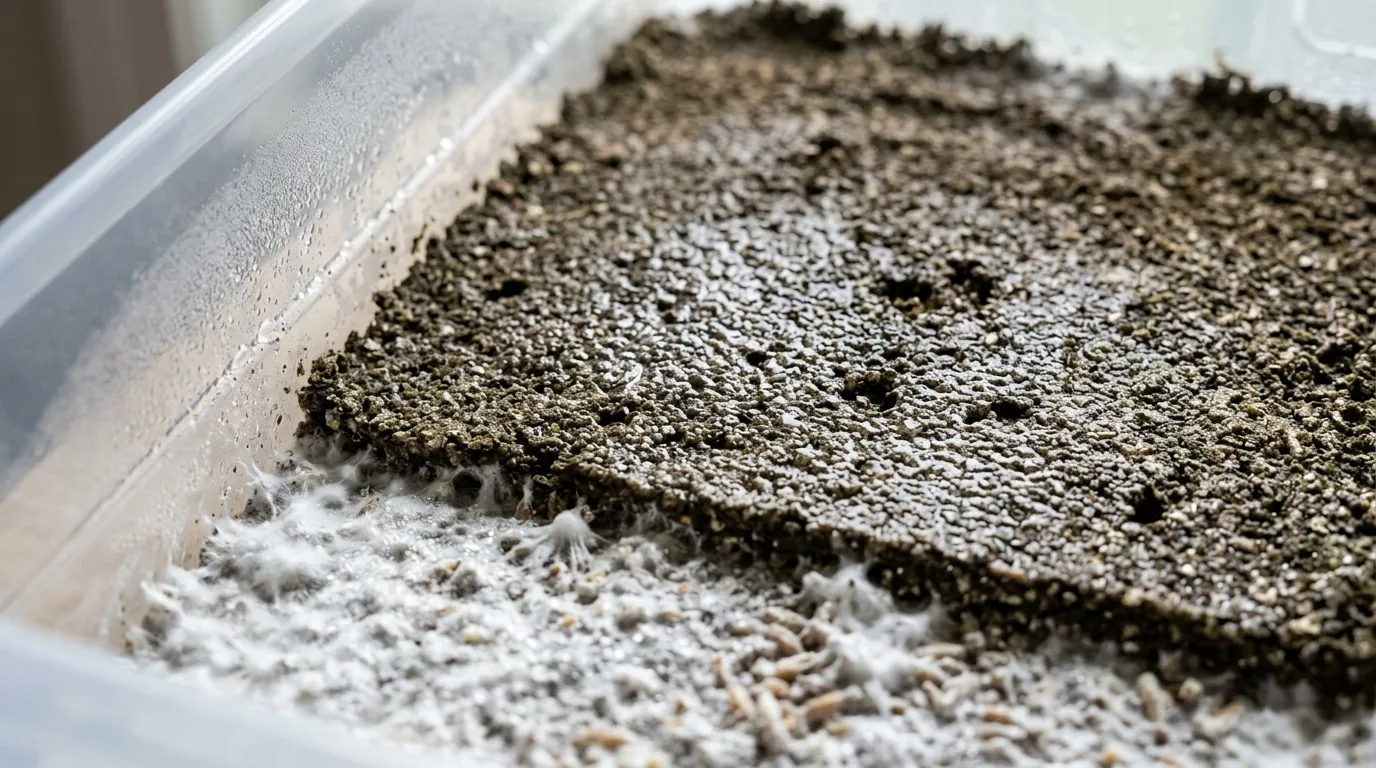
Too thick: Casing over 3/4 inch creates a CO2 trap that inhibits pinning. Keep it to 1/2 inch.
Applied wet: If your casing is at field capacity and you also mist heavily, the surface becomes anaerobic. Let the casing breathe — mist only when the surface begins to look dry.
Applied to contaminated substrate: Casing a contaminated tub produces a contaminated cased tub. Triage and discard contaminated grows before casing.
Wrong pH: Acidic casing (uncorrected peat) can inhibit pinning. Use lime or gypsum to buffer to neutral.
Casing too early: Applying before full colonization risks contamination overwhelming the casing layer. Wait until fully colonized.
Casing for Multiple Flushes
After your first flush is harvested:
- Remove all remaining pins (including aborts — they decompose and promote mold)
- Lightly mist the casing surface
- Return to fruiting conditions
- The mycelium will recover and pin again — typically within 5–10 days of the first harvest
A well-cased tub can produce 3–5 flushes before substrate exhaustion.
Resources
- Shroomery Monotub Casing Thread: Community documentation with photos
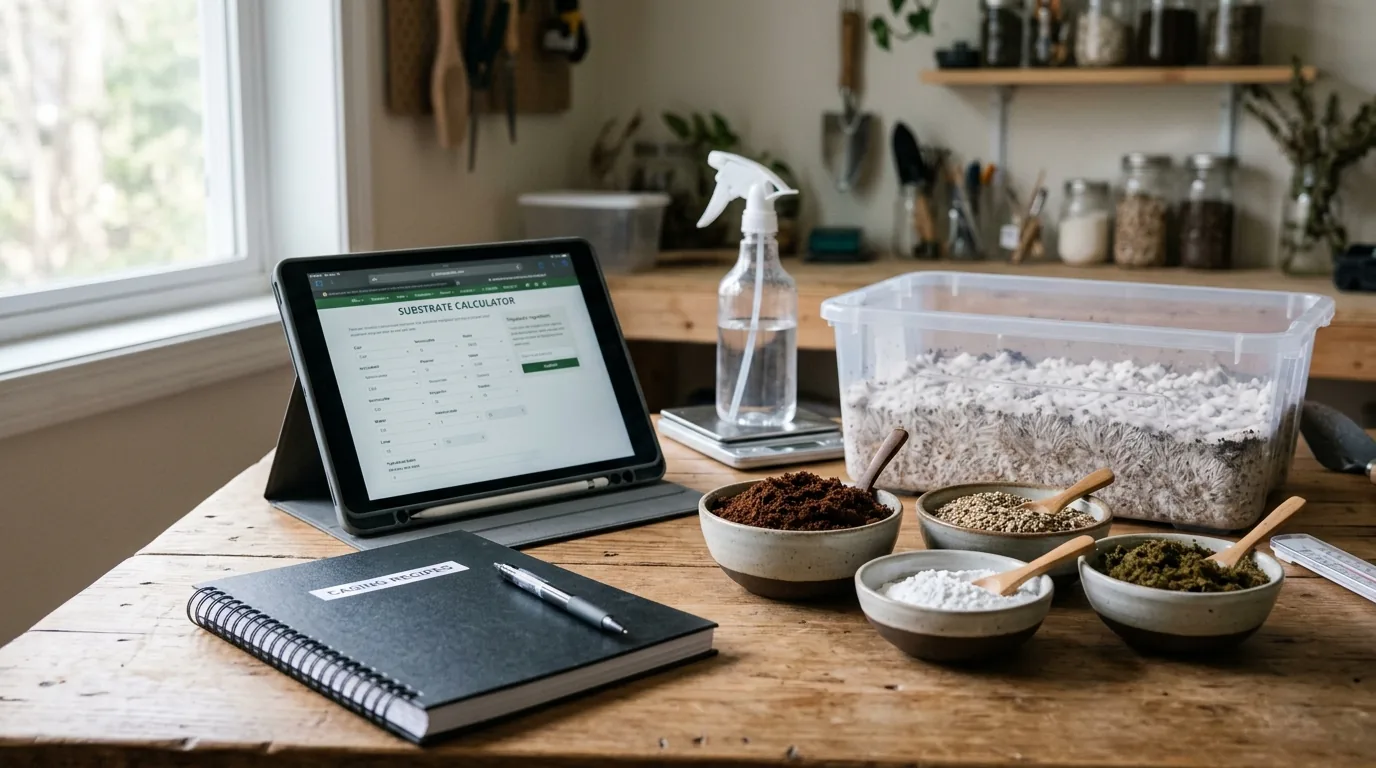
- CVG Casing Guide (Substrate Calculator): LearnShrooms's substrate calculator can help dial in ratios
- Contam Guide: For identifying contamination before it spreads through your casing layer
Common Problems & Troubleshooting
See the Contamination Guide for common issues.
Tips for Success
Take notes at every stage. Consistency beats perfection.