Mushroom Photography: Documenting Flushes and Identifying Contamination
Everything you need to know about Mushroom Photography: Documenting Flushes and Identifying Contamination — from materials to first harvest.

What You'll Need
- See full supply list in guide below.
Find grow supplies at vendors in our Directory.
Step-by-Step Process
Mushroom Photography: Documenting Flushes and Identifying Contamination

Mushroom photography serves two practical purposes in cultivation: documentation of your grow for diagnosis, record-keeping, and community learning; and visual confirmation of contamination before you've opened a jar. Good photography technique makes both significantly more useful.
Why Document Your Grows
Diagnosis and Troubleshooting
When something goes wrong — pinning failure, unusual mycelium color, strange growth patterns — photographs allow you to:
- Get help from cultivation communities (r/unclebens, Shroomery, local groups) with accurate visual information
- Compare against reference images for contamination identification
- Track whether a problem is getting better or worse over time
A photograph of a questionable jar can tell an experienced eye immediately whether it's a contamination or a normal metabolite response.
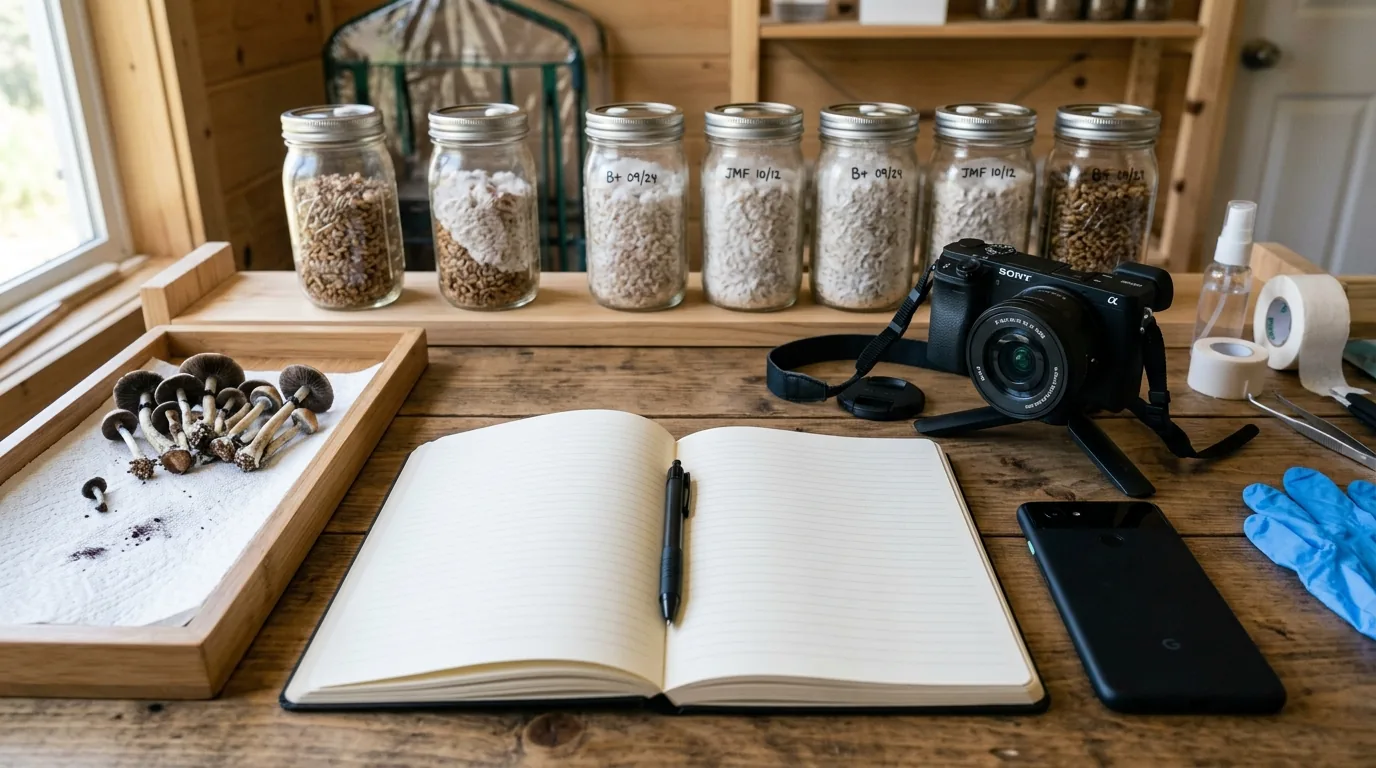
Progress Tracking
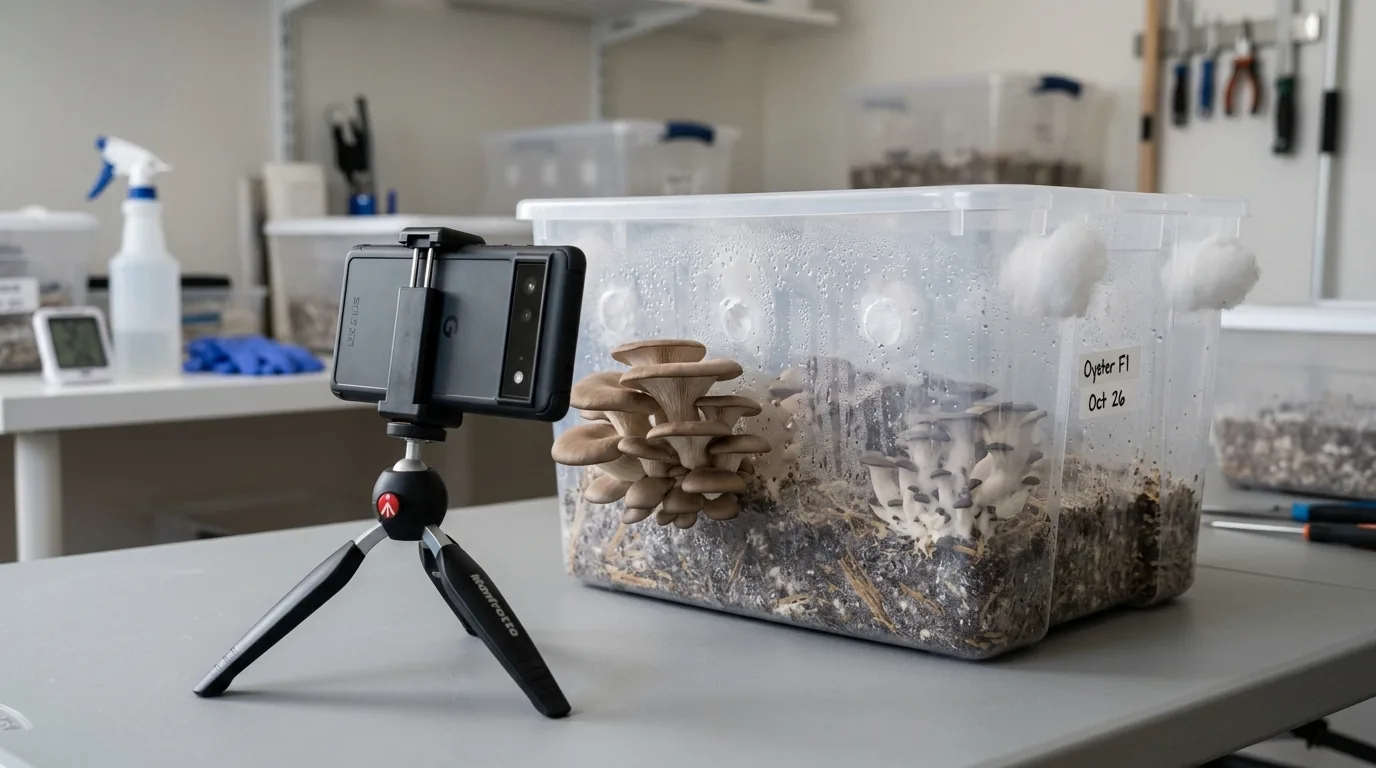
![]()
Systematically photographing at the same growth stages across different runs allows you to track:
- Colonization speed by strain and inoculant type
- Pinset timing relative to fruiting chamber initiation
- Flush weight estimates before harvest
- Variation between jars in the same batch
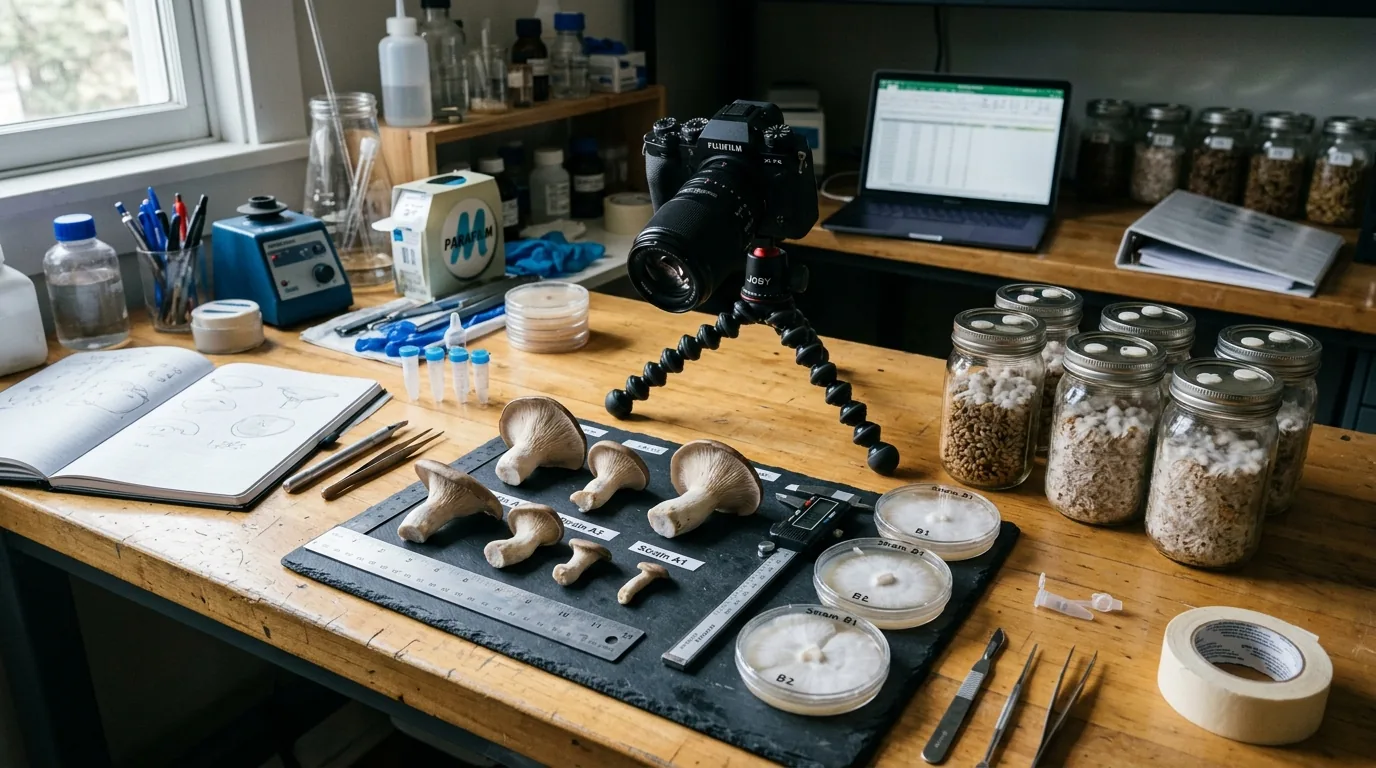
Genetic Records
If you're selecting genetics — choosing better-performing specimens for spore prints or clone work — photographs document phenotype across multiple flushes, allowing systematic selection rather than memory-based comparison.
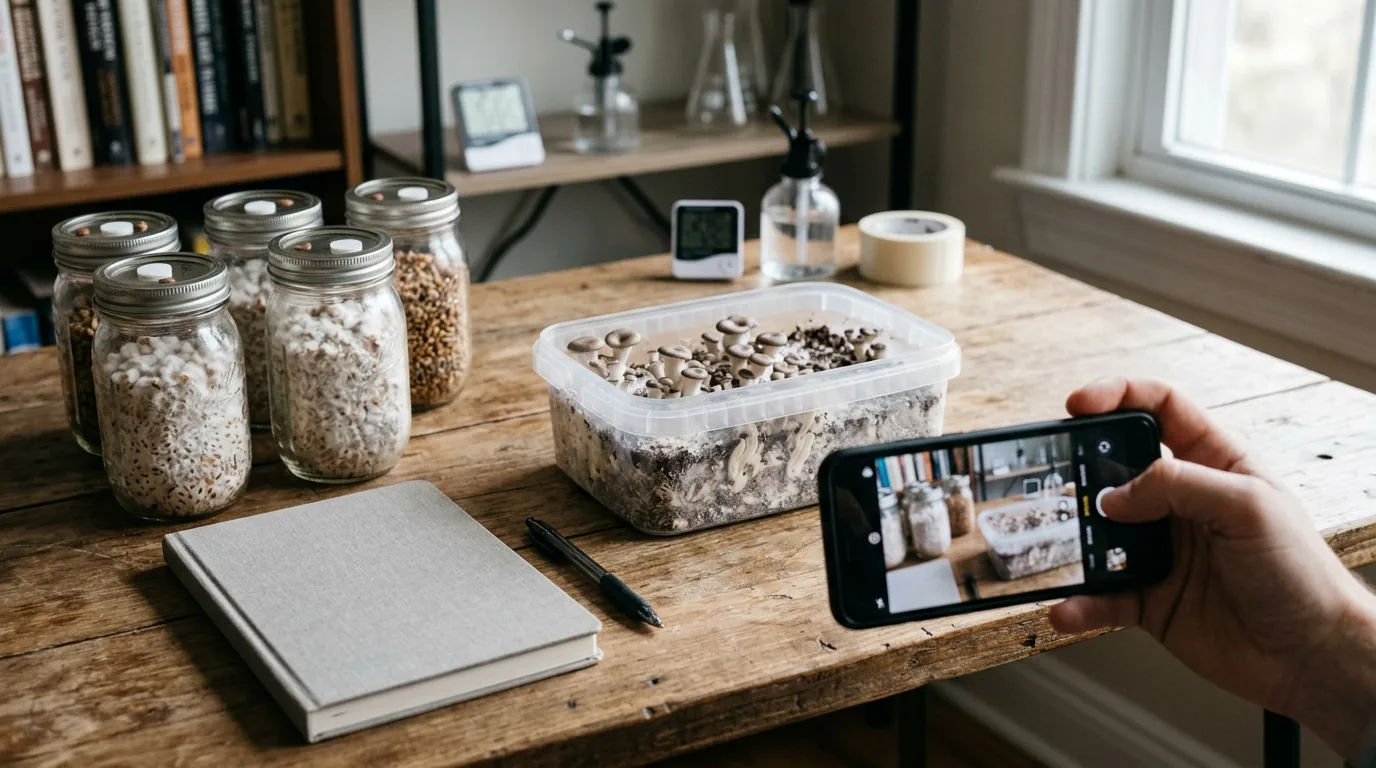
Equipment: What You Actually Need

Phone Camera
Modern smartphone cameras are entirely adequate for grow documentation. The cameras in flagship phones (and even mid-range phones from 2022+) outperform dedicated cameras in low light, which matters for the dim environments typical of grow setups.
Setting adjustments:
- Turn off flash (creates harsh reflections on wet mycelium and caps)
- Use portrait mode for single specimen close-ups
- Use Pro mode (if available) to manually set exposure when auto-exposure fails
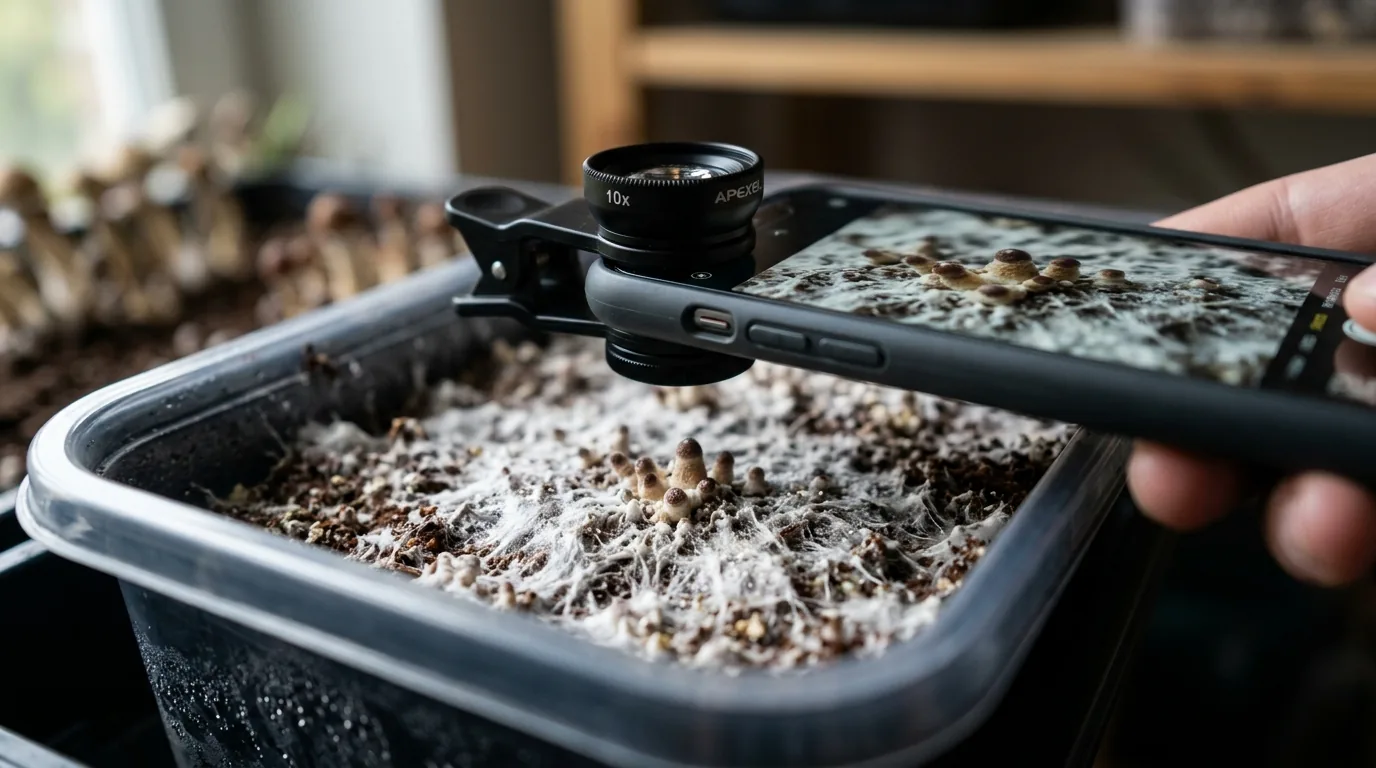
Macro Lens Attachment
For very close detail photography — spore identification, contamination assessment, pin development — a clip-on macro lens for $15-30 significantly improves close-up quality compared to digital zoom.
Dedicated Camera (Optional)
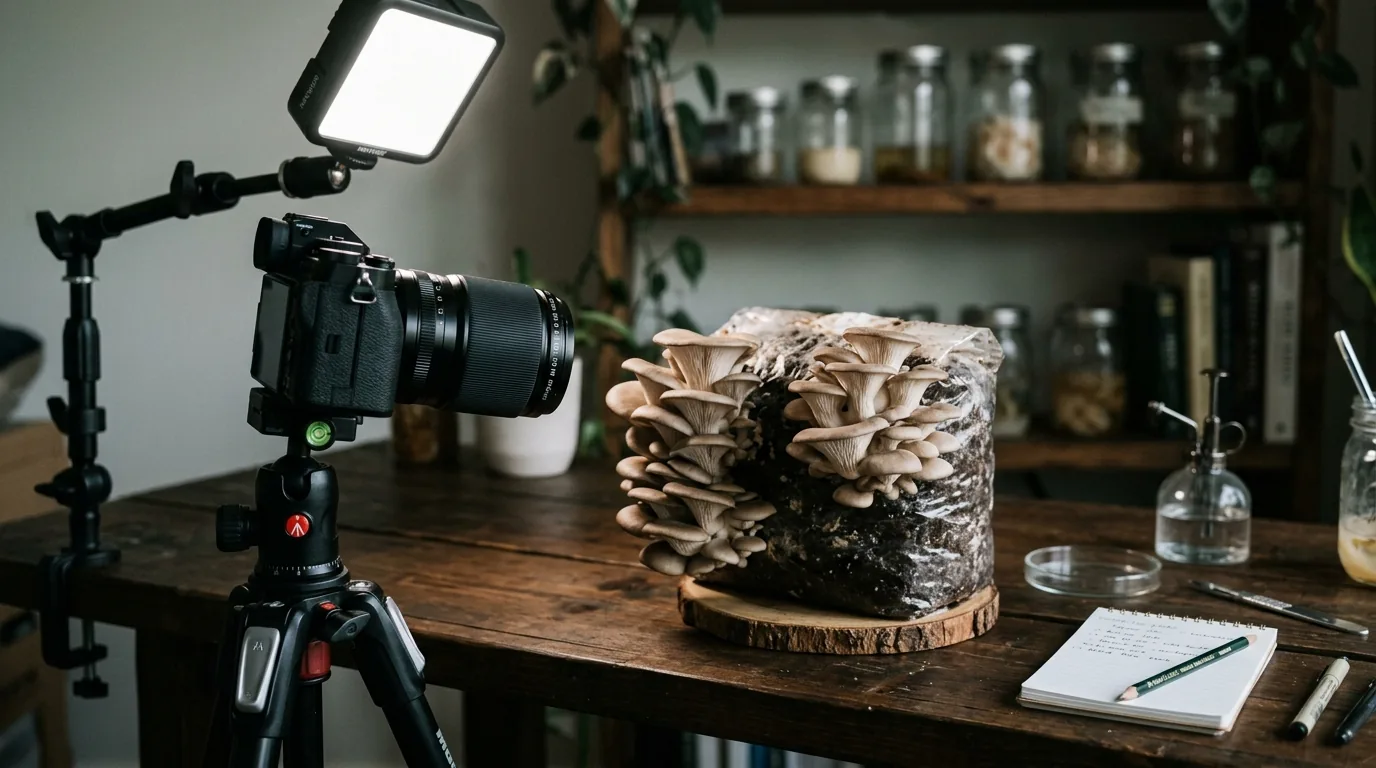
If you want to build a serious documentation practice or share high-quality images, a mirrorless camera with a macro lens produces substantially better results. This is not necessary for functional grow documentation.
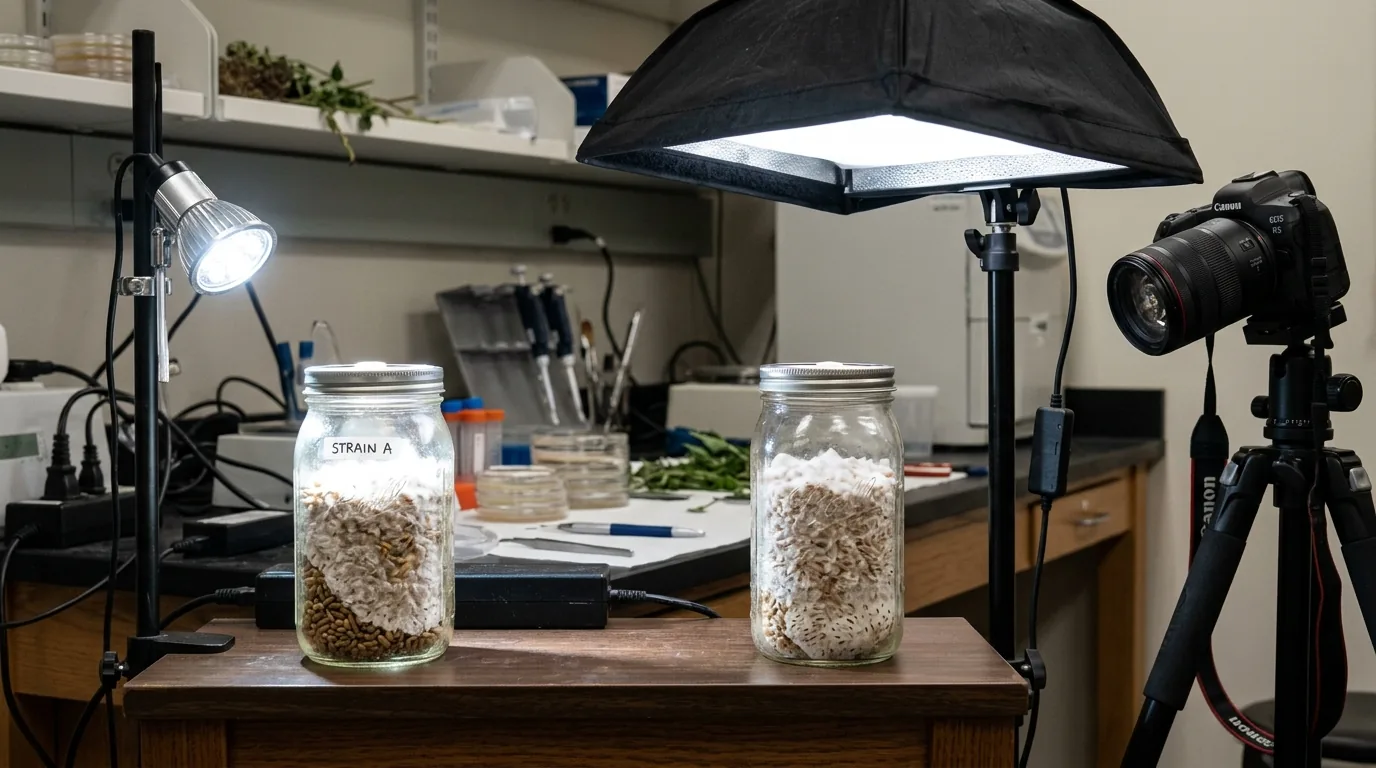
Lighting: The Critical Variable
Mushrooms and mycelium are often in dark or semi-dark environments. Poor lighting is the most common reason grow photos are useless for diagnosis.
Natural Diffuse Light
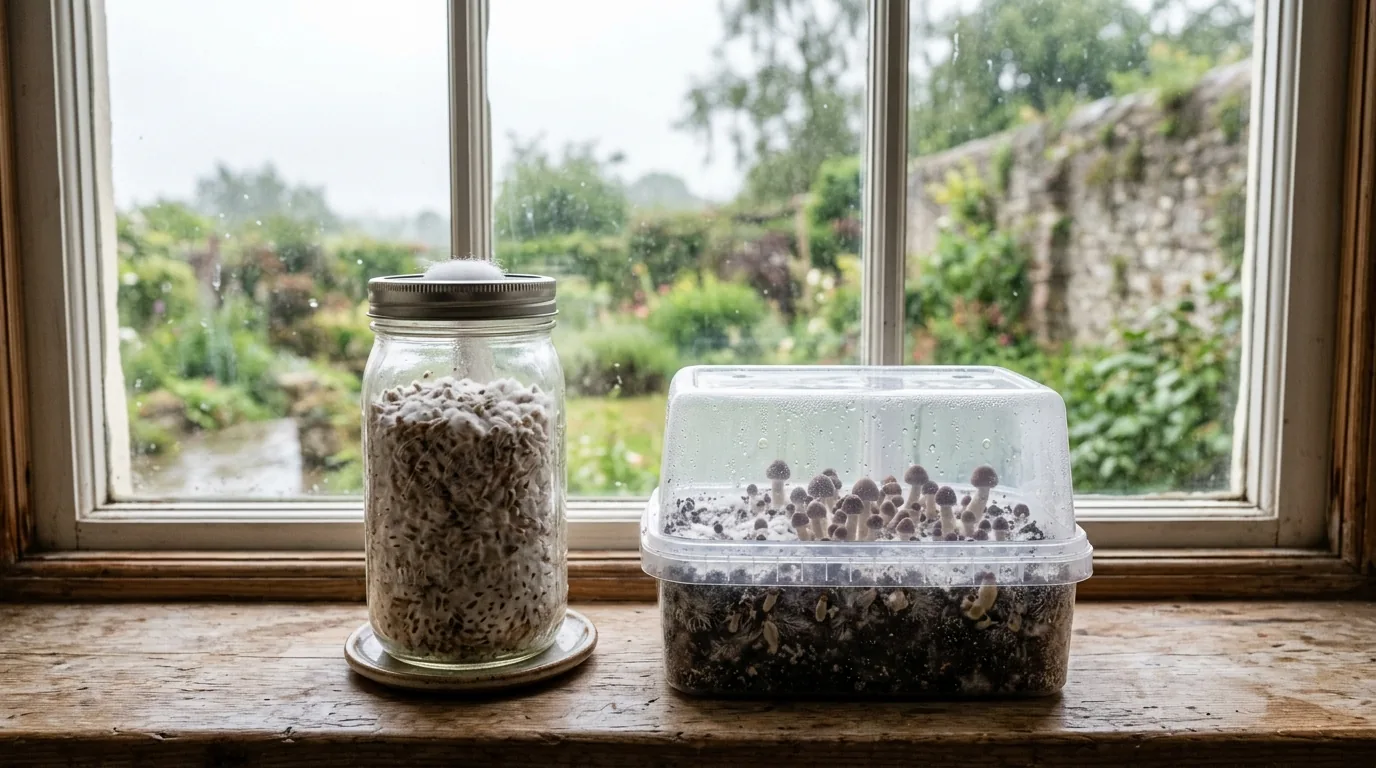
The best option when available. Photograph near a window on a cloudy day (direct sunlight creates harsh shadows and bleaches details). This provides the most accurate color rendering and even lighting.
Ring Light
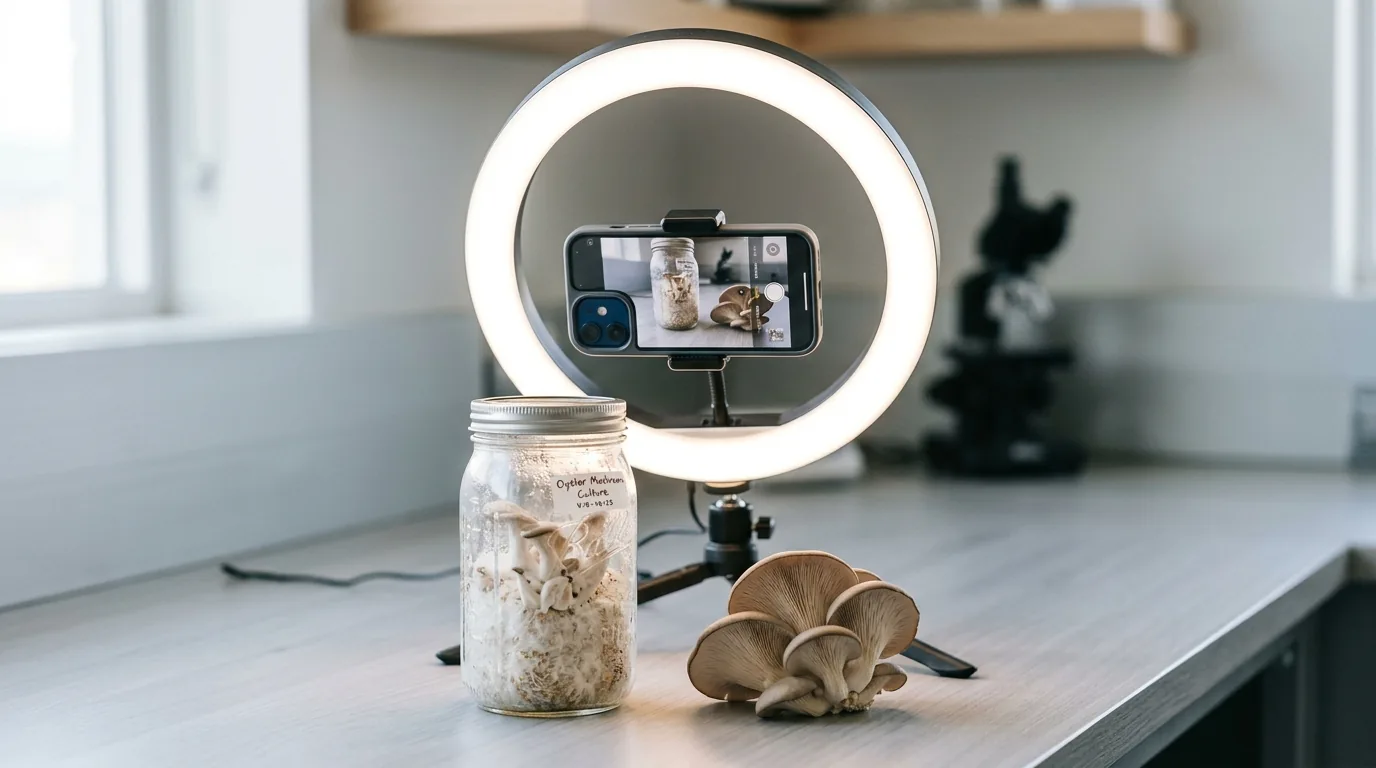
A ring light (available for under $20) provides even, close-up lighting that eliminates harsh shadows. Useful for jar photography and close-ups of fruiting bodies.
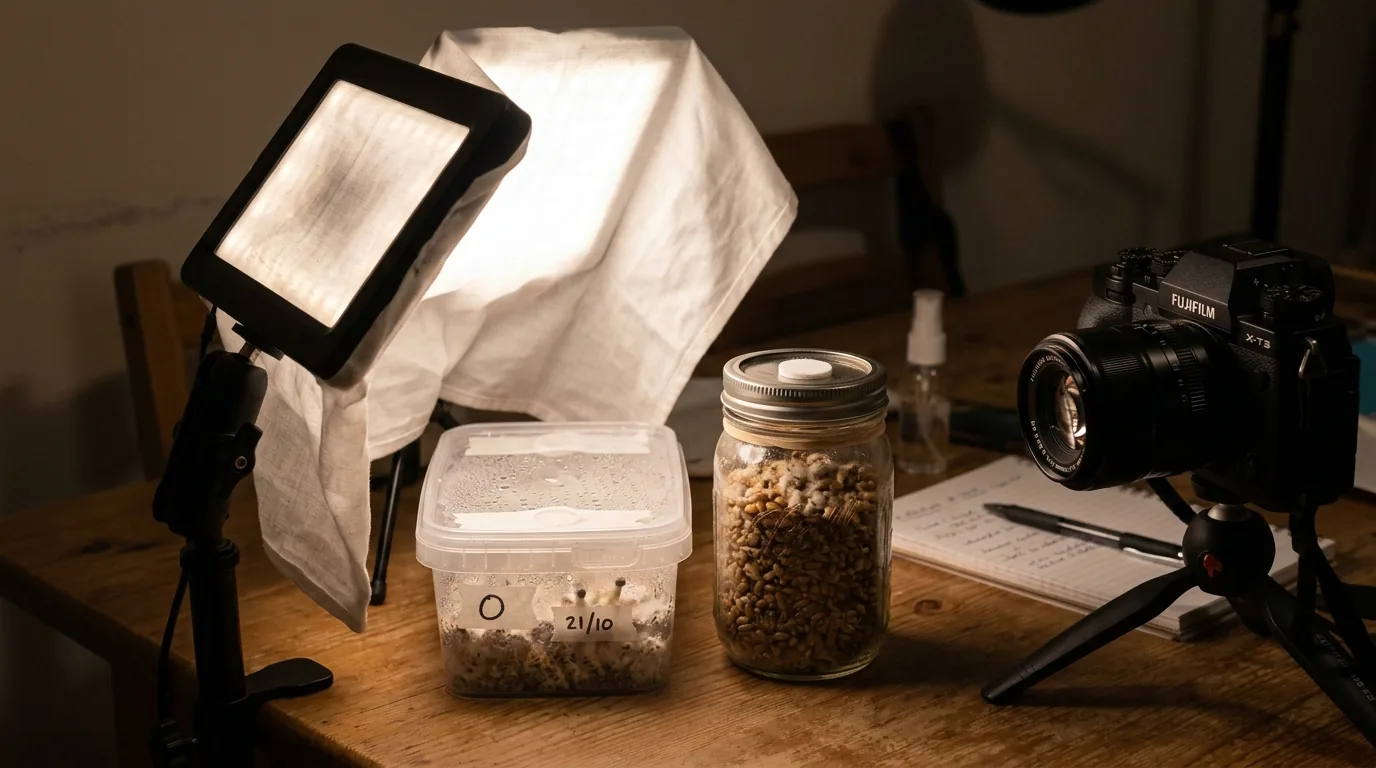
Flashlight / LED Panel Diffused
A flashlight or LED panel diffused through a piece of white paper or fabric provides directional lighting without harshness. Particularly useful for photographing inside grow tents or chambers.
Critical: Turn off the ambient room light when using a diffused artificial source — mixed lighting sources produce color casts that obscure accurate color assessment (important for contamination identification).
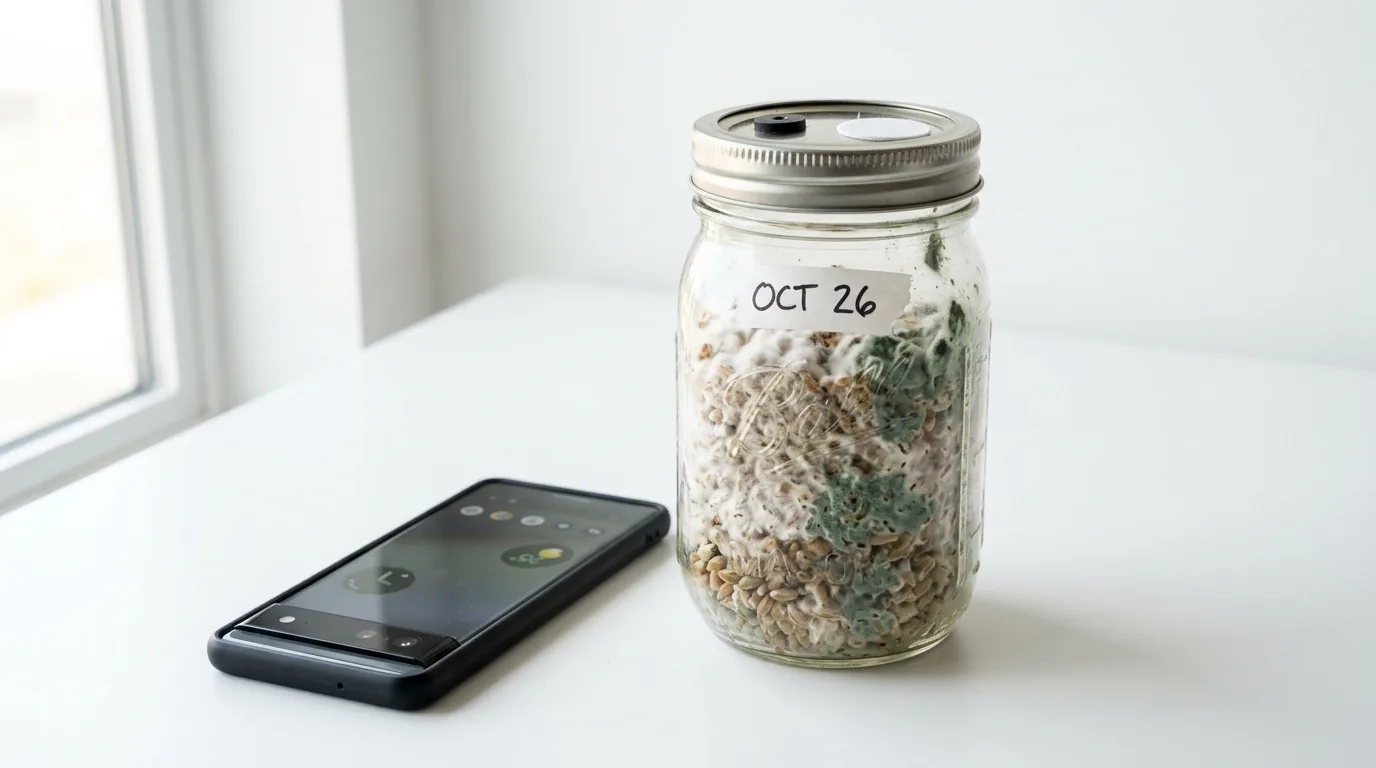
Photographing for Contamination Assessment
When photographing a jar you suspect may be contaminated:
- Hold the jar in front of a white background (piece of paper behind it) and photograph with your light source in front
- Take two images: one with light coming from behind (backlit, to see overall distribution) and one with light from the side (to show texture and color)
- Close-up: A clear close-up of the suspicious area specifically, in good light, is more useful than a general jar photo
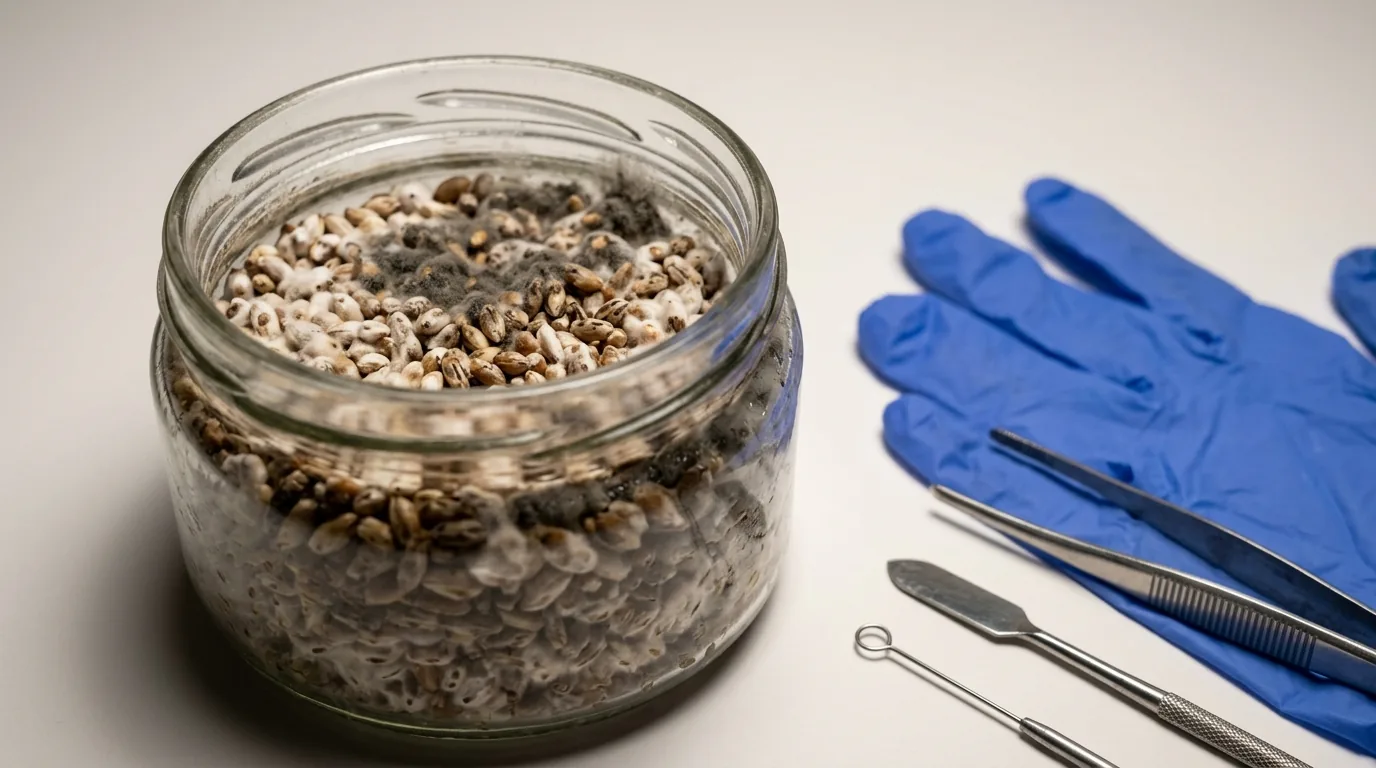
Colors to capture accurately:
- Green: Trichoderma — must be distinguishable from simple yellowing
- Black: Aspergillus
- Blue-green: Penicillium
- Orange/salmon: Neurospora
- White patches that look different from mycelium: early Trichoderma
Photograph in natural light or accurate artificial light — color temperature distortion from fluorescent bulbs can make yellow metabolites look green or green mold look yellow, causing misdiagnosis.
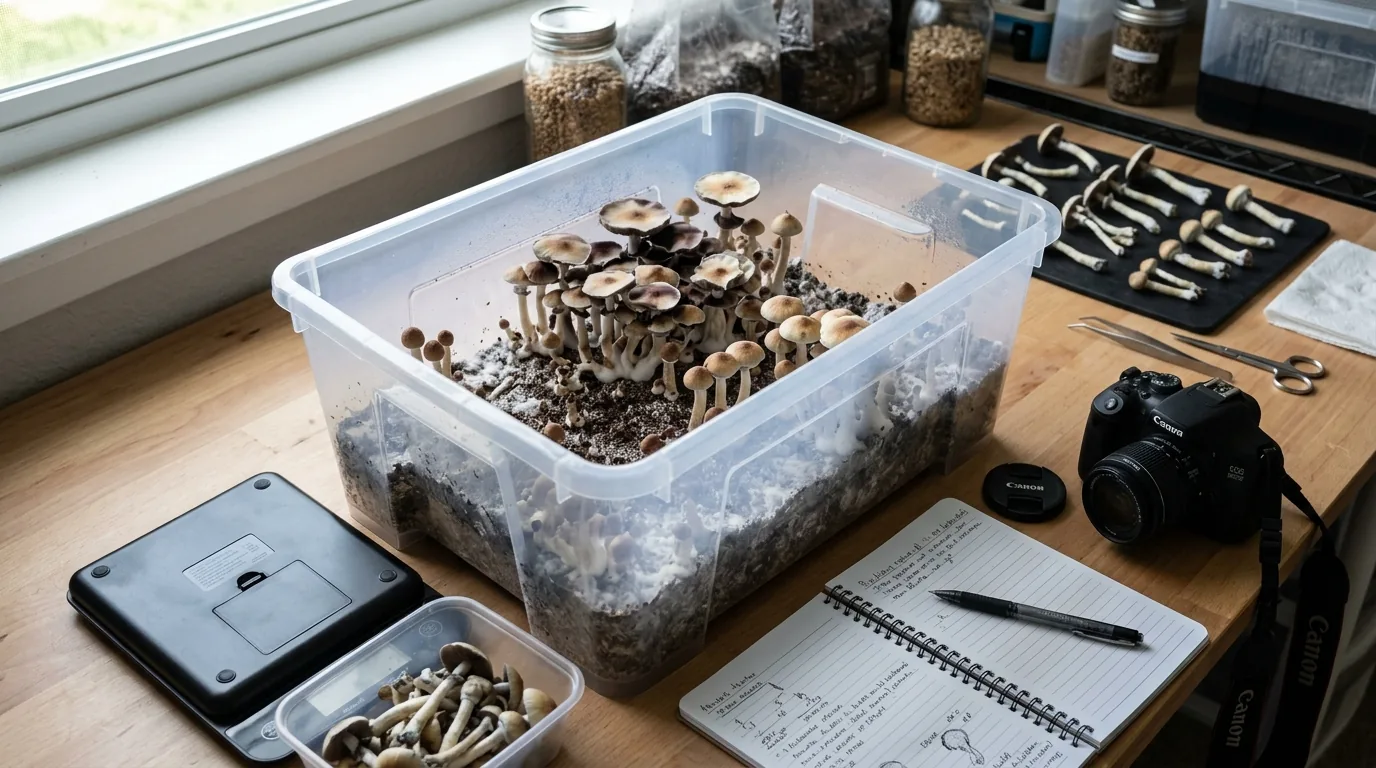
Photographing Fruiting Bodies
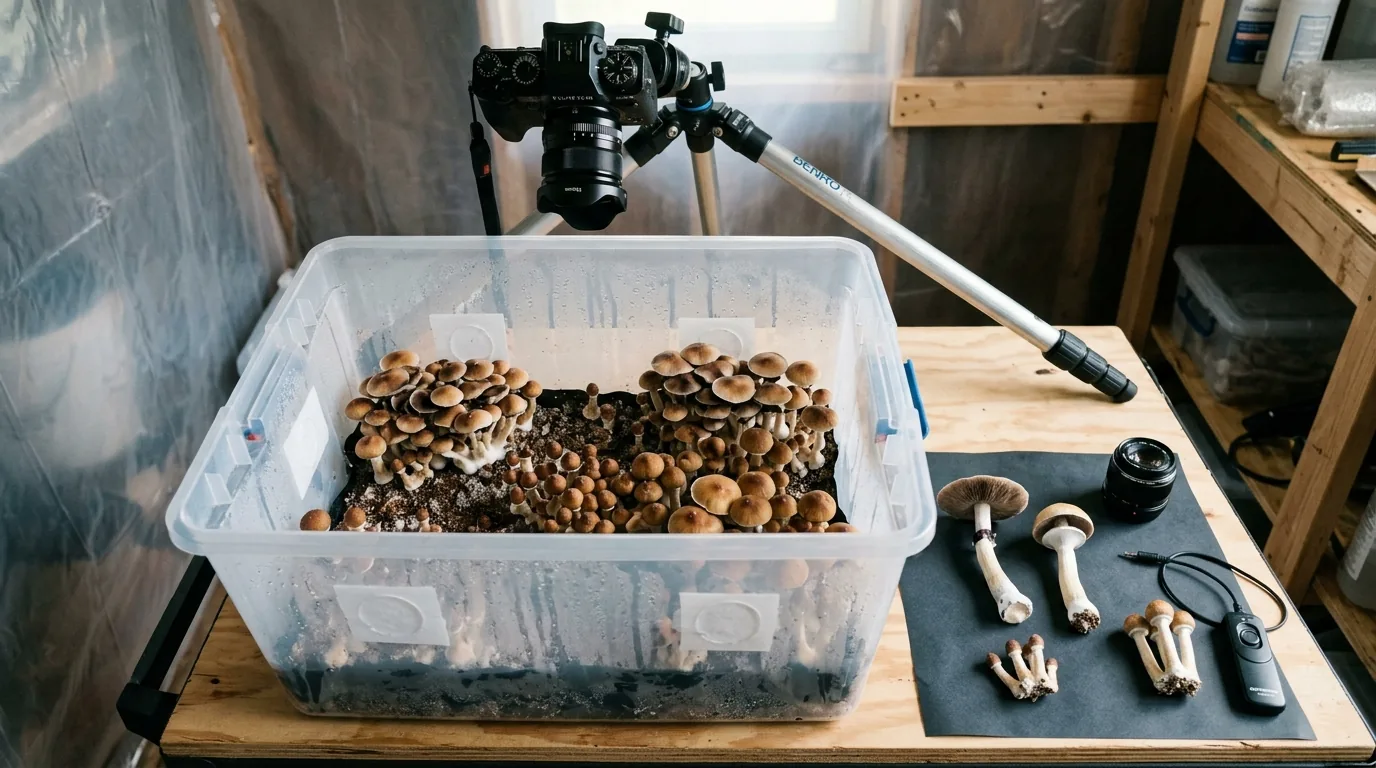
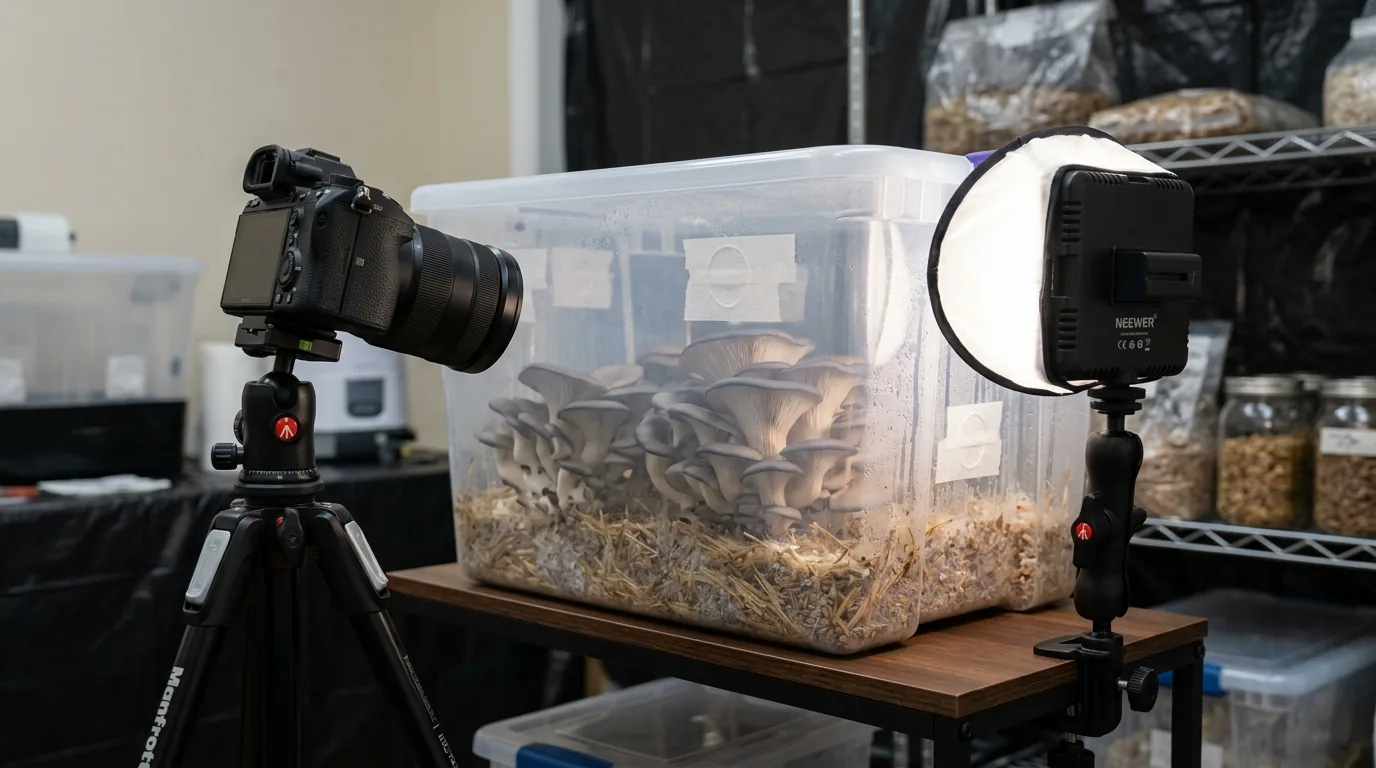
For Documentation
Document each flush with:
- Overview shot: Entire tub or block showing the flush configuration
- Individual specimens: Close-up of representative mushrooms at harvest
- Harvest weight: Photo of scale showing weight after harvest
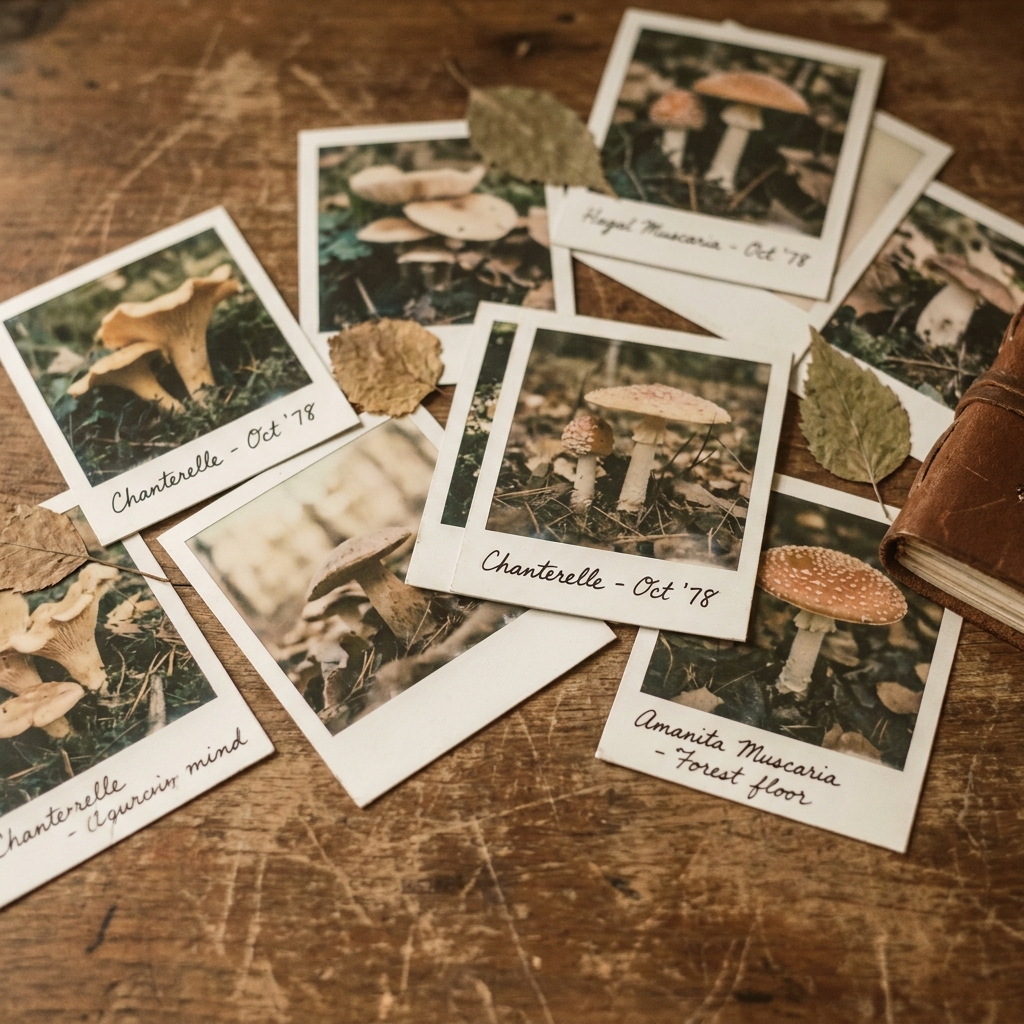
For Identification
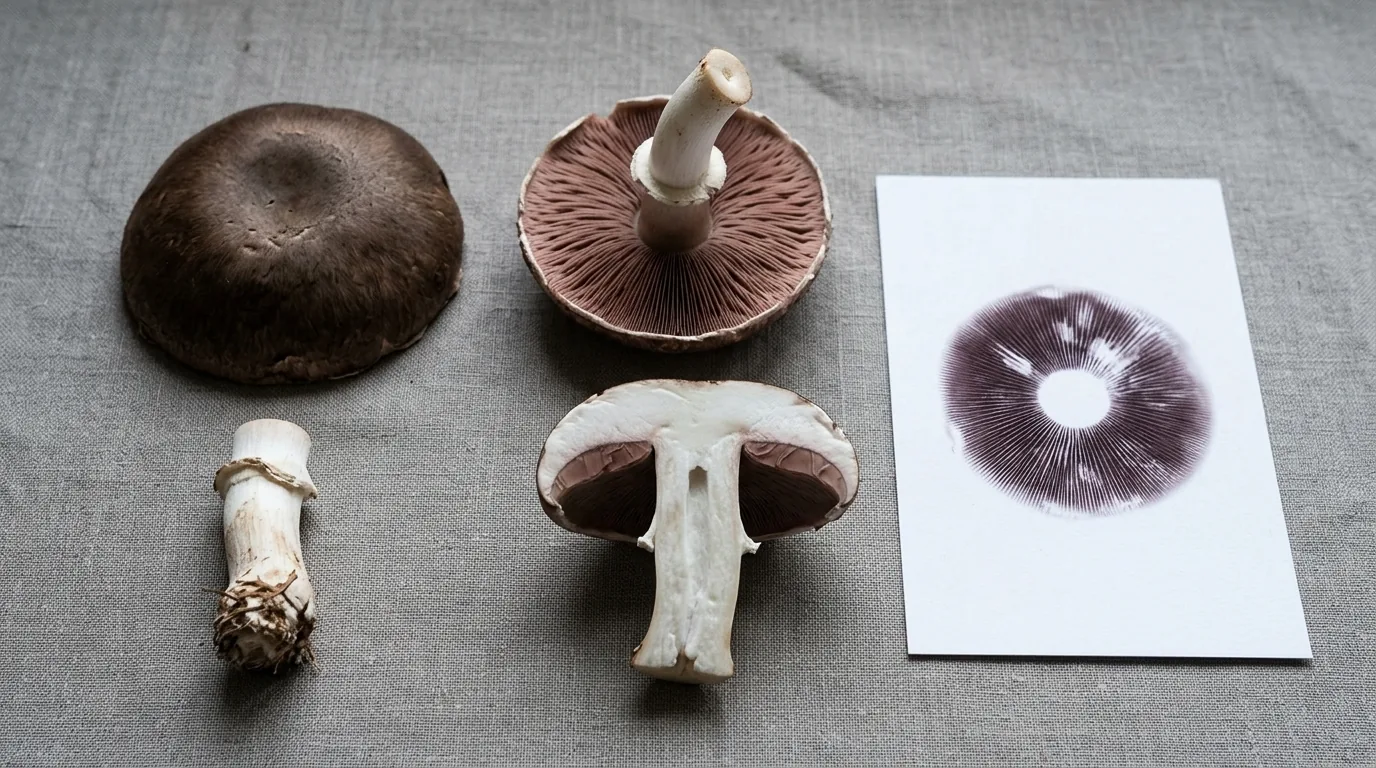
If photographing for species identification (wild harvest or documenting a newly germinated strain):
- Cap top: Clear photo of cap surface, color, markings
- Cap underside/gills: Photograph of gill pattern, color, and attachment
- Stem: Full stem showing color, any ring (annulus), base shape
- Spore print: Photograph the spore print itself — both the print on paper and a close-up showing color accurately
- Cut cross-section: A slice through the cap and stem showing internal color and any blueing reaction
- Habitat: Wide shot showing what the mushroom was growing on
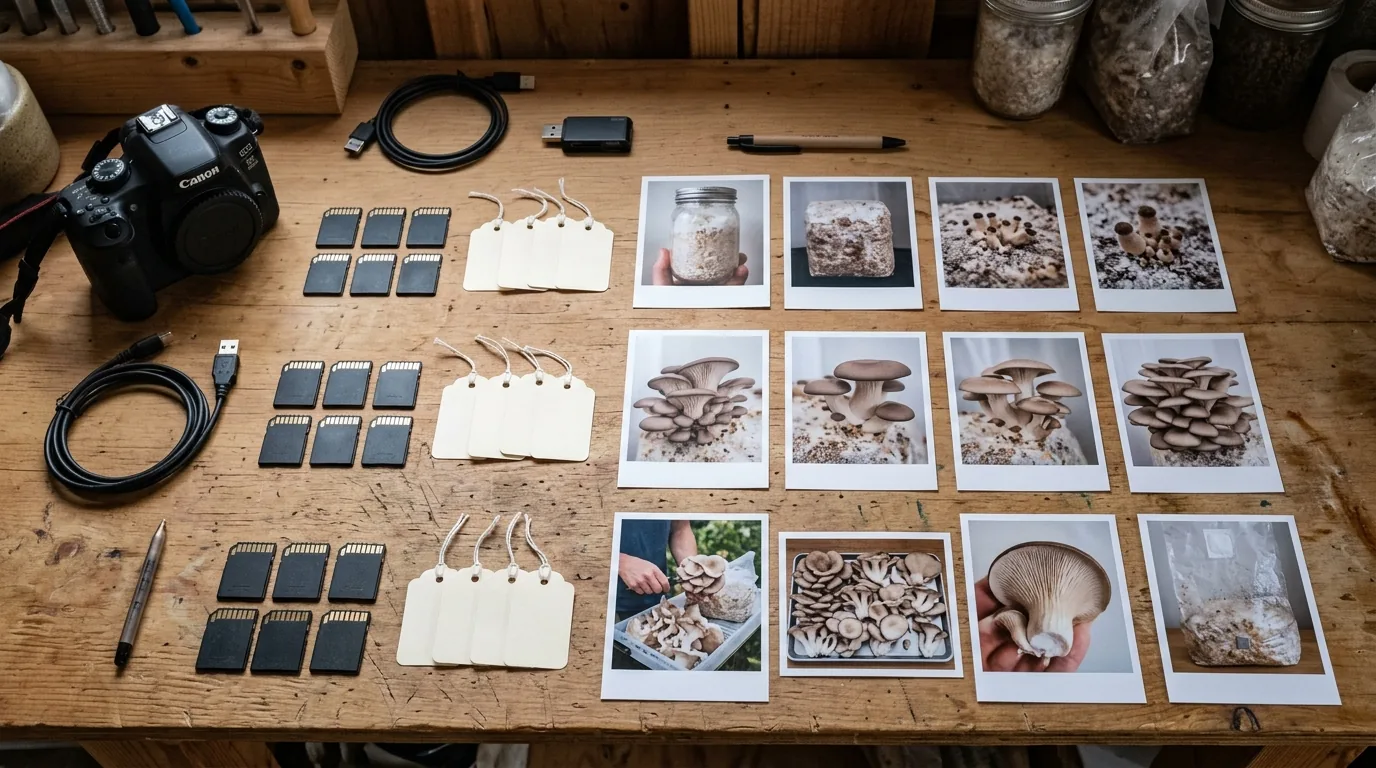
Organizing Your Documentation
Naming Convention
`
YYYY-MM-DDstrainstage_jarnum.jpg
Example: 2024-03-15GTcolonizing_jar3.jpg
2024-03-22GTday7-fruiting_tub1.jpg
2024-03-29GTflush1-harvest.jpg
`
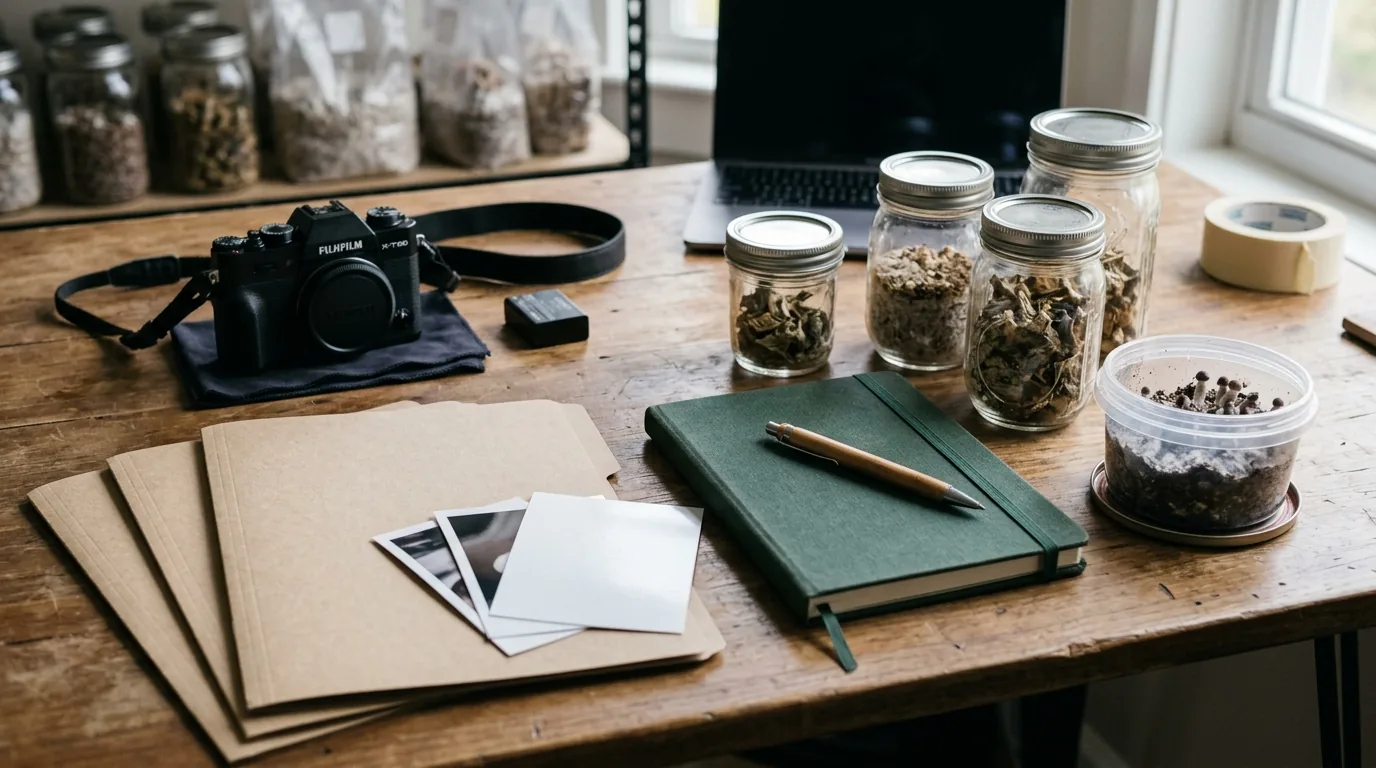
Grow Log Integration
Combine photographs with simple written notes:
- Date, strain, substrate, inoculant method
- Days since inoculation
- Observations (any anomalies, pinning start, flush weight)
A simple spreadsheet or notes app with photos attached creates an invaluable reference over multiple grows.
Common Photography Mistakes
Flash on: Flash produces reflections on wet surfaces (mycelium, caps) that obscure detail and distort color.
Auto-focus on wrong subject: The background in focus instead of the jar or mushroom. Tap to focus on the subject in phone camera apps.
Not capturing the suspicious area specifically: A general photo of a jar with a question "is this contamination?" is much less useful than a close-up of the exact area in question.
Wrong color temperature: Photos taken under tungsten or fluorescent light without color correction appear dramatically different from natural color. If you're trying to identify green vs. yellow or blue vs. purple, photograph in natural light.
Too dark: If you can barely see the substrate, neither can a community member trying to help you diagnose. Use more light.
Common Problems & Troubleshooting
See the Contamination Guide for common issues.
Tips for Success
Take notes at every stage. Consistency beats perfection.