Fruiting Chamber Design and Environmental Control
Everything you need to know about Fruiting Chamber Design and Environmental Control — from materials to first harvest.

What You'll Need
- See full supply list in guide below.
Find grow supplies at vendors in our Directory.
Step-by-Step Process
Fruiting Chamber Design and Environmental Control
The fruiting chamber is where mushrooms develop. Getting the environment right — temperature, humidity, fresh air exchange, and light — is as important as getting the colonization right. This guide covers chamber design from simple beginner setups to more controlled intermediate configurations.
What Mushrooms Need to Fruit
Temperature: 70-77°F for most Psilocybe cubensis strains. Too cold slows fruiting; too hot promotes contamination and reduces pinning.
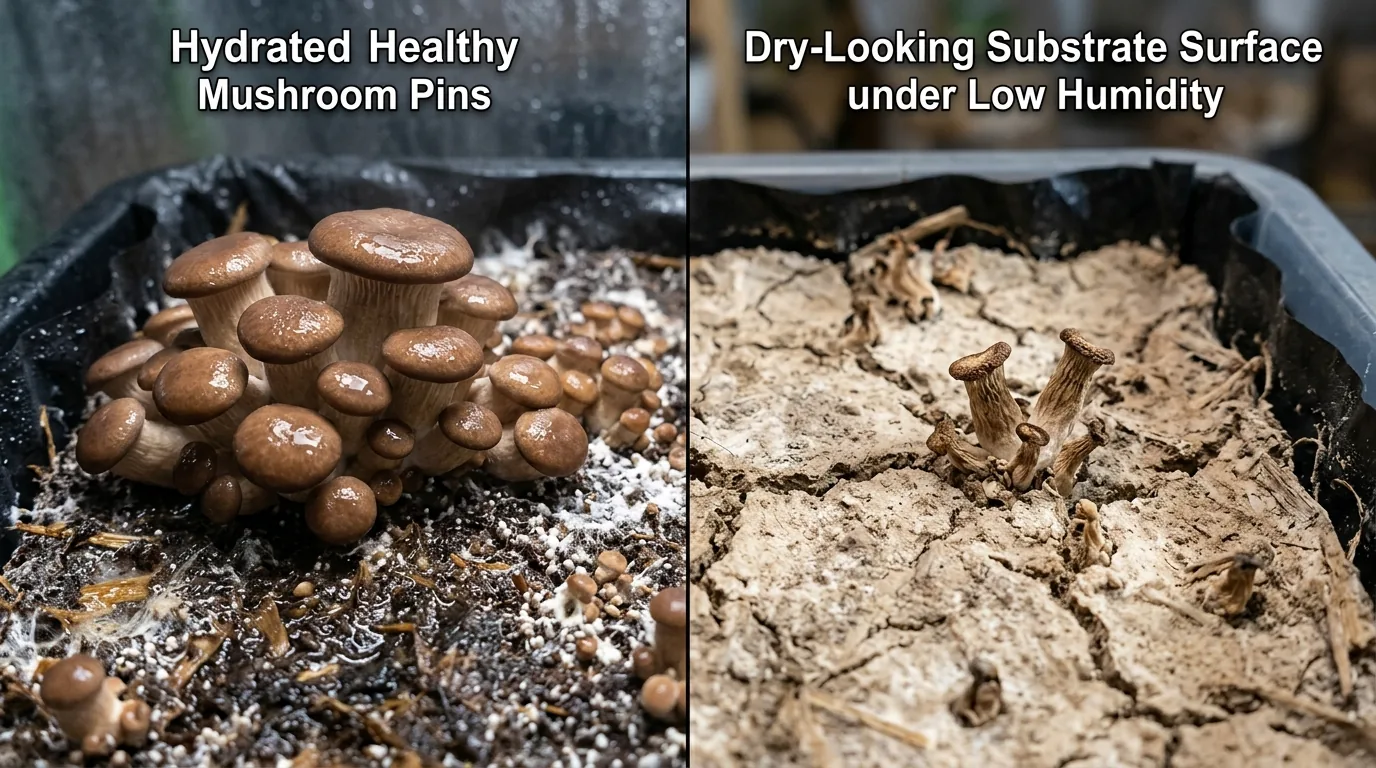
Humidity: 90-95% relative humidity. Mushrooms are 90%+ water — they need a highly humid environment to develop properly.
Fresh Air Exchange (FAE): Despite needing high humidity, mushrooms also need fresh CO₂-free air. CO₂ buildup causes long, thin stems and small caps ("stretch"). FAE introduces oxygen and removes CO₂.
Light: Mushrooms use light as a directional cue — they fruit toward light. 12 hours of indirect light (windowsill light or a basic LED) is sufficient. High-intensity direct light is not necessary or beneficial.
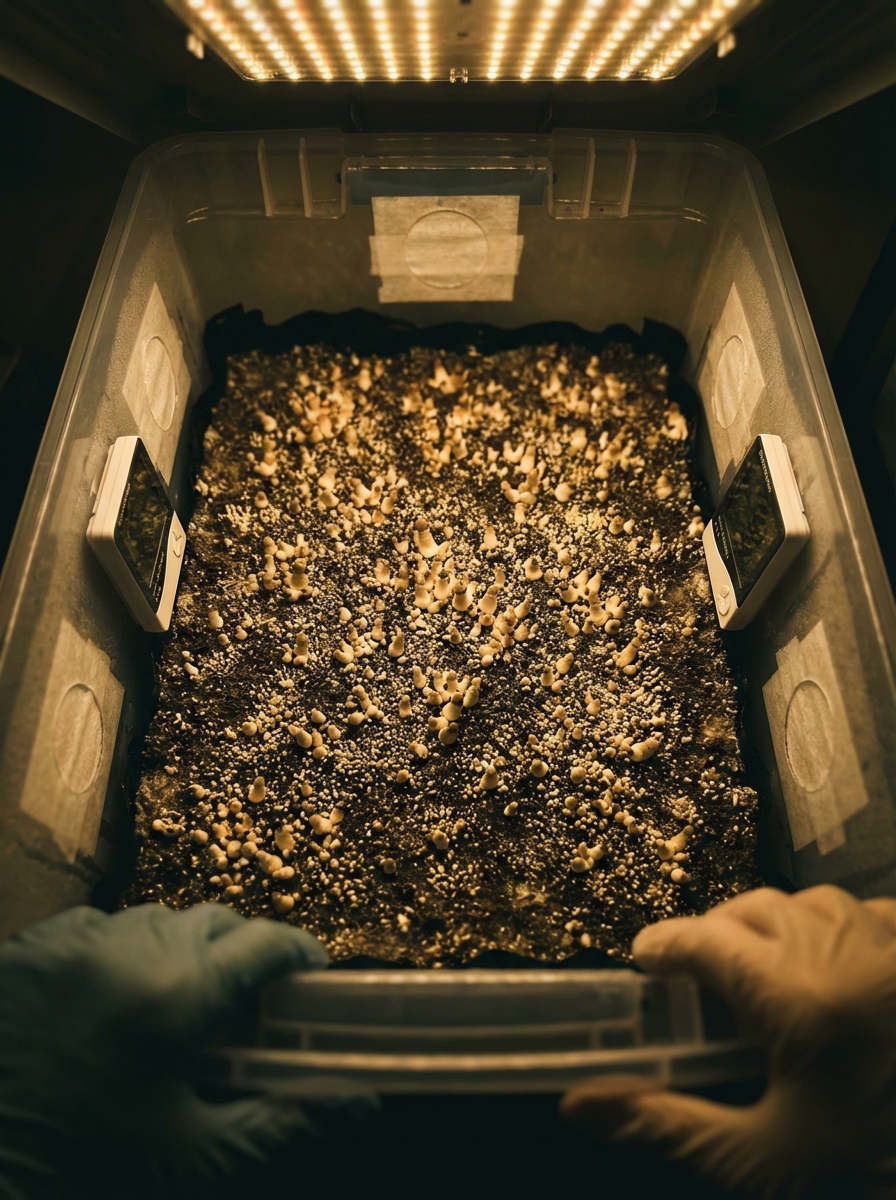
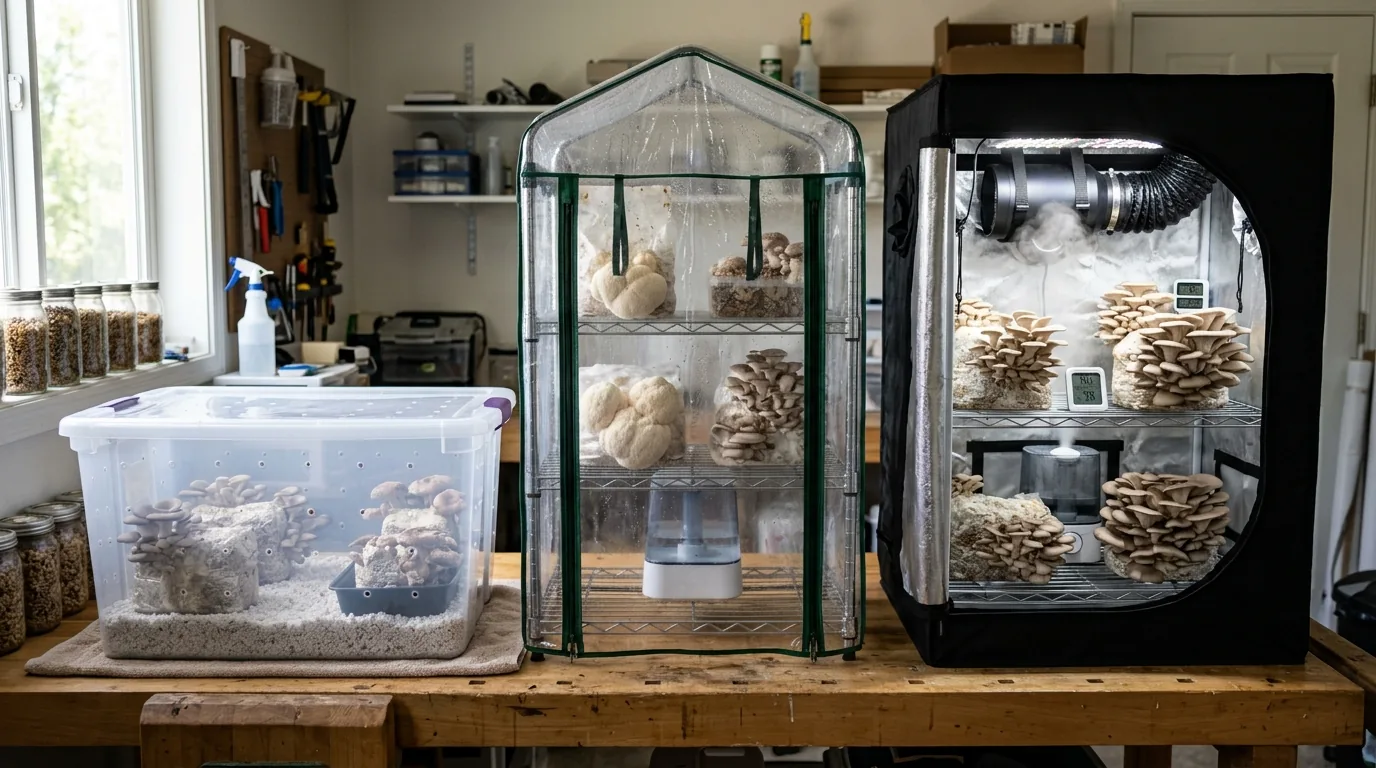
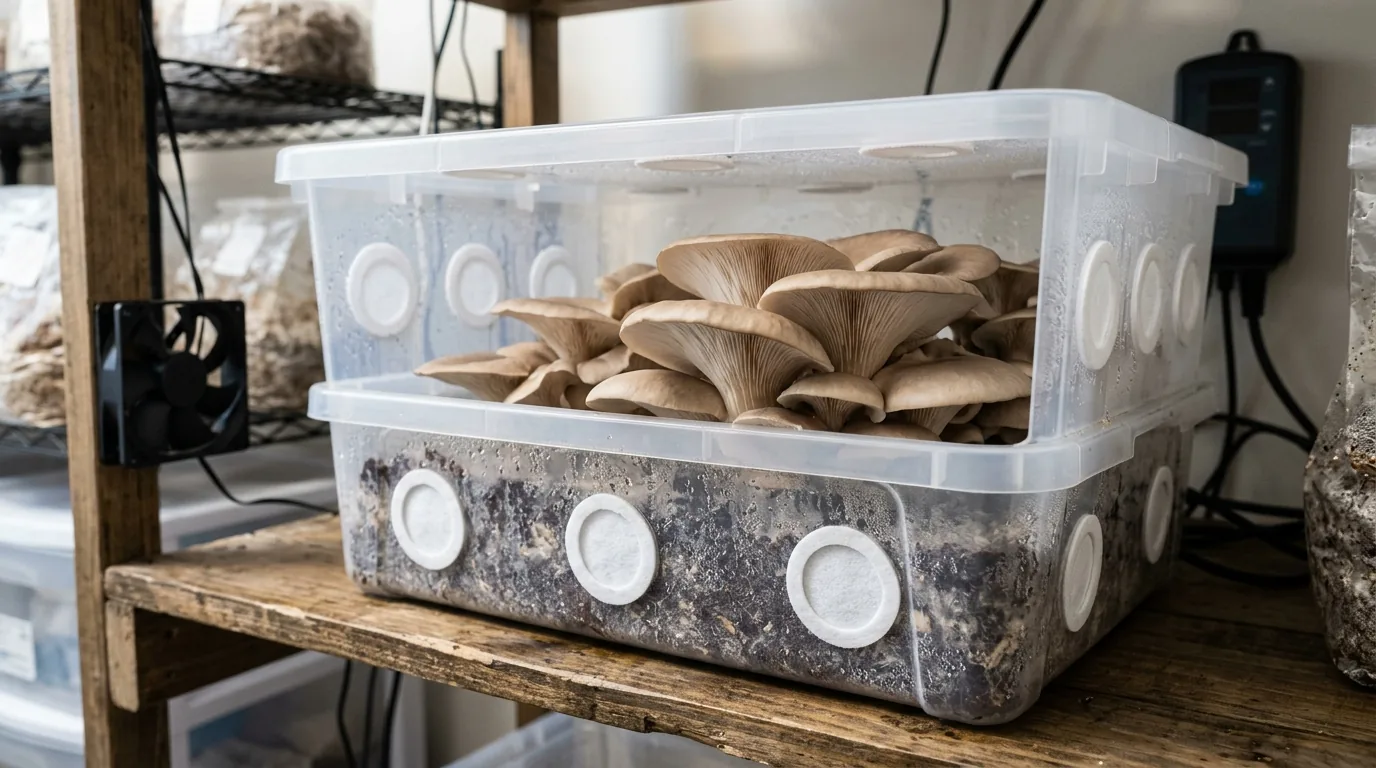
Option 1: The Shotgun Fruiting Chamber (SGFC)
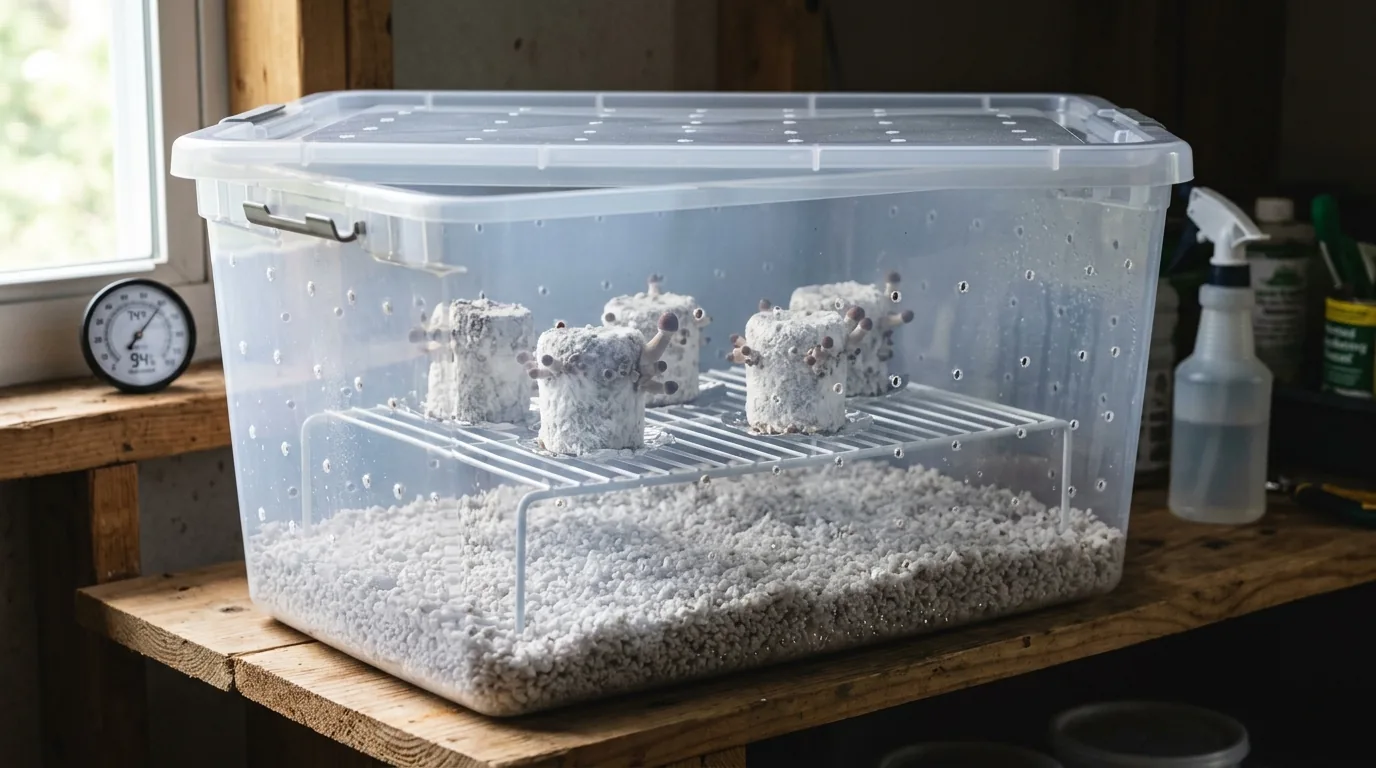
The simplest and most beginner-friendly design.
Materials:
- Clear 60-66 quart plastic storage tote
- 1/4" drill bit
- Perlite (horticultural, not fine)
Construction:
- Drill 1/4" holes on all six sides of the tote — including bottom — spaced approximately every 2 inches
- Add 4-6 inches of perlite to the bottom of the tote
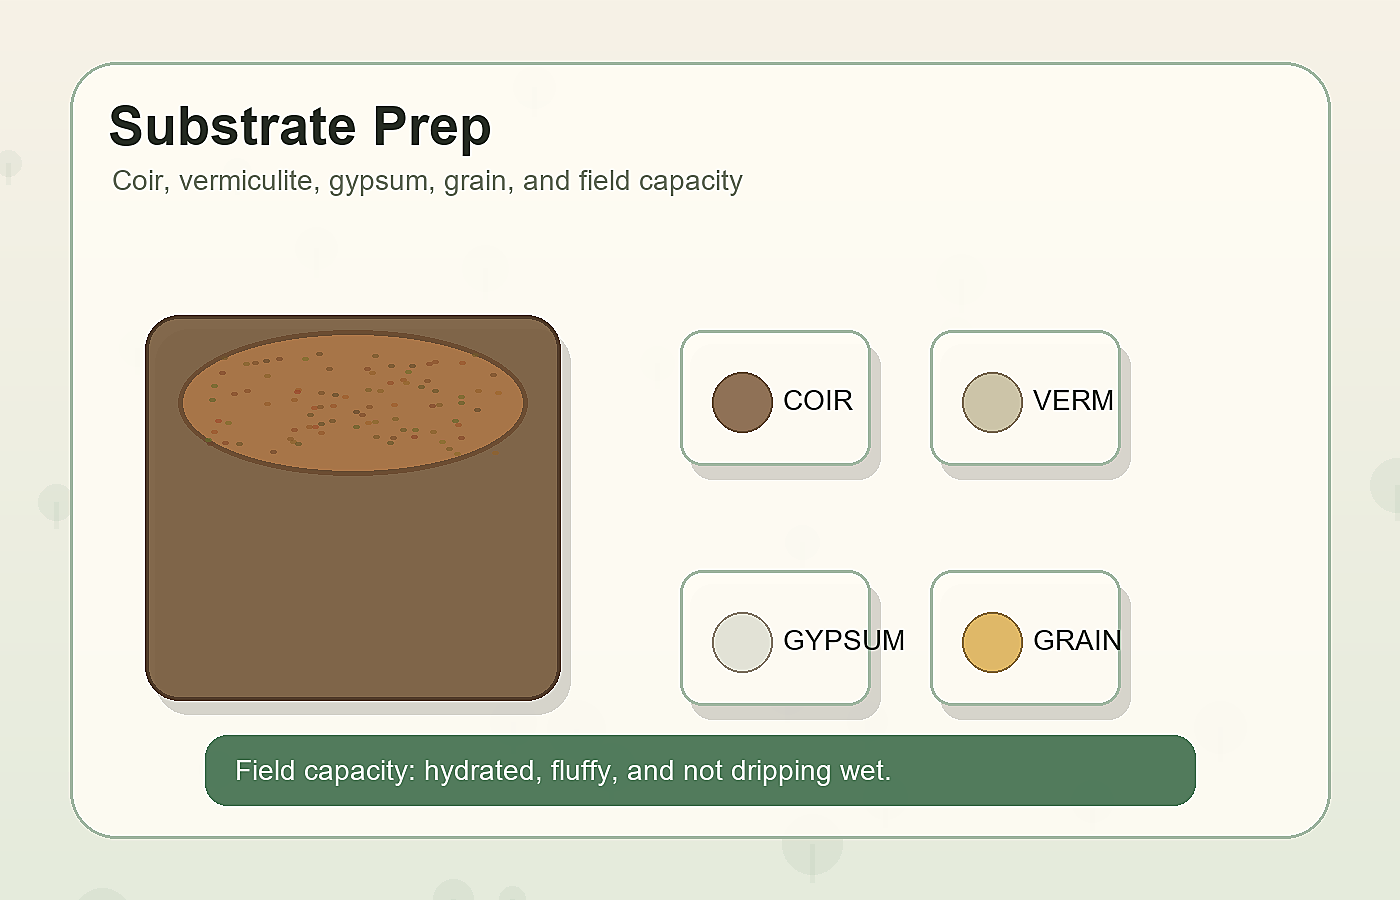
- Wet perlite until water runs out the bottom holes (field capacity)
Operation:
- Place colonized substrate (birthed cakes or bulk substrate tub) on top of the perlite
- Elevate substrate above perlite on a wire rack or foil strips so FAE circulates
- Fan and mist 3-4x daily: remove lid, fan 30 seconds to exchange air, replace
- The perlite evaporates passively, maintaining humidity between fanning
Pros: No equipment cost beyond tote and perlite; reliable; beginner-friendly Cons: Manual misting and fanning 3-4x daily; less consistent humidity than automated systems
Option 2: The Martha Tent Setup
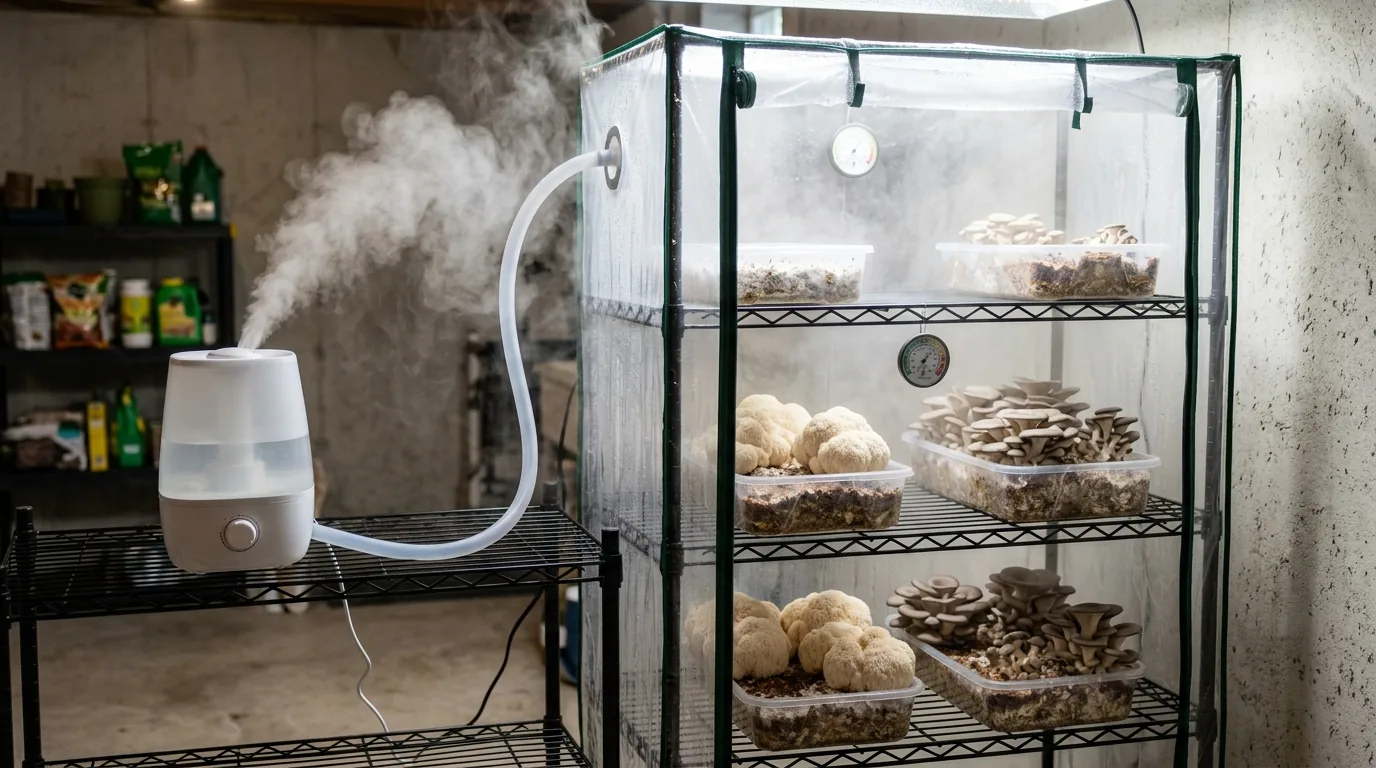
A midpoint between the SGFC and fully automated setups.
Materials:
- Wire shelving rack with tent enclosure ("Martha tent" — sold for greenhouse use)
- Ultrasonic humidifier
- Small fan (USB or computer fan)
- Hygrometer
Operation:
- Humidifier fills tent passively based on timer or hygrometer reading
- Fan provides FAE — typically runs on a separate timer, pulsing every few minutes
- Substrate trays rest on wire shelves within the tent
Pros: Semi-automated; scalable to multiple trays; more consistent humidity Cons: More setup cost ($80-150); requires calibration
Option 3: Automated Grow Tent
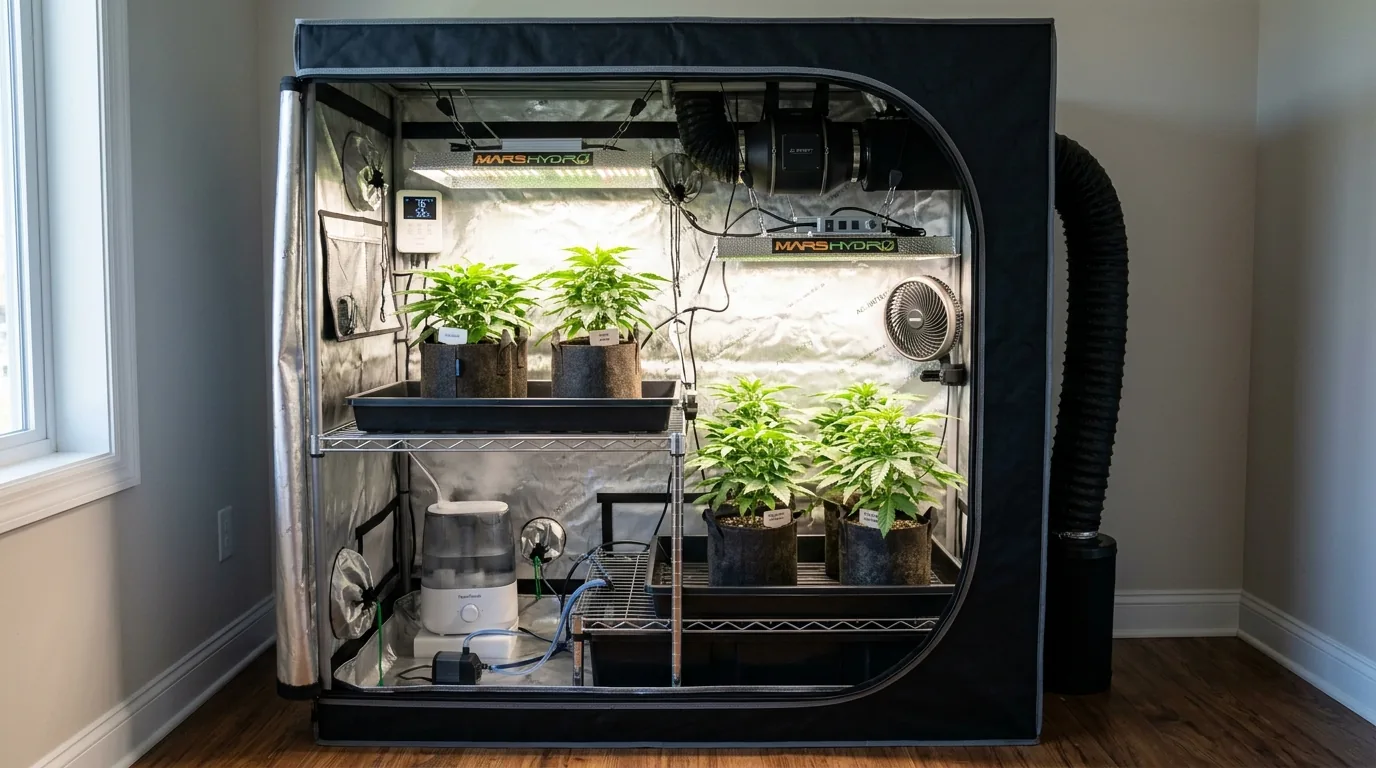
For serious intermediate and advanced cultivation.
Materials:
- Grow tent (2'x2' or larger)
- Ultrasonic humidifier with humidity controller (Inkbird or similar)
- Inline fan with speed controller
- Carbon filter (for odor management)
- Temperature controller
- Hygrometer with data logging
Operation: Humidity and temperature are maintained automatically. FAE is continuous at controlled rate. Humidifier fires when RH drops below 90%; fan runs continuously at low rate with higher surges for FAE.
Pros: Consistent environment; hands-off once dialed in; maximum yield potential Cons: Higher setup cost ($200-400); more complex troubleshooting
Environmental Parameters by Stage
| Stage | Temperature | Humidity | FAE | |-------|------------|---------|-----| | Pinning initiation | 70-74°F | 95-100% | Low — minimal disturbance | | Pin development | 72-76°F | 90-95% | Moderate | | Fruiting body development | 74-77°F | 88-92% | Higher — mushrooms need more O₂ | | Late flush | 72-75°F | 85-90% | Moderate |
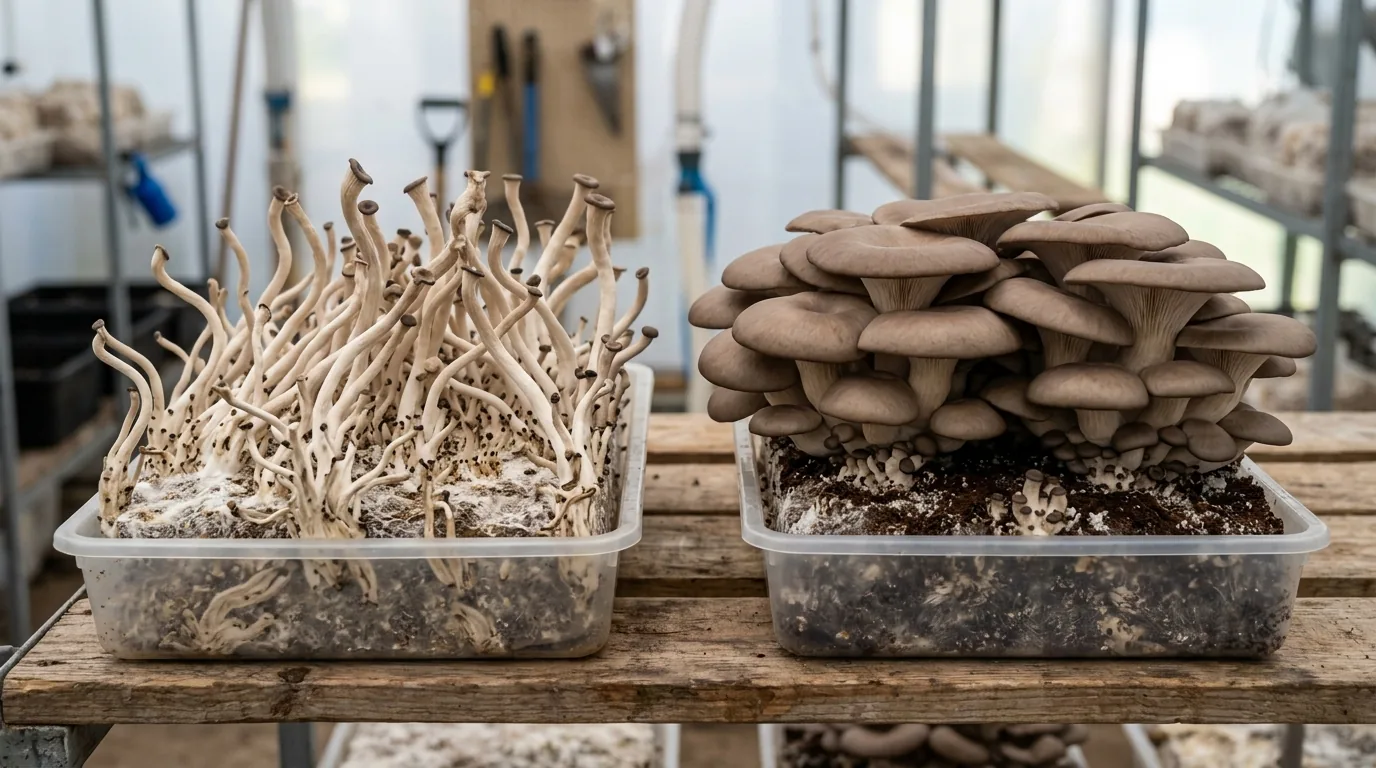
Common Problems and Causes
No pins after 2 weeks on substrate: Check humidity (too low), temperature (too cold or hot), CO₂ (insufficient FAE), or light (no light cue)
Long, thin stems with small caps ("stretching"): CO₂ too high — increase FAE frequency or duration
Cracked or splitting caps: Humidity too low during development; mushrooms drying before maturity
Aborts: Small pins that stop developing and turn black. Often caused by humidity fluctuation or temperature fluctuation during early pin development.
Green or black spots on substrate: Contamination — remove affected areas immediately or discard substrate
Harvesting
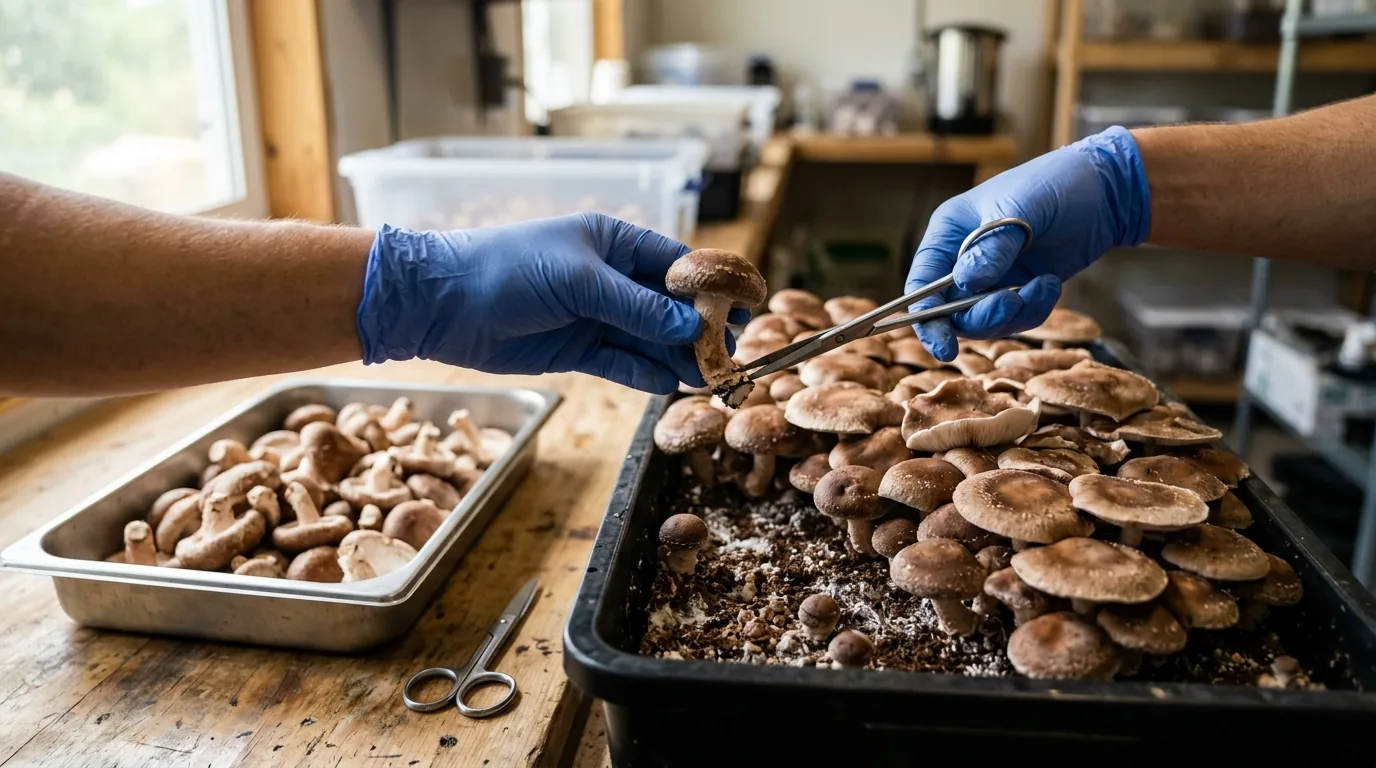
Harvest before or as the veil beneath the cap begins to tear. Once the veil tears, the mushroom is releasing spores — this is when potency is near maximum but the mushroom will soon deteriorate.
Twist and pull rather than cutting — cutting leaves a stub that can be a contamination site. After harvesting, clean the substrate surface of any remaining stumps and allow it to rest before the next flush.
Common Problems & Troubleshooting
See the Contamination Guide for common issues.
Tips for Success
Take notes at every stage. Consistency beats perfection.