Spore Syringe Guide: Selection, Use, and Storage
Everything you need to know about Spore Syringe Guide: Selection, Use, and Storage — from materials to first harvest.

What You'll Need
- See full supply list in guide below.
Find grow supplies at vendors in our Directory.
Step-by-Step Process
Spore Syringe Guide: Selection, Use, and Storage
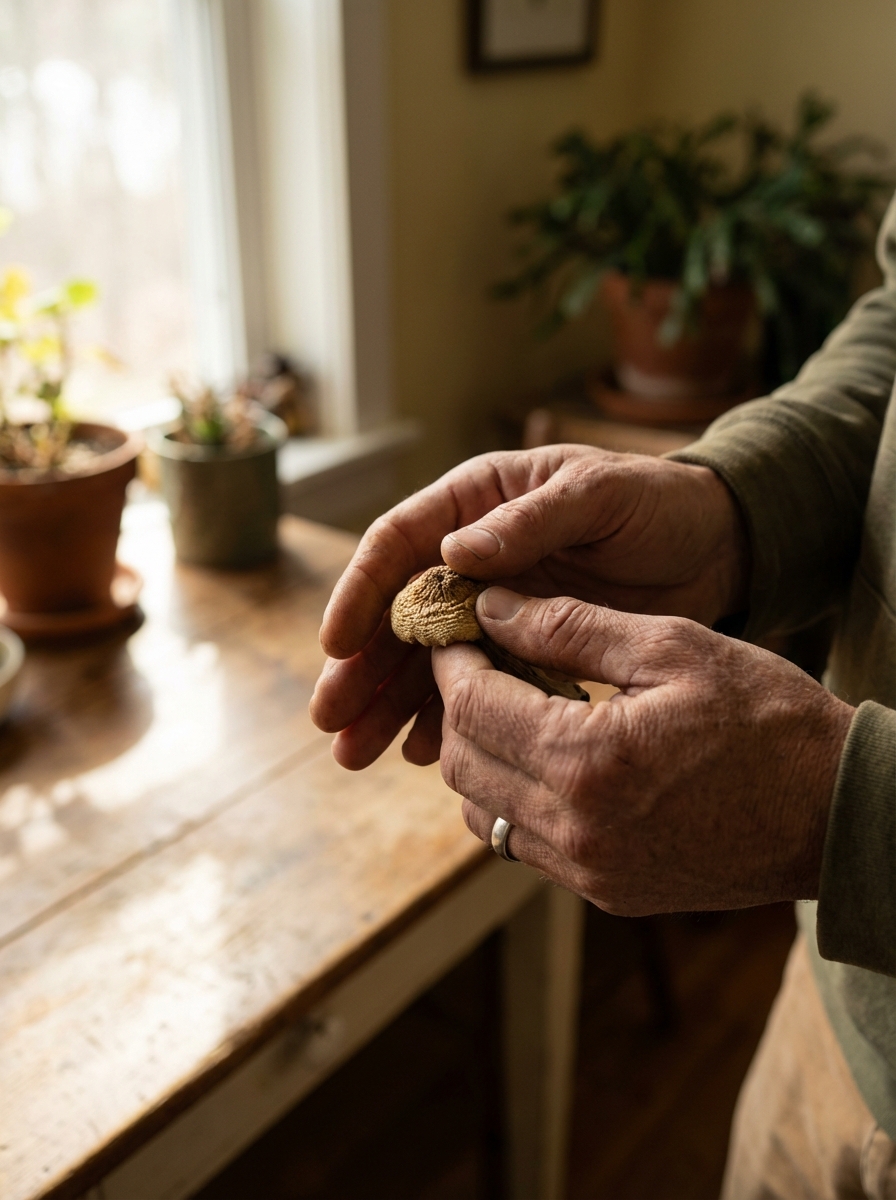
A spore syringe is the standard starting point for most home cultivators — a sterile water suspension of Psilocybe cubensis (or other species) spores, drawn into a syringe for inoculation. This guide covers how to evaluate spore syringe quality, how to use them correctly, how to store them, and when to choose liquid culture instead.
What's in a Spore Syringe
A spore syringe contains:
- Sterile water (10–20ml, typically)
- Spores in suspension — microscopic reproductive cells that do not contain psilocybin and are therefore legal to purchase in most US states
- Optional: nutritive medium — some vendors add a tiny amount of sugar or malt to encourage spore viability; most do not
Spores in water suspension remain viable if stored correctly. Unlike liquid culture (which contains actively metabolizing mycelium), spores are dormant and more shelf-stable.
Spore syringes are sold for microscopy in most states. California, Georgia, and Idaho prohibit spore sales that are intended for germination. In all other states, purchasing a spore syringe is legal regardless of intended use.
Evaluating Spore Syringe Quality
Not all spore syringes are equal. Quality indicators:
Visible spore clumps: In a good syringe, you can see fine dark speckling or small clumps of spores. The water should be slightly cloudy or hazy. Completely clear water may indicate low spore density.
Sterile water: The water should be clear, not yellow, brown, or cloudy in an organic way. Discoloration can indicate contamination in the syringe. Do not use a contaminated syringe.
Reputable vendor: The major risk with spore syringes is contamination from poor production practice. Established vendors with community reviews have an incentive to maintain quality. New or unreviewed vendors carry higher risk.
Needle gauge: Most syringes ship with 16–18g needles. These are appropriate for spore syringes. Very thin needles (22g+) can clog; very large needles (14g or below) create unnecessarily large inoculation holes.
Using a Spore Syringe
Preparation
- Flame-sterilize the needle before each use: hold the flame of a lighter to the needle tip until it glows orange-red. Allow to cool 10–15 seconds before use.
- Work in a still air box (SAB) or near a laminar flow hood to minimize airborne contamination during inoculation.
- Wipe inoculation ports with 70% isopropyl alcohol — wait for it to dry before inserting the needle.
Inoculation Technique
For PF Tek jars (brown rice flour/vermiculite):
- Insert needle through self-healing injection port or through a foil layer
- Inject 0.5–1.0cc per jar at 4 points around the jar, close to the glass where you can observe colonization
- Multiple injection points speed colonization
For grain jars/bags (rye, wheat, oat grain):
- Use a self-healing injection port or an injection-port bag
- Inject 1–2cc per quart jar
- Shake the jar after inoculation to distribute spores throughout grain
For Uncle Ben's (sterilized rice bags):
- Flame sterilize needle
- Inject through the bag corner at a 45-degree angle — bag plastic self-seals after injection
- 1–2cc per bag
How Much to Use
- Per PF Tek jar (1/2 pint): 0.5–1.0cc
- Per grain jar (quart): 1–2cc
- Per bulk sub bag (5 lb): 2–3cc (direct inoculation is not recommended; use grain spawn as intermediary)
A 10cc syringe contains enough spores for 5–20 jars depending on dose per jar.
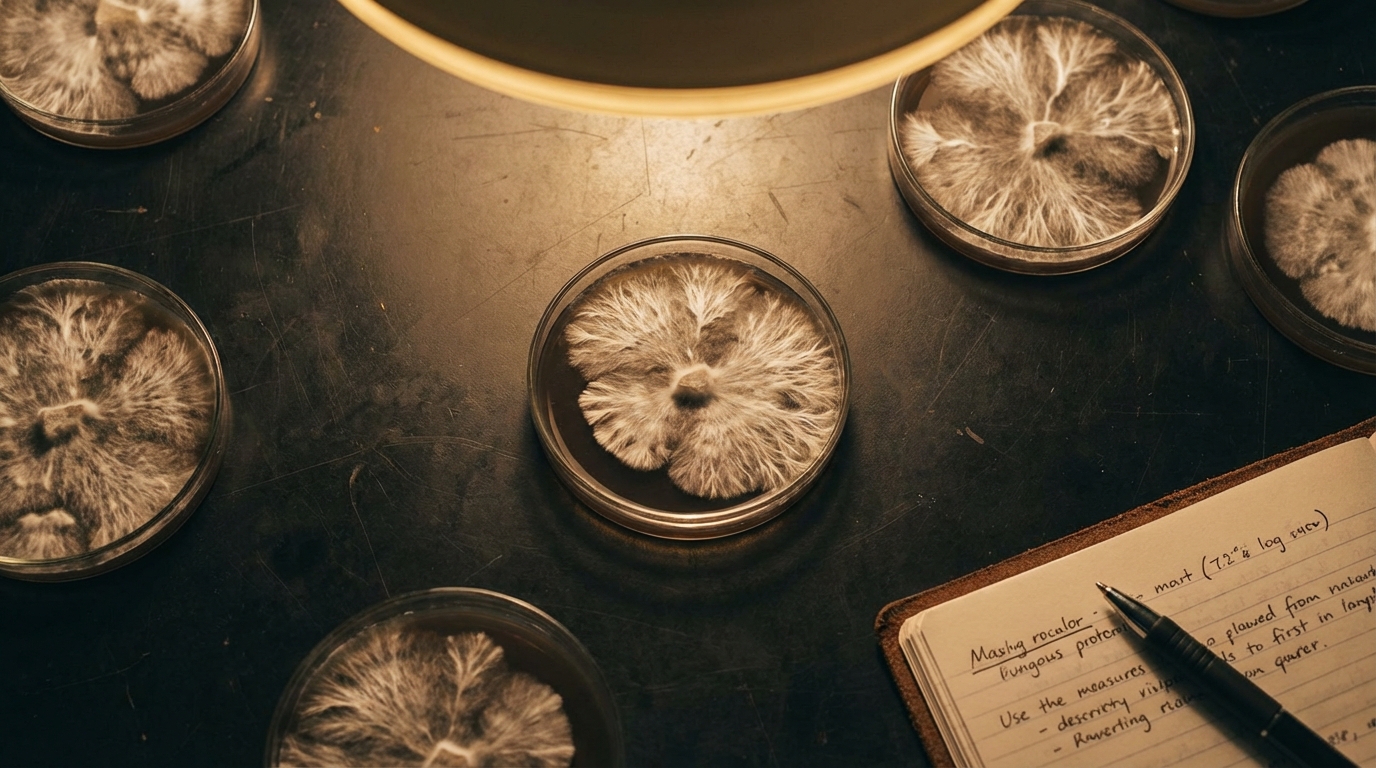
Spore-to-Mycelium: What to Expect
After inoculation:
- Days 1–5: No visible growth — spores are germinating
- Days 5–14: First mycelium becomes visible — white fuzzy growth at injection points
- Days 14–28: Colonization spreads throughout the substrate
- Contamination check: Green, yellow, orange, or red growth indicates contamination; isolate immediately
Colonization time varies with:
- Temperature (optimal: 75–80°F for cubensis)
- Spore density per jar
- Substrate nutrition level
When to Discard a Syringe
Discard if:
- The water is clearly colored (yellow, orange, brown) — bacterial contamination
- You see growth in the syringe itself — the syringe is contaminated
- More than 18–24 months old even if stored correctly
Consider discarding if:
- Zero colonization after 21+ days in correct conditions (old or dead spores)
- Low germination across multiple jars from the same syringe
Storage
Spore syringes store well at refrigerator temperatures (35–45°F):
- Replace the needle tip with the capped plastic tip before storage
- Keep in a sealed bag to prevent desiccation
- Expected viability: 6–18 months refrigerated; up to 24 months in ideal conditions
Do not freeze spore syringes — ice crystal formation damages spore cell walls and destroys viability.
Spore Syringe vs. Liquid Culture
Choose spore syringe when:
- Starting a strain for the first time
- You want to maintain genetic diversity (each spore is genetically unique)
- You want a legal, easily shipped format
- You're on a tight budget
Choose liquid culture when:
- You want faster, more reliable colonization (LC is 2–4x faster)
- You have a proven culture you want to propagate
- You need to inoculate a larger quantity of grain
The practical workflow for many cultivators: start with a spore syringe → observe colonization → select the best-performing jar → expand to grain → make liquid culture from the best grain jar → use LC for all future runs of that strain.
Reputable Spore Vendors
- Premium Spores — premiumspores.com
- Sporeworks — sporeworks.com
- Ralphsters Spores — ralphstersspores.com
- Mushroom Prints — mushroomprints.com
Research current community reviews before purchasing — vendor quality changes over time.
Common Problems & Troubleshooting
See the Contamination Guide for common issues.
Tips for Success
Take notes at every stage. Consistency beats perfection.