Sterilization and Pasteurization Guide for Mushroom Cultivation
Everything you need to know about Sterilization and Pasteurization Guide for Mushroom Cultivation — from materials to first harvest.
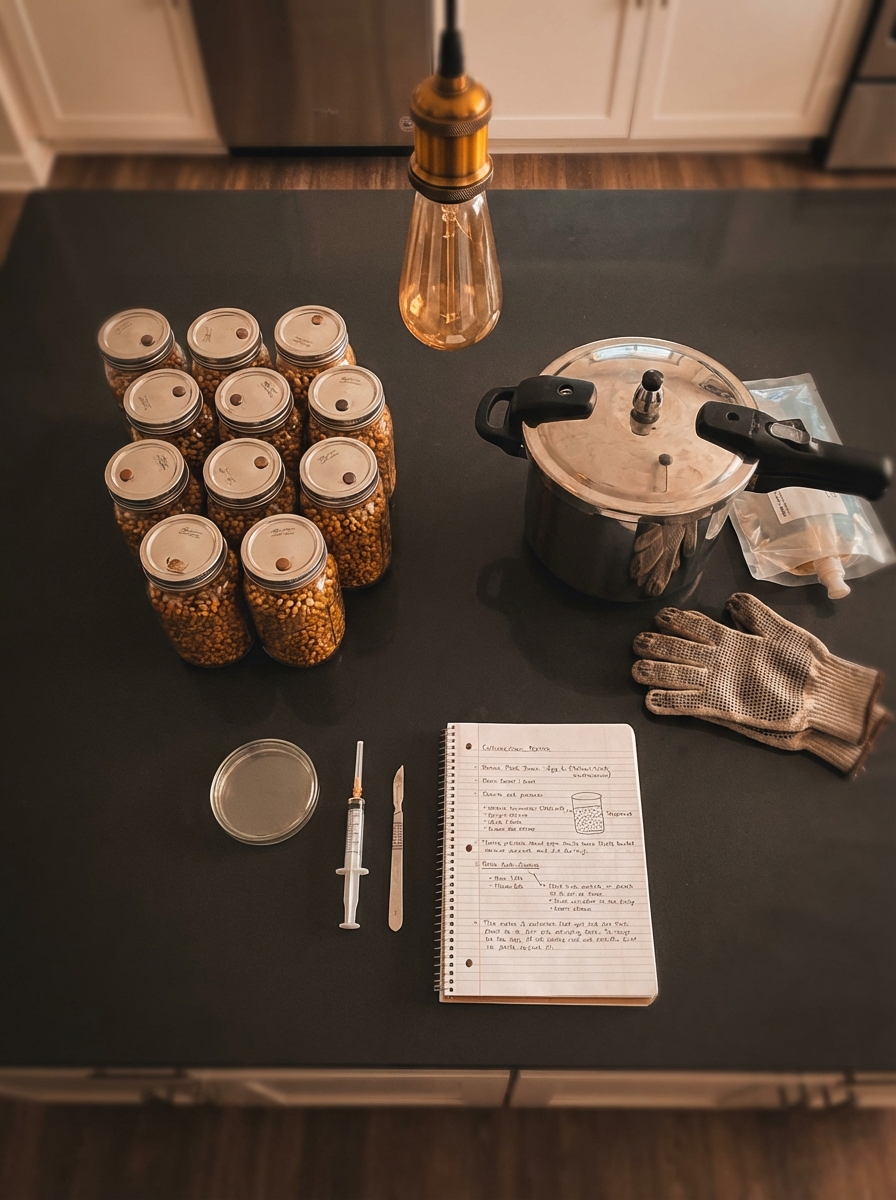
What You'll Need
- See full supply list in guide below.
Find grow supplies at vendors in our Directory.
Step-by-Step Process
Sterilization and Pasteurization Guide for Mushroom Cultivation
Contamination is the primary cause of failed mushroom grows. Understanding the difference between sterilization and pasteurization — and knowing which to use for which substrate — is foundational knowledge for any cultivator. This guide covers both techniques, the equipment required, and how to execute them correctly.
Sterilization vs. Pasteurization: The Key Difference
Sterilization eliminates all living organisms — bacteria, mold spores, fungi, and viruses — from the substrate. It requires temperatures above 250°F (121°C) under pressure, typically in a pressure cooker or autoclave. Required for grain spawn and agar.
Pasteurization kills most but not all organisms — it targets the most competitive contaminants (bacteria, some molds) while leaving some heat-resistant bacterial endospores alive. Temperature range: 140–185°F for 1–2 hours. Appropriate for bulk substrates like coco coir, straw, and master's mix.
Why not sterilize everything? Over-sterilizing bulk substrate destroys beneficial competitive organisms that actually help suppress some contaminants. Pasteurization achieves the right balance for bulk substrates. For grain and agar — where total sterility is essential because the high-nutrient environment is an excellent incubator for contaminants — pressure sterilization is required.
Equipment for Sterilization
Pressure Cooker (Home Scale)
A 23-quart pressure cooker is the standard home-scale sterilization tool. Presto makes the most widely used model. Key requirements:
- Weighted gauge or dial gauge rated to reach 15 PSI
- Sealing ring in good condition (inspect before every use)
- Jiggler weight that regulates pressure
Setup for grain jars:
- Fill jars 2/3 with prepared grain (rye, wheat berries, corn, etc.)
- Add polyfill or tyvek filter disks to jar lids for gas exchange
- Load into pressure cooker on a trivet (prevents direct bottom heat)
- Add 2–3 inches of water in the bottom of the cooker (not above the trivet level)
- Seal and heat on high until weight begins jiggling steadily
- Reduce heat to maintain steady jiggling at 15 PSI
- Process for 90 minutes for quart jars, 2.5 hours for larger batches
- Allow to cool overnight before inoculating — inoculating hot jars creates condensation that promotes bacterial growth
Common mistakes:
- Not reaching 15 PSI (lower pressure = lower temperature = incomplete sterilization)
- Inoculating while still warm
- Loading too many jars, reducing heat circulation
- Running dry — always check water level before starting
Autoclave (Lab/Institutional Scale)
Autoclaves achieve the same result as pressure cookers at larger scale with more precision. Not necessary for home growing but used in commercial operations and research labs.
Grain Preparation Before Sterilization
The grain preparation process is as important as sterilization itself:
Rye berries (most popular):
- Rinse thoroughly — remove surface debris and broken kernels
- Simmer in water 15–20 minutes until grains are soft but not splitting
- Drain thoroughly and allow surface moisture to dry (spread on towel 20–30 min)
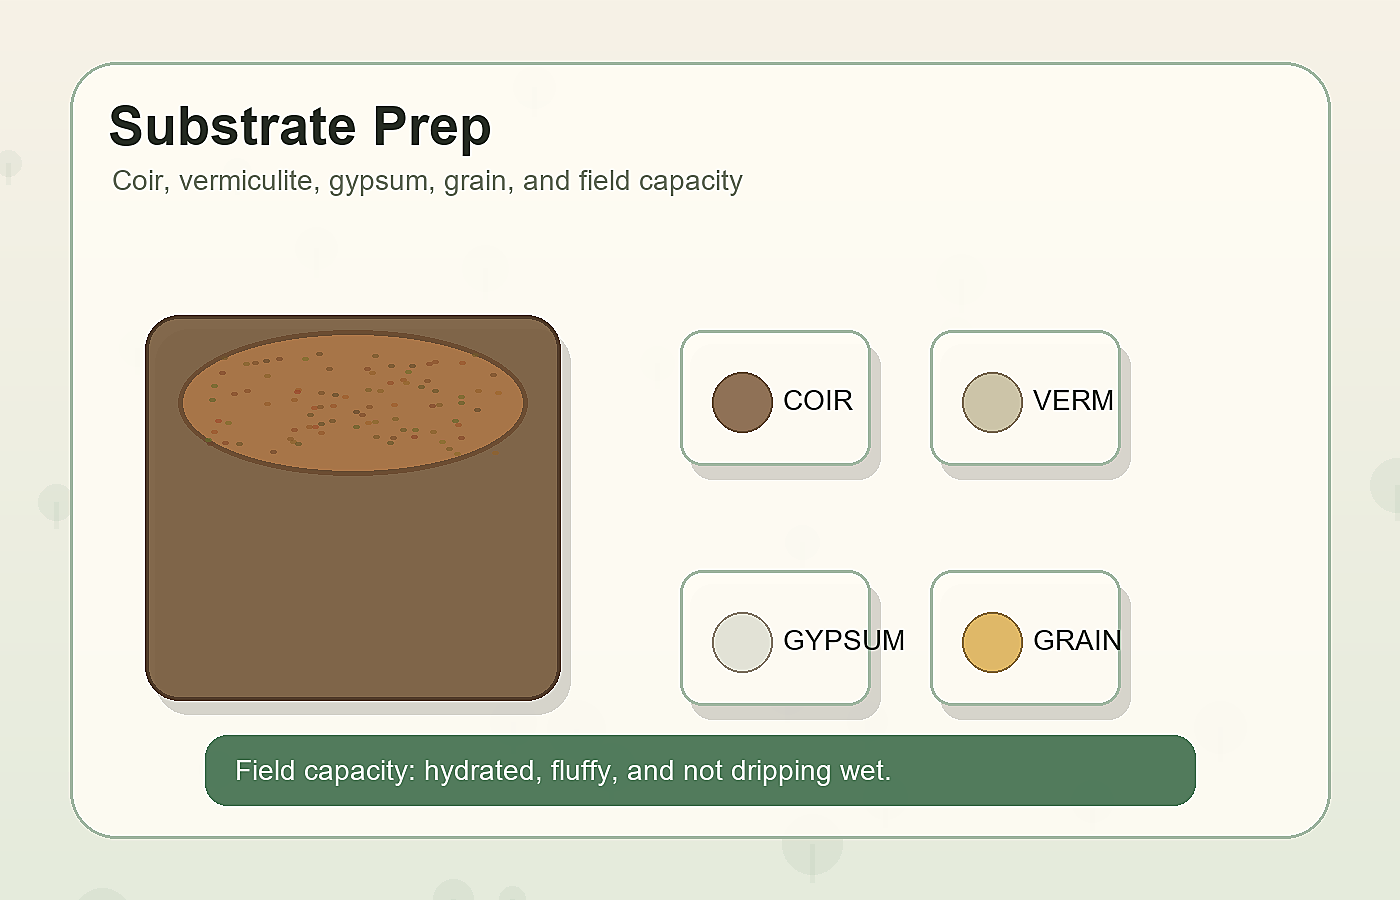
- "Field capacity" for grain: squeeze a handful — should clump but no water should drip
Why field capacity matters: Too wet = bacterial endospore problems. Too dry = slow colonization and tougher mycelium growth.
Wheat berries: Similar prep to rye; slightly lower nutrient density, slightly lower contamination risk.
Wild bird seed (WBS): Often pre-milled and ready to use with less prep; rinse, simmer 10 min, drain well.
Brown rice: Higher starch content; tends to be stickier and more contamination-prone than rye. Soak in cold water 12–24 hours rather than simmering.
Pasteurization for Bulk Substrates
Hot Water Bath Pasteurization
The simplest method:
- Prepare substrate (coco coir + vermiculite at 50/50, or straw, or manure + coco)
- Boil large pot of water
- Pour boiling water over substrate in a bucket or tub
- Seal or cover and maintain at 140–185°F for 60–90 minutes
- Allow to cool completely to room temperature before use (usually overnight)
- Check field capacity after cooling — substrate should be moist but not dripping
Temperature matters: Below 140°F = insufficient pasteurization. Above 185°F for extended periods = partial sterilization of surface with uneven heat penetration — not ideal.
Steam Pasteurization (Oven Method)
- Load substrate in oven-safe pans or covered trays
- Set oven to 200°F
- Add a small pan of water to the oven for humidity
- Process 1–2 hours at 200°F
- Cool before use
Electric Roaster Pasteurization
A large electric roaster (18+ quart) is ideal for bulk substrate pasteurization:
- Fill roaster with prepared substrate
- Set to lowest setting that achieves 160–185°F
- Process 60–90 minutes with lid on
- Allow to cool with lid ajar
Agar (Plates and Slants)
Agar requires sterilization (pressure cooking) — it is an extremely rich nutrient medium that will grow any contamination present.
MEA recipe (malt extract agar):
- 15g malt extract
- 500ml water
- 7g agar powder
- Optional: 1g nutritional yeast
- Mix and heat until dissolved
- Pour into pressure-safe glass jars or bottles
- Sterilize at 15 PSI for 20–30 minutes
- In sterile environment (still air box or laminar flow hood), pour while still liquid into plates
- Allow to solidify before sealing
Still Air Box (SAB) vs. Laminar Flow Hood
After sterilization, you need a clean inoculation environment.
Still air box: A large plastic bin with arm holes cut in the side. Still air = no turbulence = no airborne spore movement. Inexpensive (~$0) and highly effective for home grows. Clean with isopropyl alcohol spray before use; let alcohol fumes settle 2–3 min before opening.
Laminar flow hood: Uses HEPA filtration to create a positive-pressure curtain of sterile air. More expensive ($200–$500 DIY, $500+ commercial) but enables more reliable work at scale. Requires maintenance (filter replacement every 3–5 years).
For most home growers, a SAB produces excellent results with much lower cost.
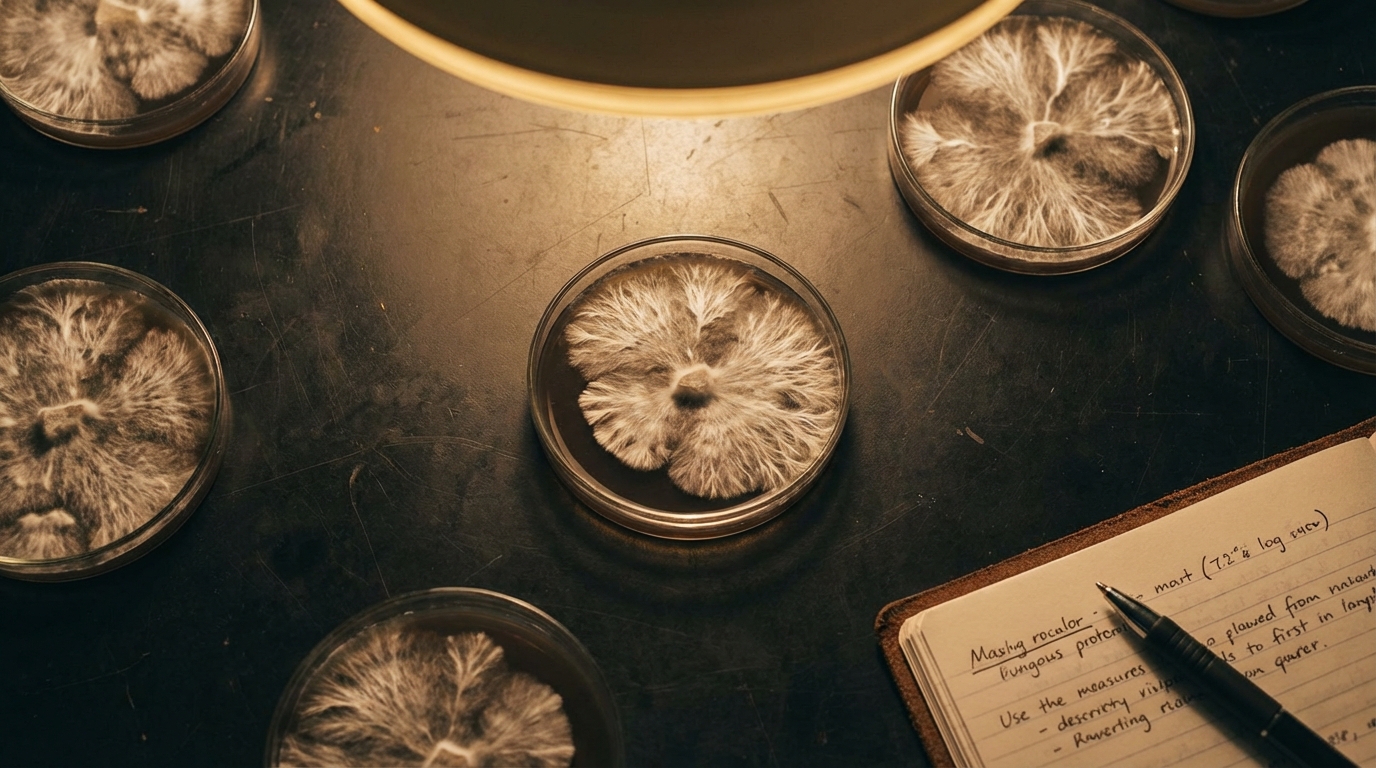
Contamination Indicators After Sterilization
If your grain jars or agar plates show the following, contamination entered post-sterilization (usually through inoculation):
- Green or black mold (Trichoderma, Aspergillus) — typically from poor sterile technique
- Pink, orange, or red growth — bacterial contamination (often Bacillus)
- Musty or sour smell — bacterial or fungal contamination
- No colonization after 2 weeks with confirmed viable spore source — possible contamination inhibiting growth
Contaminated grain should be disposed of in sealed bags in outdoor trash — not opened indoors.
Resources
- Shroomery.org: Most comprehensive community resource on sterilization technique
- Midwest Grow Kits: mwgrowkits.com — pressure cookers and grain spawn supplies
- Fully Mycellium: Equipment reviews and sterilization tutorials on YouTube
Common Problems & Troubleshooting
See the Contamination Guide for common issues.
Tips for Success
Take notes at every stage. Consistency beats perfection.