From Spore Print to Harvest: The Complete Cultivation Timeline
Everything you need to know about From Spore Print to Harvest: The Complete Cultivation Timeline — from materials to first harvest.
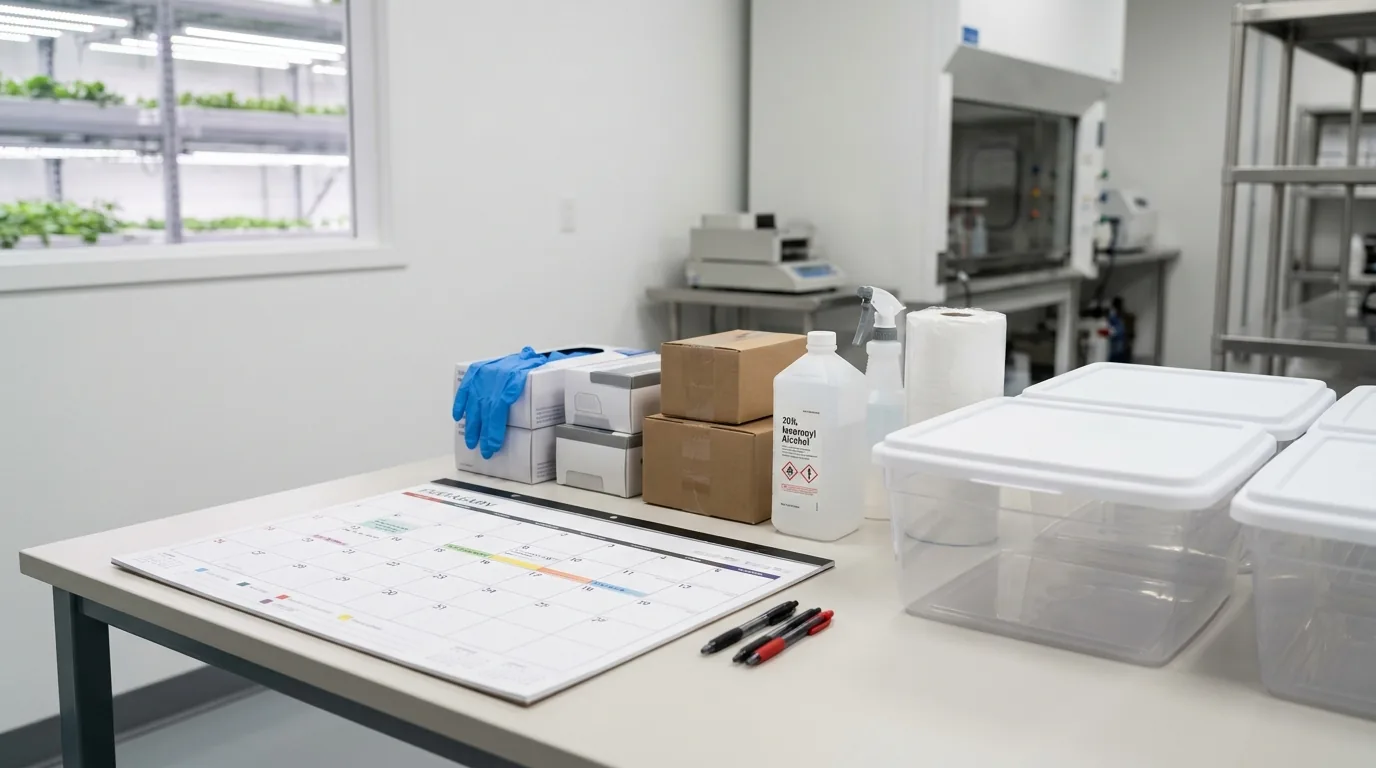
What You'll Need
- See full supply list in guide below.
Find grow supplies at vendors in our Directory.
Step-by-Step Process
From Spore Print to Harvest: The Complete Cultivation Timeline
One of the most common questions new cultivators ask is how long the whole process takes. The honest answer depends on your method, your species, and how quickly each stage goes — but a typical first grow of Psilocybe cubensis using grain and bulk substrate runs roughly 8–12 weeks from inoculation to first harvest. The timeline below covers each stage in sequence: what happens, what to watch for, and what can slow things down.
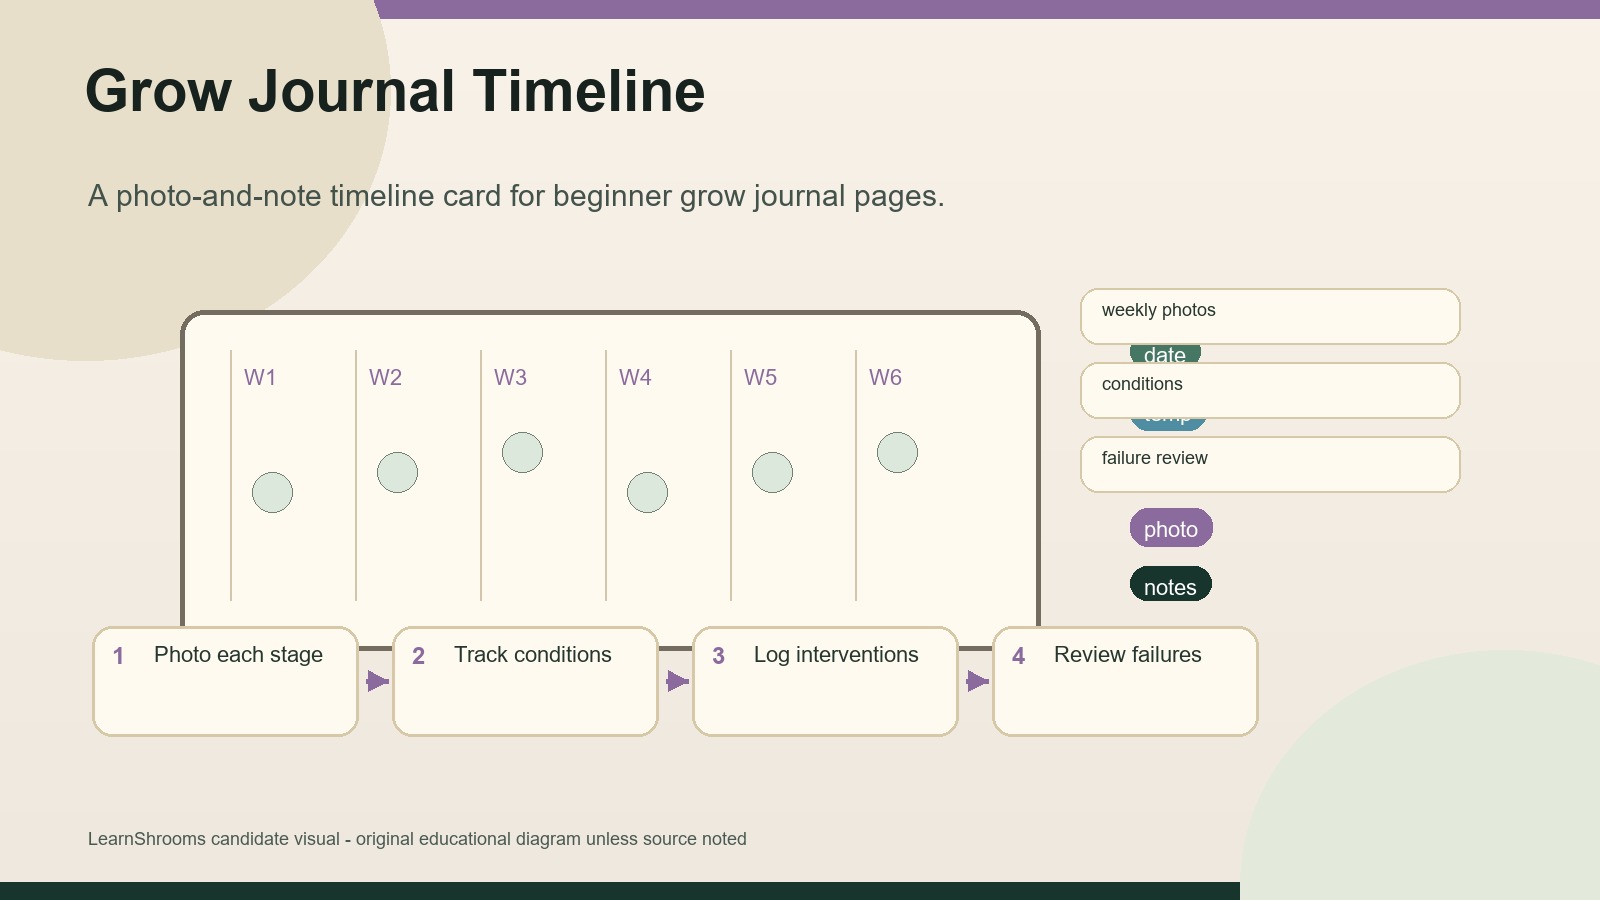
Timeline Safety Frame
Use the timeline as a documentation scaffold, not a promise:
- Start legal: If psilocybin cultivation is not clearly allowed where you live, use this schedule only for lawful gourmet species or classroom-style mycology concepts.
- Expect variation: Species, temperature, genetics, hydration, and contamination pressure can shift the timeline by weeks.
- One change at a time: When growth stalls, adjust a single variable and write it down before changing the next one.
- No rescue heroics: If contamination is visible or odor changes sharply, isolate, document, and discard safely.
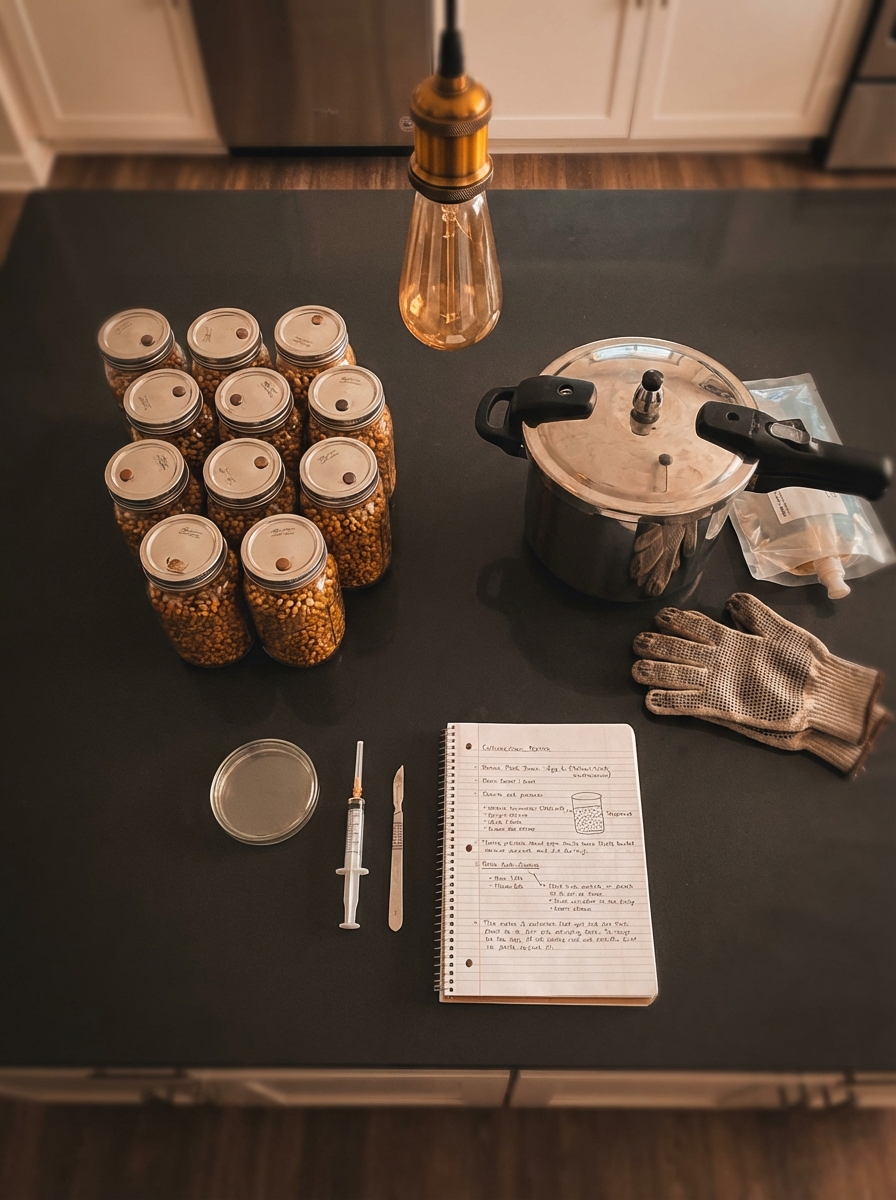
Week 1 — Preparation and Inoculation
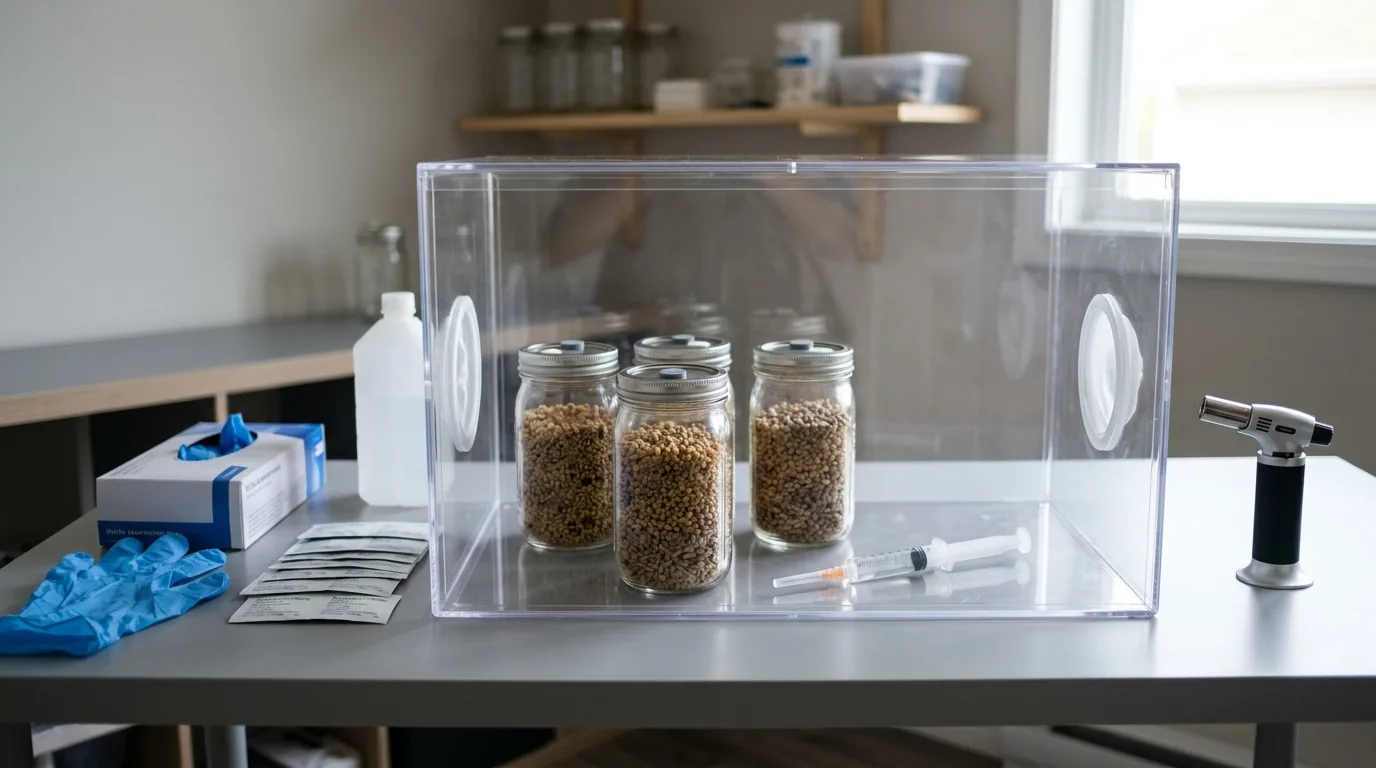
Before mycelium can grow, you need two things: a spore syringe (or other inoculant) and sterilized grain.
Acquiring spores: Spore syringes and spore prints are sold legally in most US states for microscopy research purposes. If making your own spore syringe, allow 1–3 days after preparing the syringe before use, giving time for any contamination from the printing process to show itself.
Preparing grain: Soak your grain (rye berries or wild bird seed) overnight, cook and surface-dry, load into quart mason jars, and sterilize in a pressure cooker at 15 PSI for 60–90 minutes. Allow jars to cool to room temperature — typically 12–24 hours — before inoculation.
Inoculation day: In a still air box or flow hood, wipe the self-healing injection port or foil covering with 70% isopropyl alcohol. Flame-sterilize the syringe needle. Inject 1–2ml of spore solution per quart jar, angling the needle toward the glass so spores contact the grain without pooling in the center. Seal the jar and move to your incubation space.
What to watch for: Any discoloration other than white in the first week is a red flag. The grain should look exactly as it did before inoculation.
Weeks 2–3 — Early Colonization
Spore germination typically begins within 3–7 days of inoculation, depending on temperature and spore viability. You will first see small white fuzzy patches on grain kernels near the injection site. As germination occurs across multiple injection points, these patches expand and begin growing toward each other.
Incubation conditions: 75–80°F is the sweet spot for most cubensis strains. Higher temperatures (above 85°F) stress mycelium and create conditions favorable for bacterial contamination. Lower temperatures (below 70°F) slow colonization significantly.
Shaking jars: When white mycelium is visible throughout roughly 30% of the jar — but before it has formed a solid knit — gently shake the jar to redistribute colonized grain. This breaks up mycelium and spreads it to uncolonized areas, accelerating overall colonization by giving the mycelium more surface area and points of contact. Shake only once; repeated shaking delays colonization.
Contamination risk is highest here. Anything green, black, pink, or orange is a contaminant. Remove contaminated jars from your grow space without opening them. White or off-white is normal mycelium. Yellow metabolites (liquid pooling or coloring on the grain) can appear with some strains and is usually not a problem, though persistent or spreading yellowing warrants monitoring.
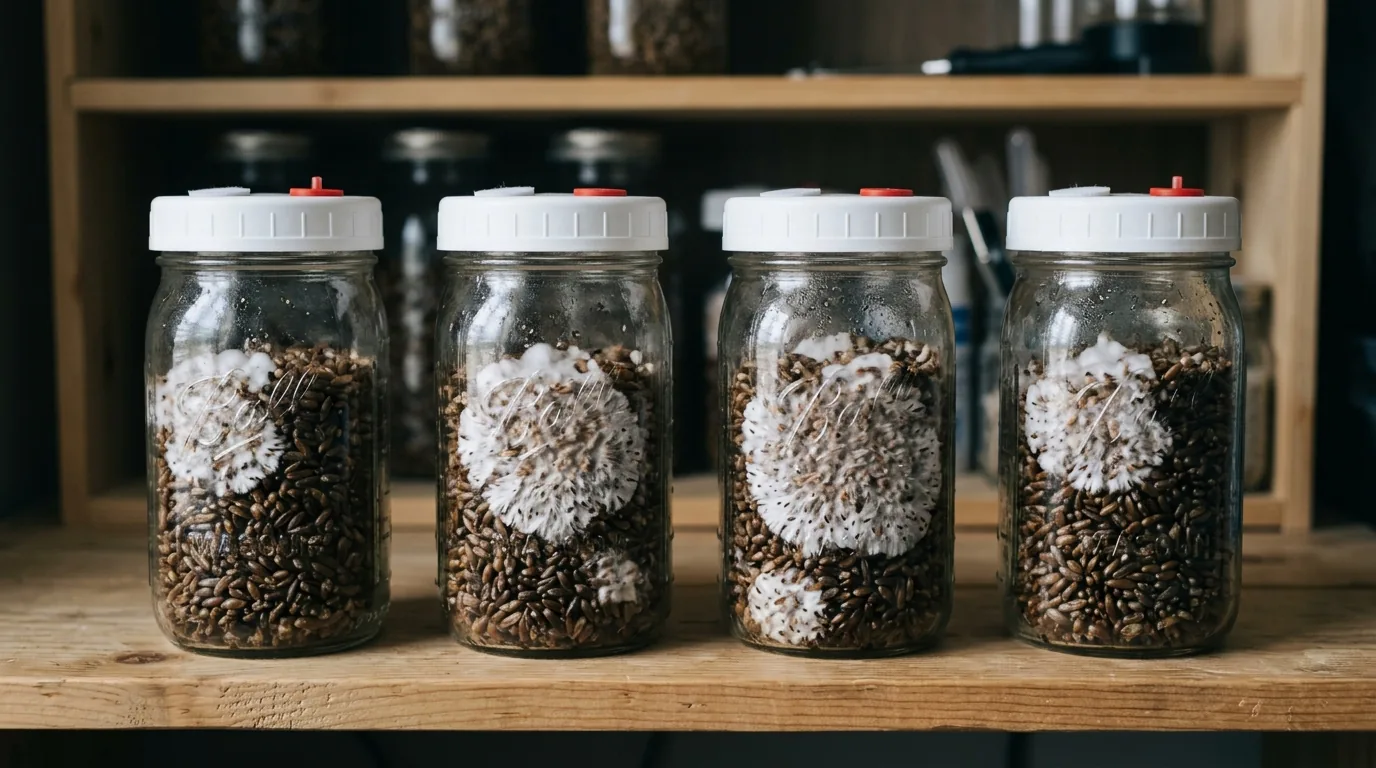
Weeks 3–5 — Full Grain Colonization
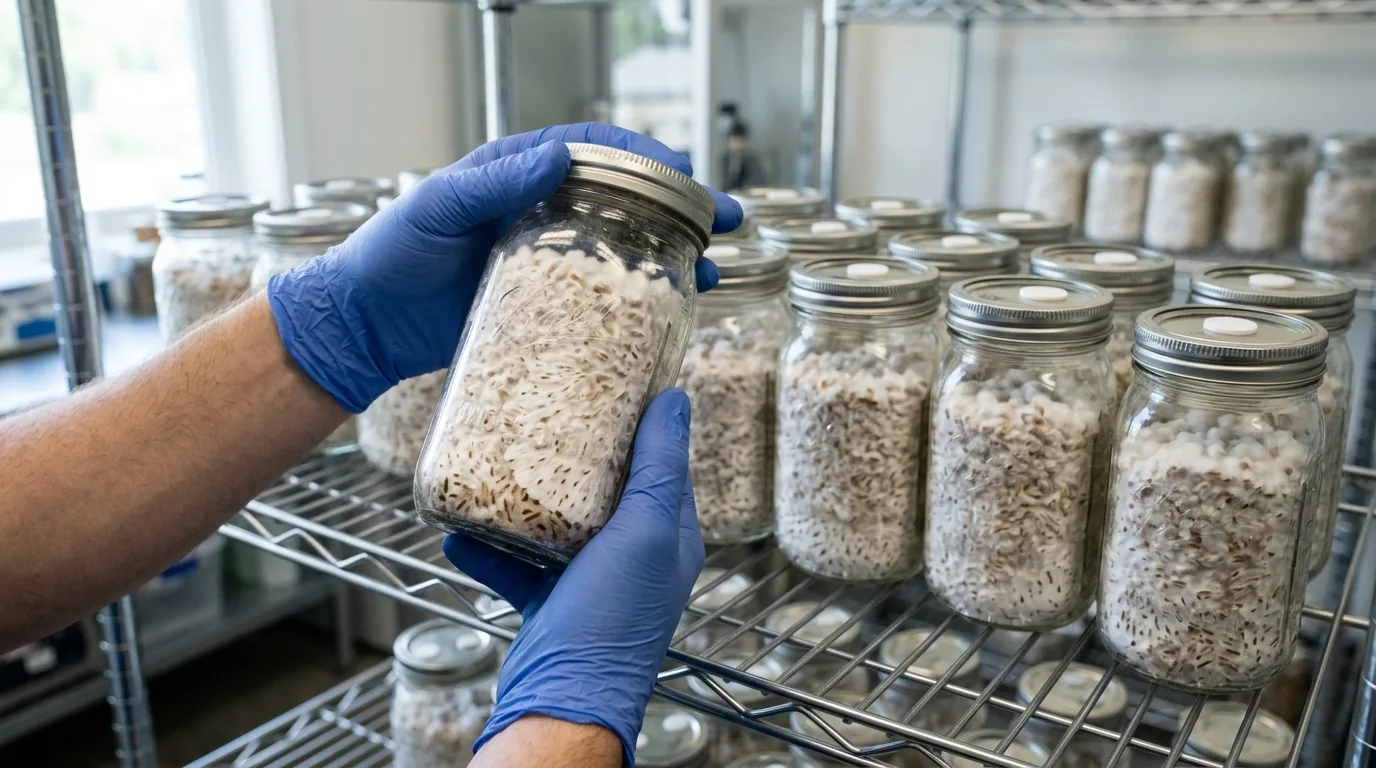
By week 3–5, well-inoculated jars will be approaching or reaching full colonization — the entire visible grain surface covered in white mycelium with no visible grain through the sides of the jar. Fully colonized grain is called "popcorn" colloquially because individual kernels visible through the glass appear whitened and bloated.
Signs of full colonization: Solid white mass throughout, no dark grain visible, mycelium knitting between kernels. Some strains produce visible aerial mycelium (fuzzy outgrowths extending upward) — this is normal.
Allow 5–7 days after visual full colonization before breaking and spawning. This "consolidation" period lets mycelium thoroughly penetrate every kernel and builds metabolic reserves for the bulk stage. Spawning prematurely to bulk substrate before full consolidation increases contamination risk.
Total time for this stage: Typically 14–28 days from inoculation, with variations based on strain, temperature, spore viability, and how evenly hydration was achieved in grain preparation.
Weeks 5–6 — Spawning to Bulk Substrate and Spawn Run

Breaking and spawning: In a still air box, break apart the colonized grain jar into individual grains (it will clump) and mix with your bulk substrate at a ratio of 1:1 to 1:4 (grain:substrate by volume). Higher grain ratios colonize faster and reduce contamination risk but use more of your spawn. Mix thoroughly in the tub.
The spawn run: Cover the tub and allow mycelium to colonize the bulk substrate. At 75–78°F, cubensis will typically colonize a 1:2 grain-to-substrate tub in 5–10 days. You can observe progress through clear tub sides — white mycelium spreading from grain pieces through the brown substrate, eventually forming a solid white layer.
Optional casing application: When the substrate surface shows 70–80% white coverage, apply a 0.5–1cm casing layer of pasteurized CVG or other casing material. This is optional for cubensis but improves pin density and moisture management.
Do not open the tub during the spawn run unless checking for contamination. Unnecessary airflow disrupts the CO2 layer that mycelium prefers during colonization.
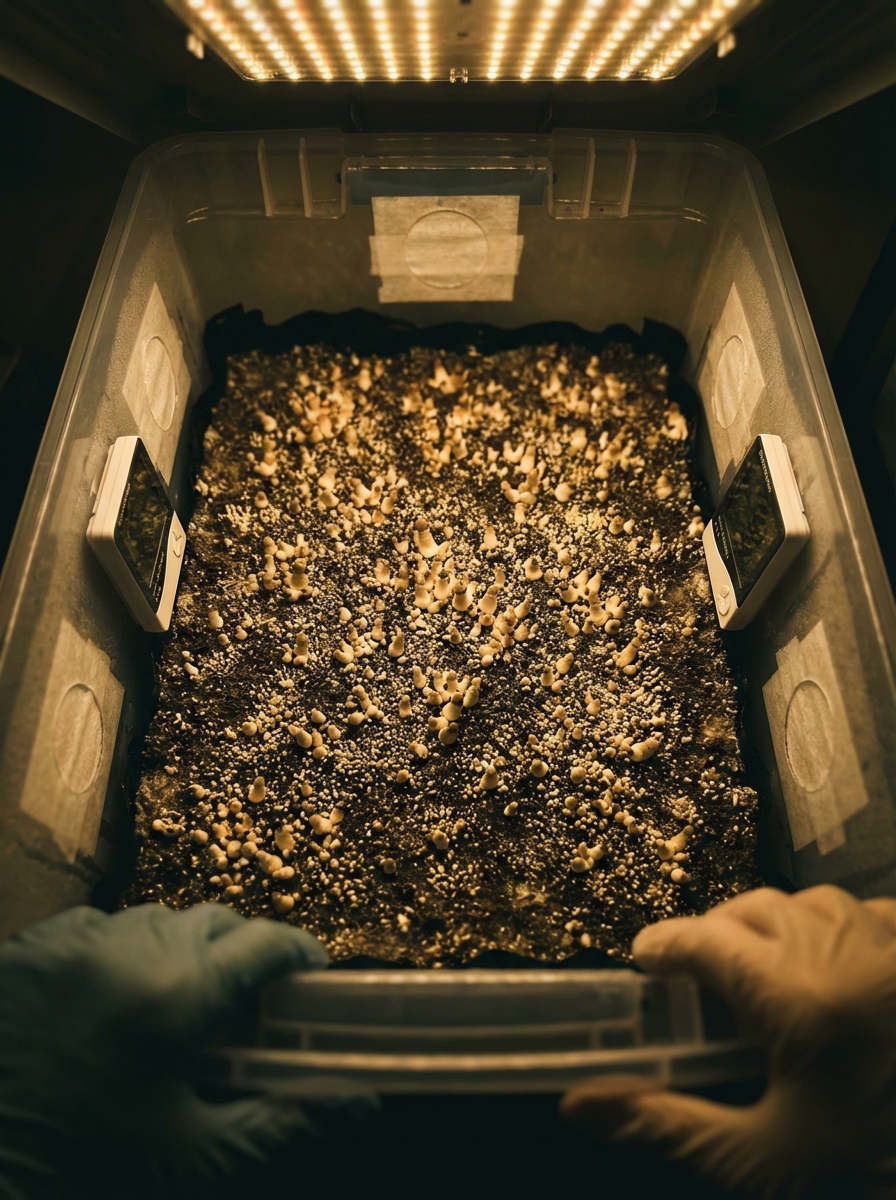
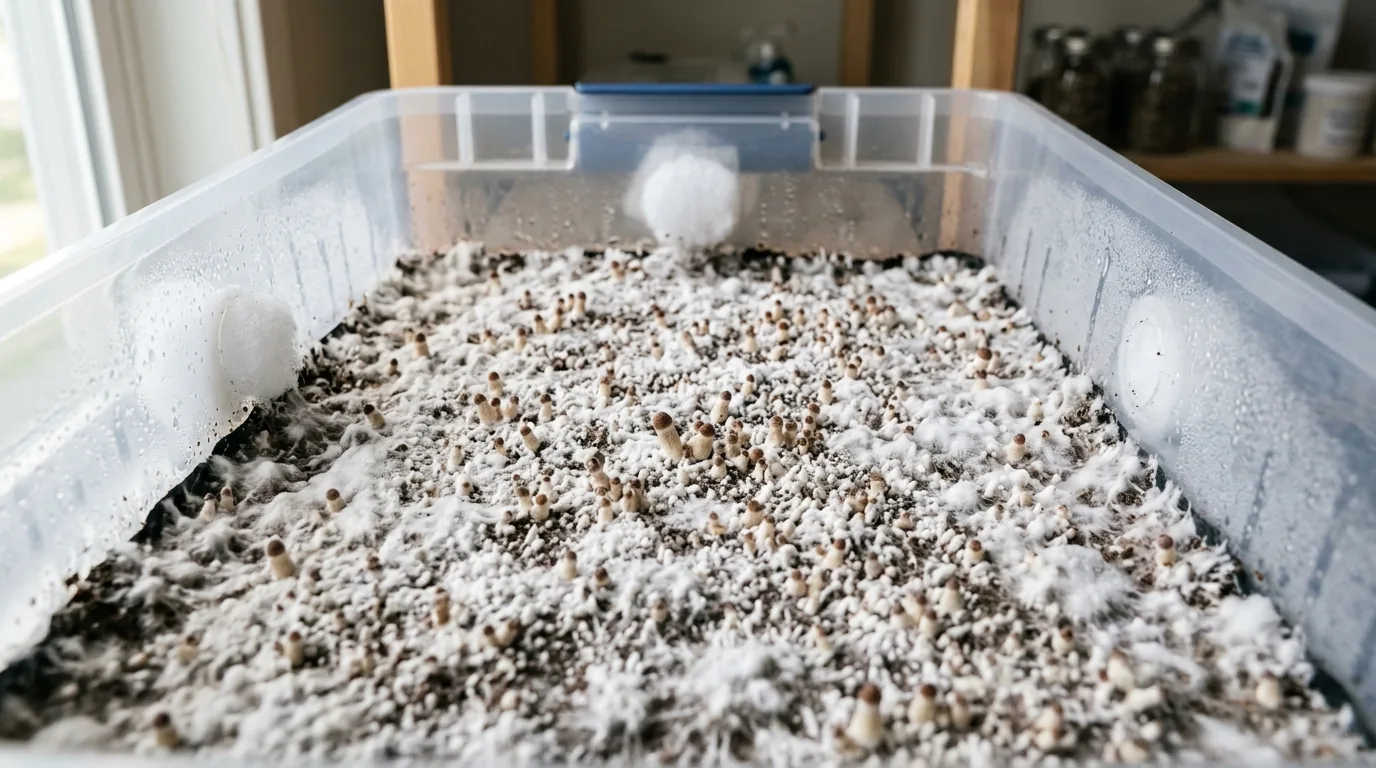
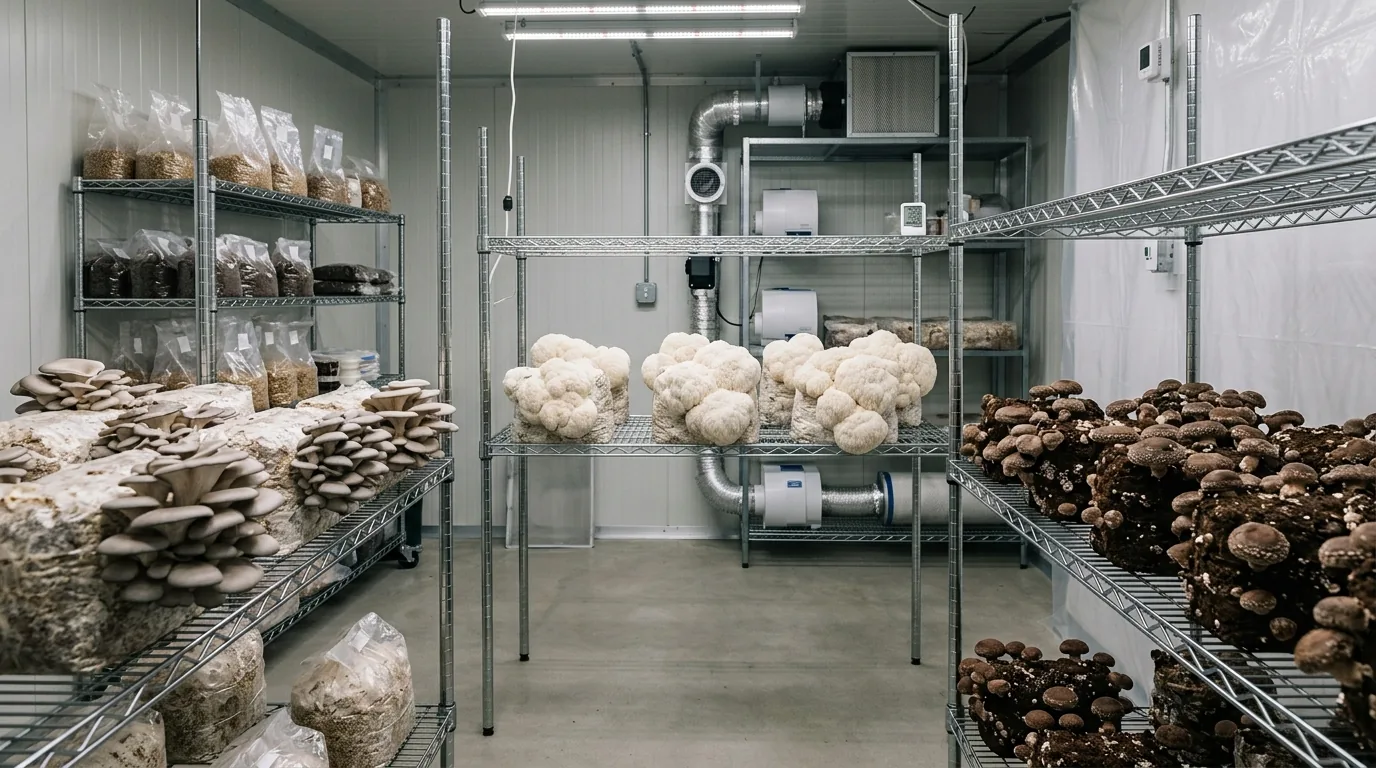
Weeks 6–8 — Fruiting Initiation and Pinning
When the substrate or casing surface is fully colonized, initiate fruiting conditions:
- Temperature: Drop to 70–75°F. The temperature differential signals the seasonal transition mycelium is responding to.
- Humidity: Raise to 90–95% relative humidity inside the fruiting chamber.
- Fresh air exchange (FAE): Fan or fan-assisted air exchange 2–4 times per day. CO2 accumulation above 1000ppm inhibits pinning.
- Light: 12 hours on/12 hours off of indirect light. Mycelium uses light directionally to orient pin development.
First signs of pinning: Within 3–10 days of fruiting initiation, you will see small white nodules — pinheads — forming at the casing or substrate surface. These are the primordia that will develop into mushrooms. Dense, evenly spaced pinning across the entire surface is the ideal result.
What to watch for: If pins form only at the edges of the tub, CO2 is too high in the center — increase fresh air exchange. If you see no pins after 14 days, check humidity (too low), temperature (too high), or CO2 accumulation. Pins yellowing or aborting (dying before developing) usually indicates low humidity or insufficient FAE.
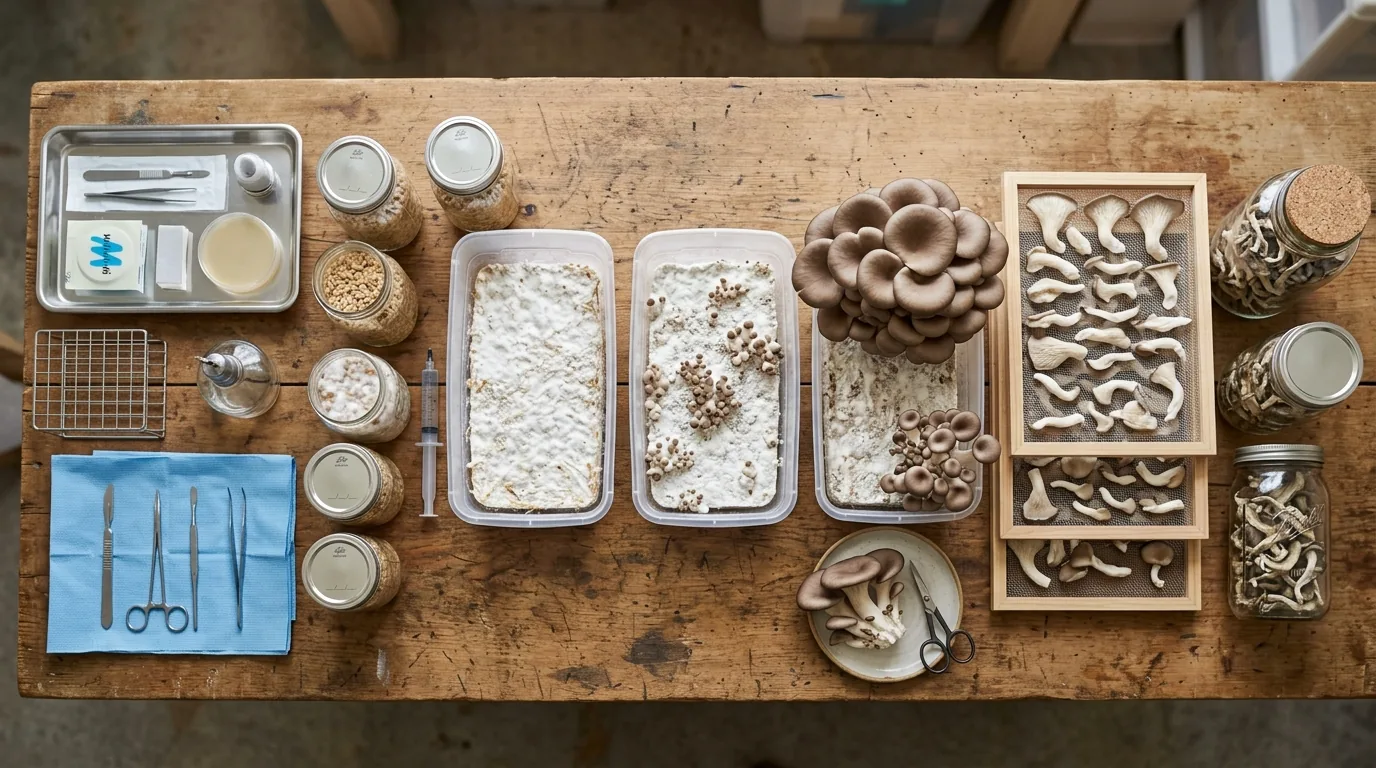
Weeks 8–10 — First Flush and Harvest

Cubensis pins develop from pinhead to harvest-ready mushroom in 5–12 days, depending on temperature and strain. Harvest before the veil — the thin membrane connecting the cap edge to the stem — tears. Once the veil tears, spores begin releasing, which can inhibit subsequent flushes by coating the substrate surface and triggering the mycelium to cease fruiting.
Harvest technique: Twist and pull the entire mushroom, including the base. Do not cut — leaving the stump in the substrate promotes rotting at that site. After removing mushrooms, clean up any pins that did not develop (aborts) and any stump remnants.
First flush weight varies widely by substrate, spawn ratio, container size, and strain. A quart jar of grain spawned into a bulk tub commonly produces 15–60g of fresh mushrooms in the first flush. Total yield across multiple flushes typically runs 2–4x the dry weight of grain spawn used.

Rehydration and Subsequent Flushes
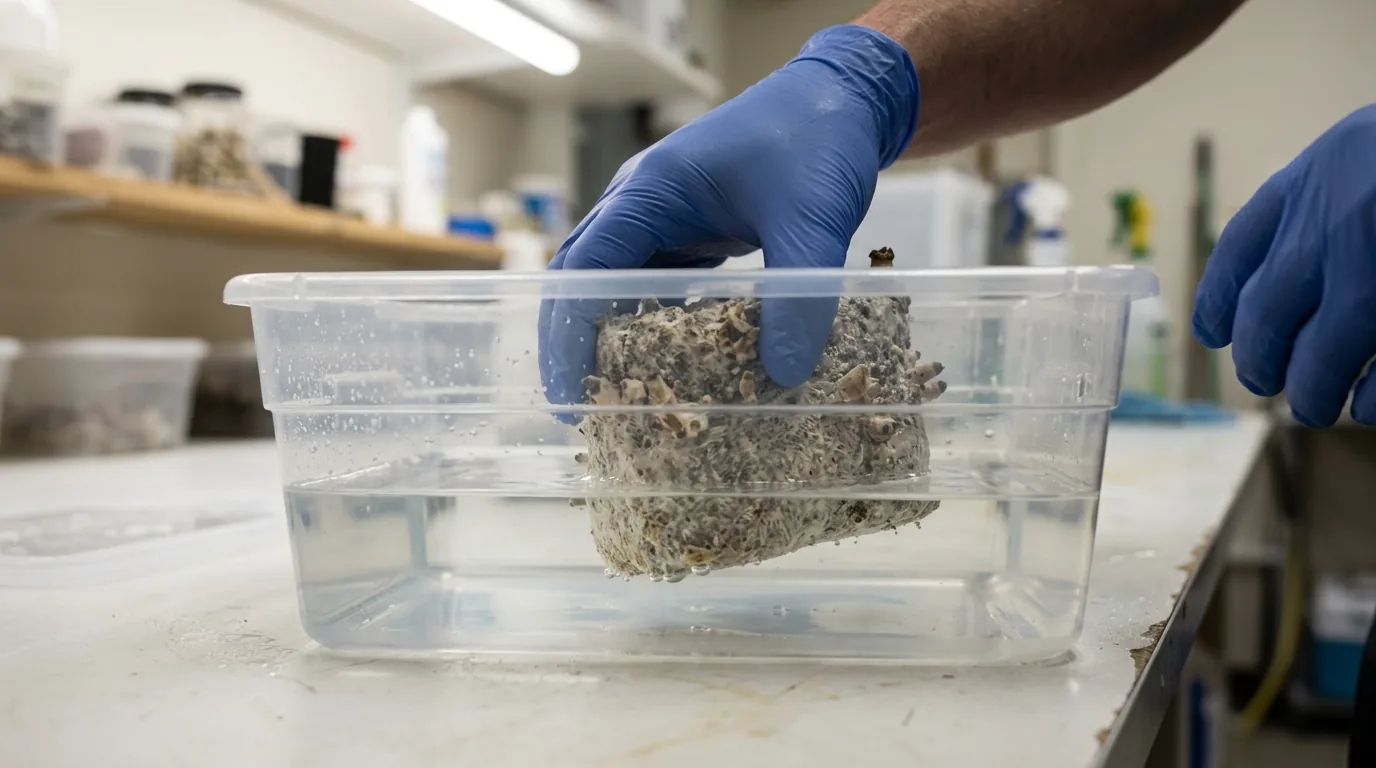
After harvesting, wipe down the tub interior, add 1–2 cups of room-temperature water to the tub (pooling on the surface), allow it to sit for 30–60 minutes (field soaking), then drain the excess. This is called rehydration or field capacity reset.
Place the tub back into fruiting conditions. Second flush pinning typically begins within 5–10 days. Each subsequent flush takes longer to initiate and produces slightly less than the previous one. Most tubs produce 3–5 flushes before yield drops below practical levels. The substrate will darken, become more liquid, and eventually grow unwanted surface molds — at that point the tub's useful life is over.
Total Timeline Summary
| Stage | Duration | |---|---| | Grain preparation and inoculation | 1–2 days prep + 1–3 days cooling | | Grain colonization | 14–28 days | | Spawning to bulk + spawn run | 7–14 days | | Casing colonization (optional) | 3–7 days | | Fruiting initiation to first pins | 3–10 days | | Pins to first harvest | 5–12 days | | Subsequent flushes (each) | 7–14 days recovery + 5–12 days pinning |
Total first harvest: Typically 8–12 weeks from inoculation day. Fast, clean grows with proven spawn and good conditions have reached harvest in 6 weeks. Cold, slow, or problem-prone grows may run 14+ weeks before the first flush.
Method choice affects timing significantly. PF Tek is slower but lower contamination risk. Monotub with grain spawn is faster but requires more equipment and technique. Each cultivator finds the rhythm that works for their setup.
Common Problems & Troubleshooting
See the Contamination Guide for common issues.
Tips for Success
Take notes at every stage. Consistency beats perfection.