Malt Extract Agar (MEA) Preparation Guide
Everything you need to know about Malt Extract Agar (MEA) Preparation Guide — from materials to first harvest.

What You'll Need
- See full supply list in guide below.
Find grow supplies at vendors in our Directory.
Step-by-Step Process
Malt Extract Agar (MEA) Preparation Guide
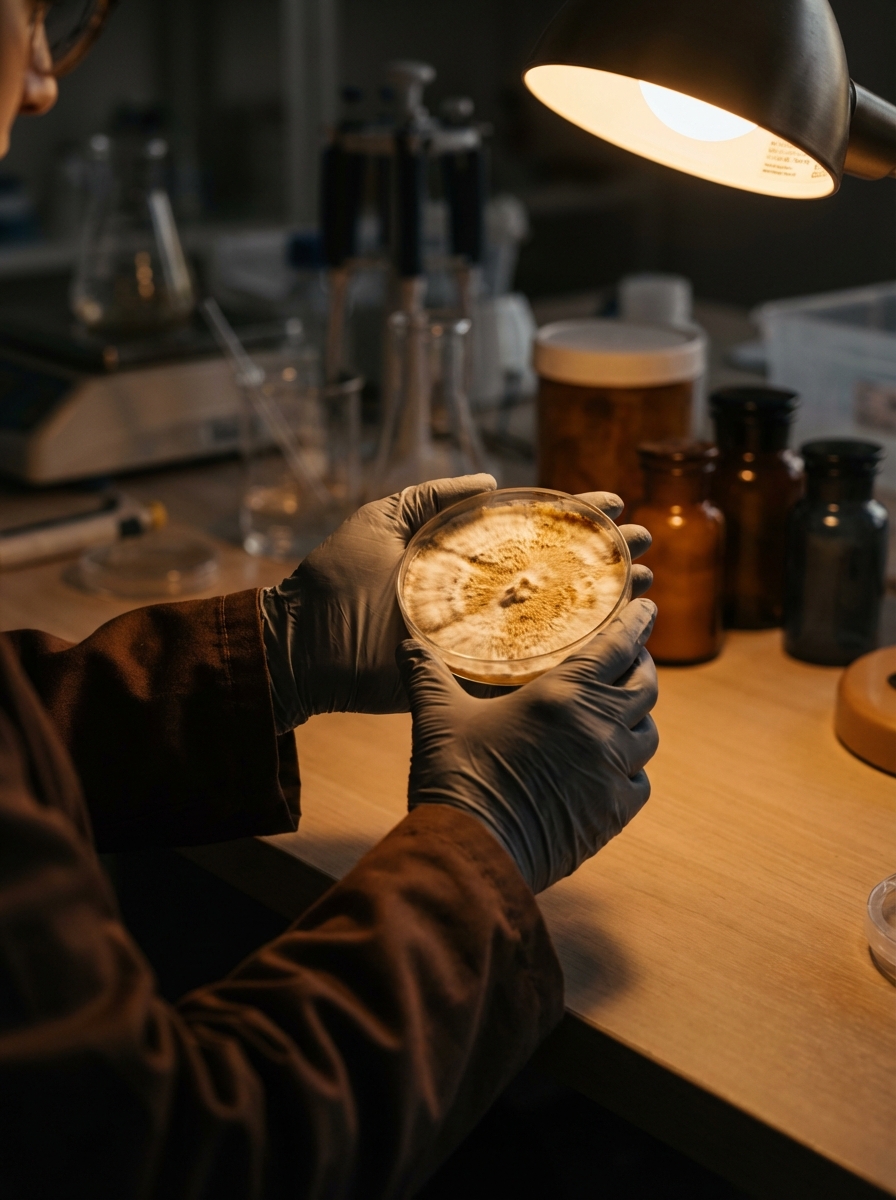
Malt Extract Agar (MEA) is the standard agar medium for mushroom mycelium cultivation. It provides the nutrients mycelium needs to grow while remaining solid enough to work on. If you want to do agar work — cloning, isolation, long-term storage, or contamination screening — MEA preparation is the first skill to learn.
What Is Agar?
Agar is a polysaccharide extracted from red algae. When dissolved in water and cooled, it forms a gel that is solid at room temperature but liquefies when heated above 85°C. This property makes it ideal for creating solid growth media: you dissolve the nutrients and agar together, sterilize while liquid, pour into plates, and the medium solidifies as it cools.
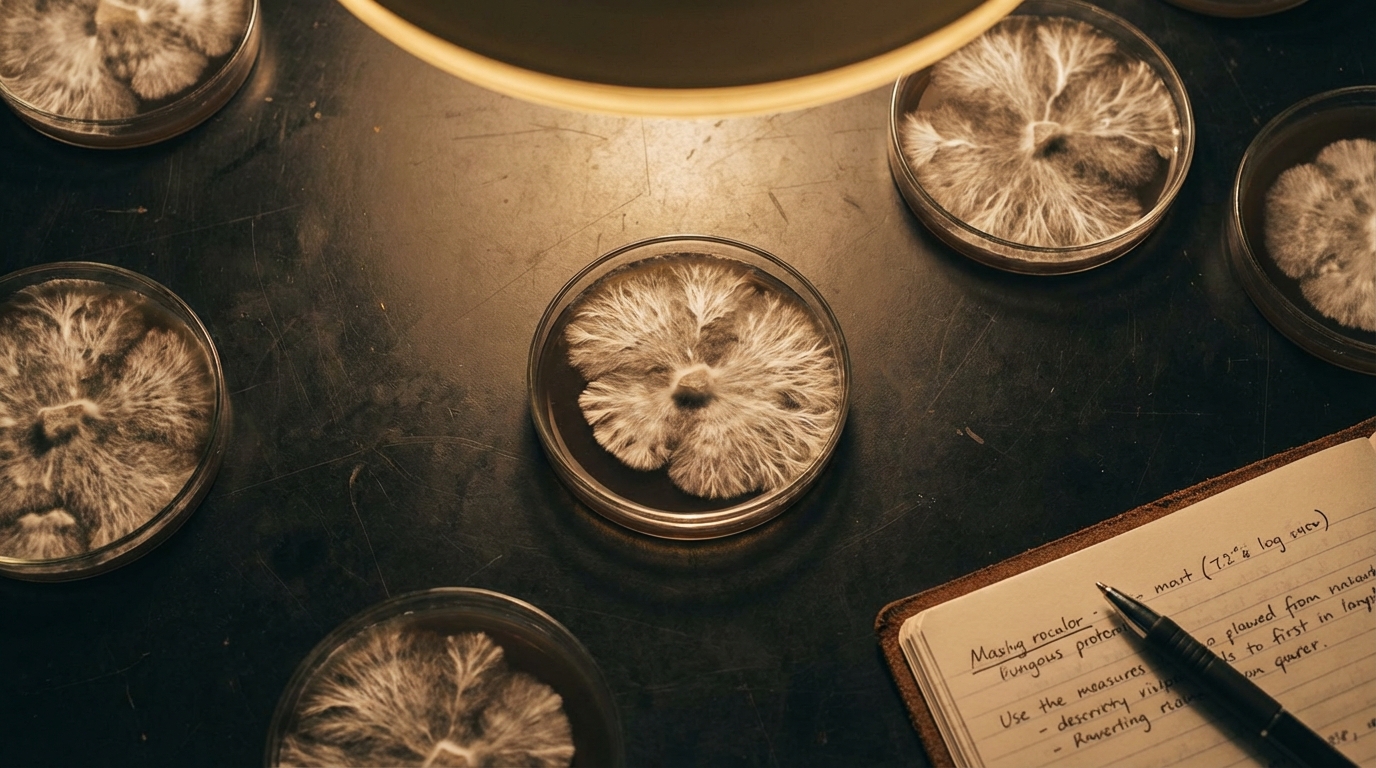
Agar's key advantage over liquid media is that mycelium growth is visible and inspectable. You can see exactly where contamination begins, isolate healthy sectors, and track growth rates.
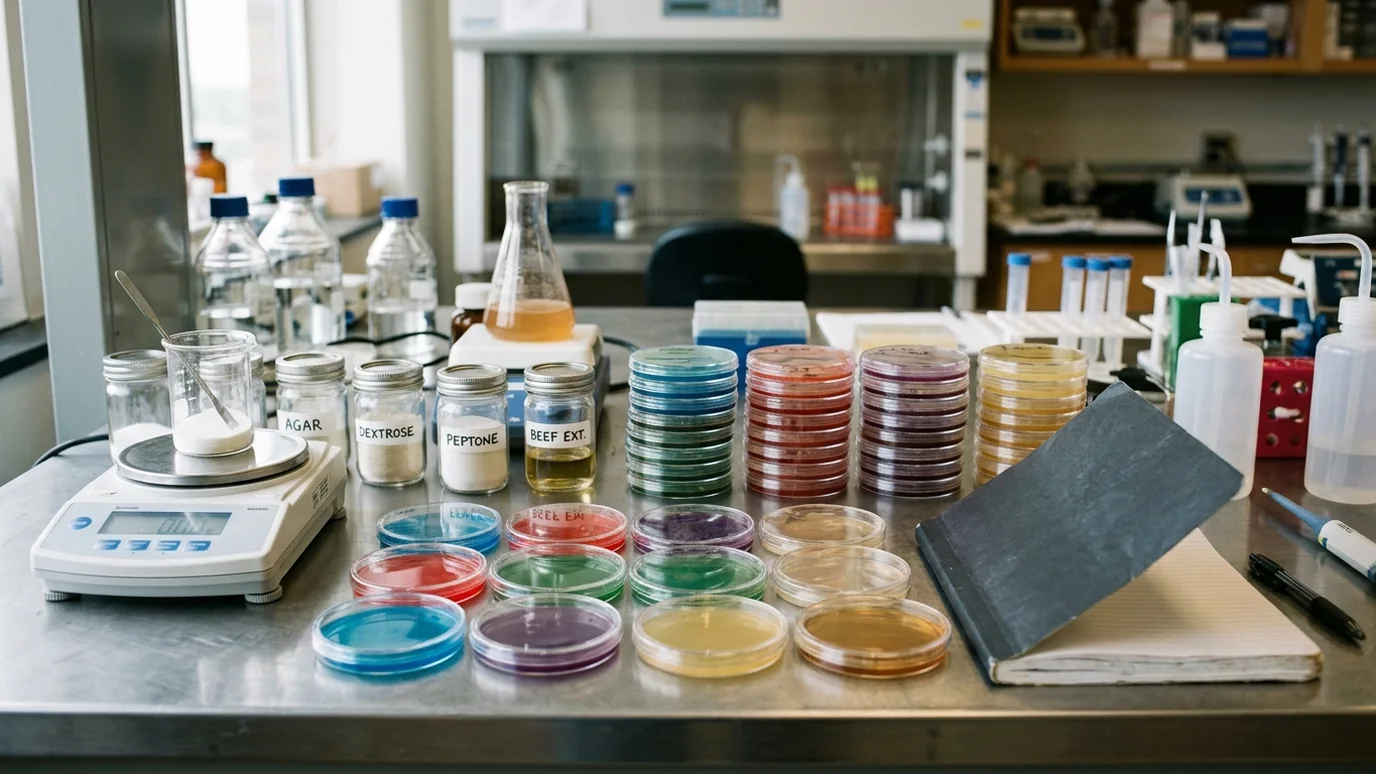
MEA Formulation
Standard MEA for mushroom mycelium:
Per 1 liter of water:
- Malt extract: 20g (light dried malt extract, available from homebrew suppliers)
- Agar powder: 20g (food-grade or laboratory grade; 15g produces softer agar)
- Optional additives:
- Peptone: 5g (protein source, promotes faster growth — sometimes labeled "MEPA" when included)
- Light corn syrup: 5g (additional carbohydrate)
- Brewer's yeast: 1g (B vitamins and growth factors)
The 2% agar rule: 20g/L (2% agar by weight) produces firm agar suitable for isolation work. For softer agar that's easier to cut and transfer, use 15g/L.
Light malt extract: This is dried malt extract from brewing supply stores — not liquid malt extract and not dark/roasted malt extract. The light variety provides carbohydrates and some nutrients without the darker compounds that slightly inhibit mycelium growth.
Where to source: Homebrew supply stores, LHBS (local homebrew supply), online from Amazon or MoreBeer. Light DME (Dried Malt Extract) is the exact product.
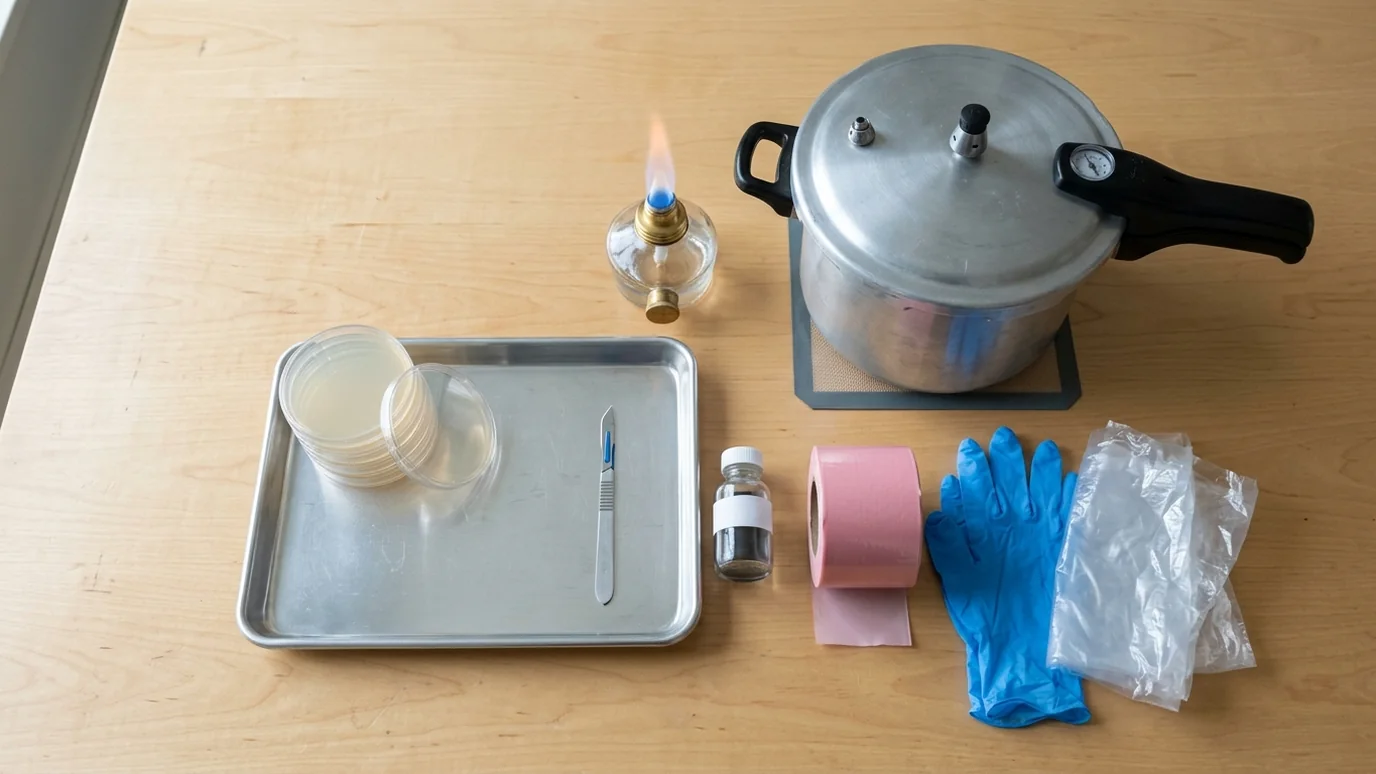
Equipment
- 1L Erlenmeyer flask (or mason jar with loosened lid as substitute)
- Magnetic stir plate (optional but very helpful)
- Pressure cooker
- Petri dishes (100mm glass or polystyrene plastic, sterile)
- Still air box or laminar flow hood
- 70% isopropyl alcohol
- Latex or nitrile gloves
- Pipette or long syringe for pouring (optional)
Preparation Process
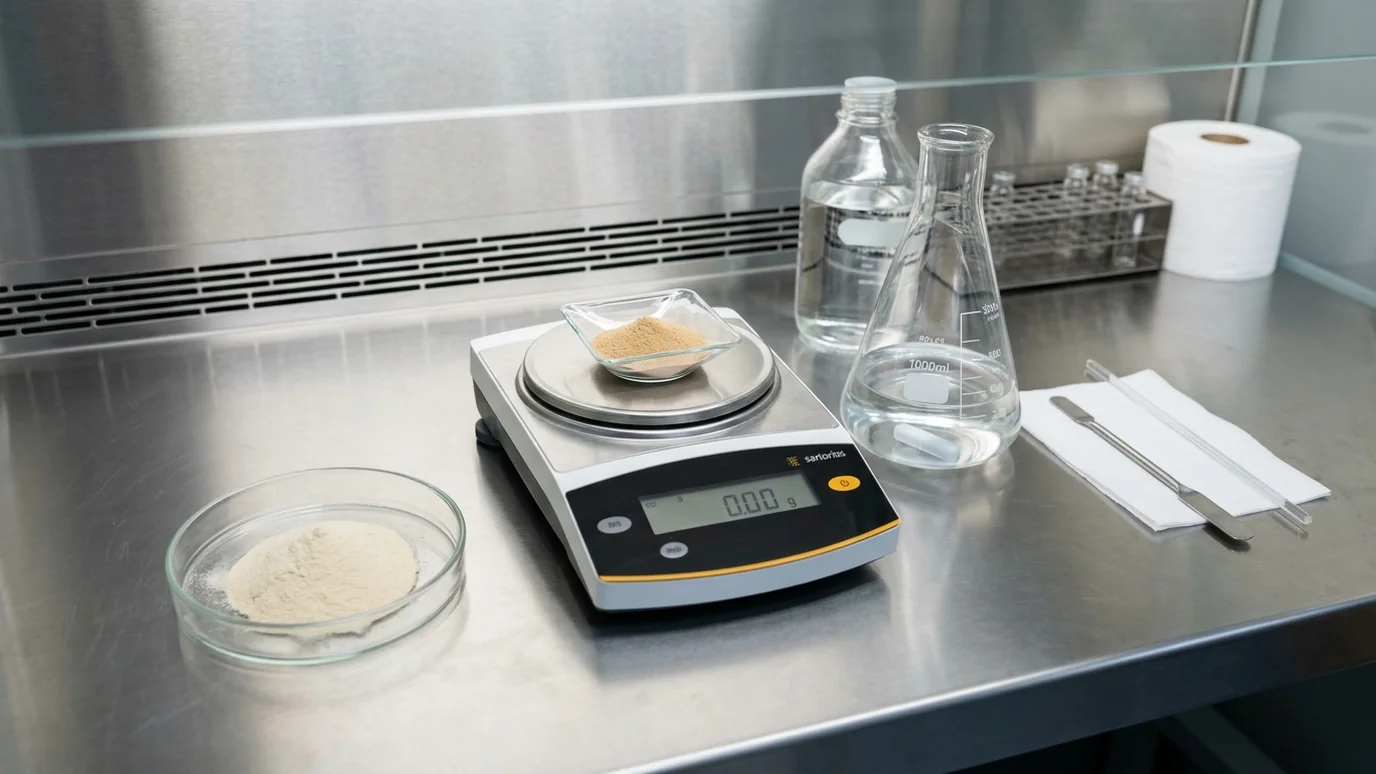
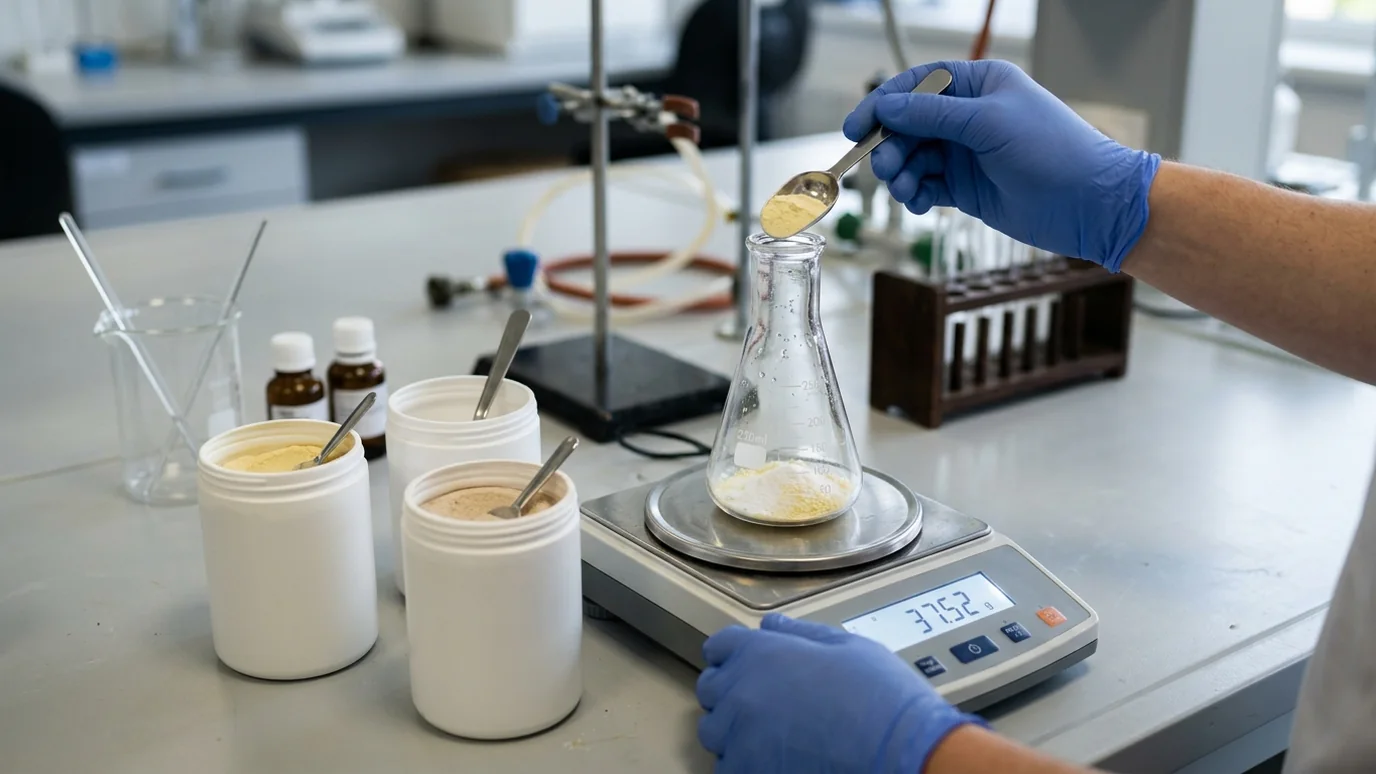
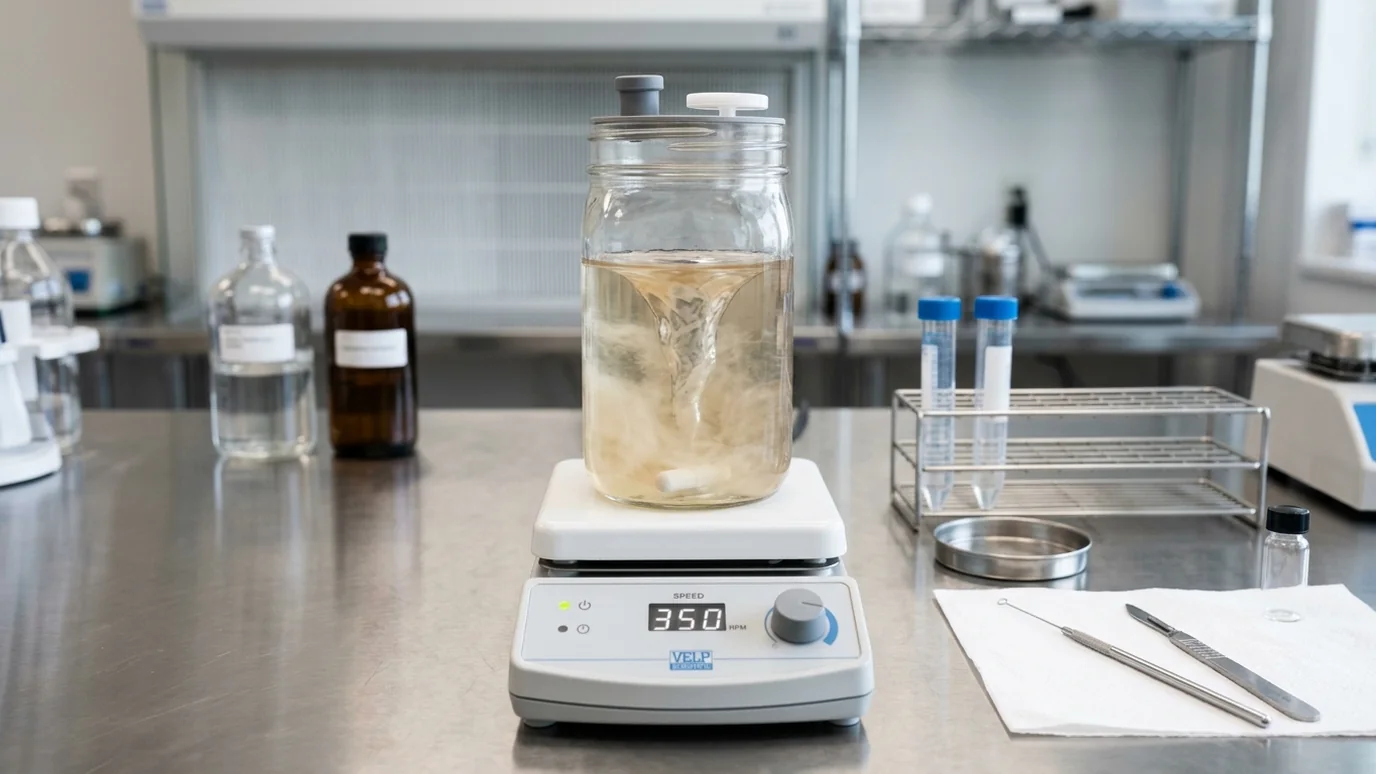
Step 1: Measure and Combine
Measure 1L of water into your Erlenmeyer flask. Add malt extract and agar powder. If using a magnetic stir plate, place the flask on it and stir until the powders are dissolved — this takes 5-10 minutes. If no stir plate, swirl vigorously.
Hot vs. cold mixing: Agar dissolves more readily in warm water. Some cultivators add the agar to cool water and heat while stirring; others dissolve the malt extract first in warm water, then add agar. Either approach works.
Don't overfill the flask: The mixture will foam and expand during sterilization. Fill the flask no more than 2/3 full.
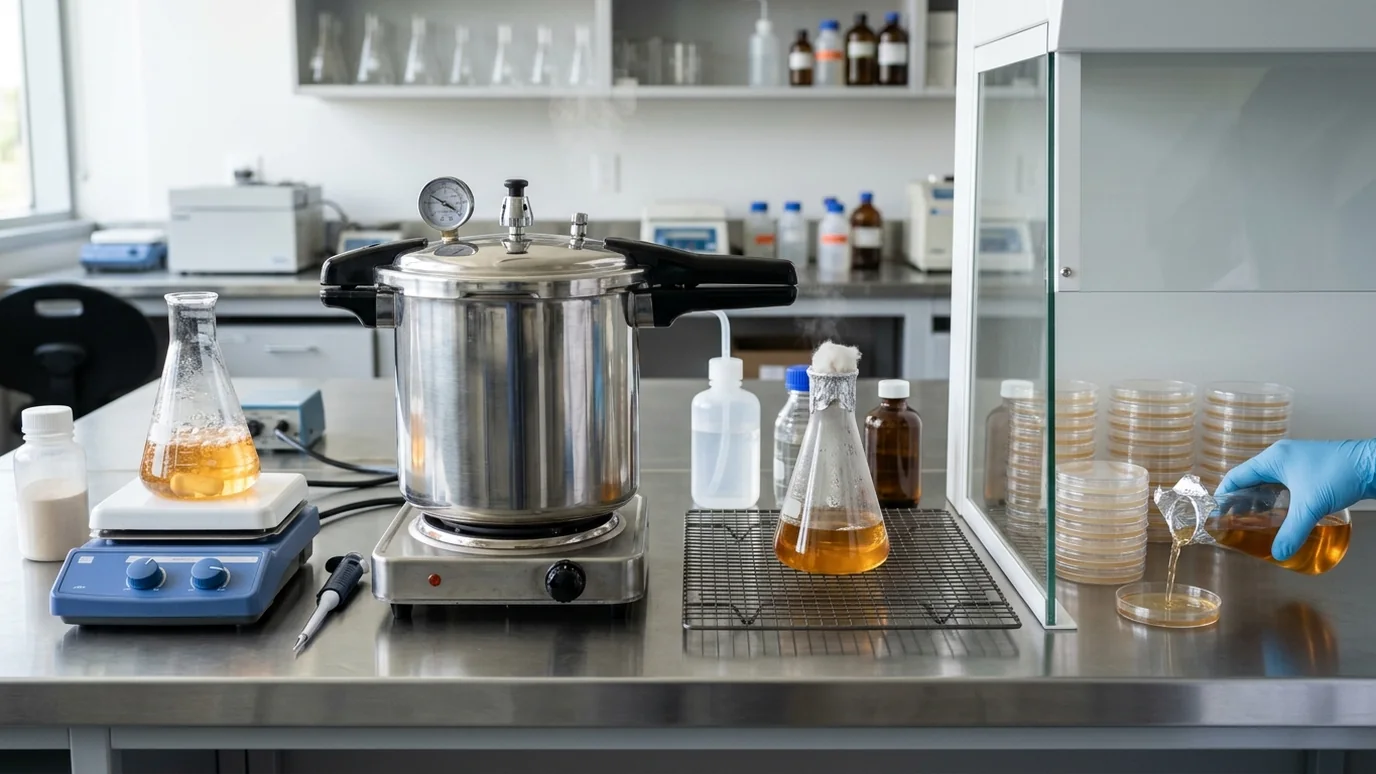
Step 2: Sterilize
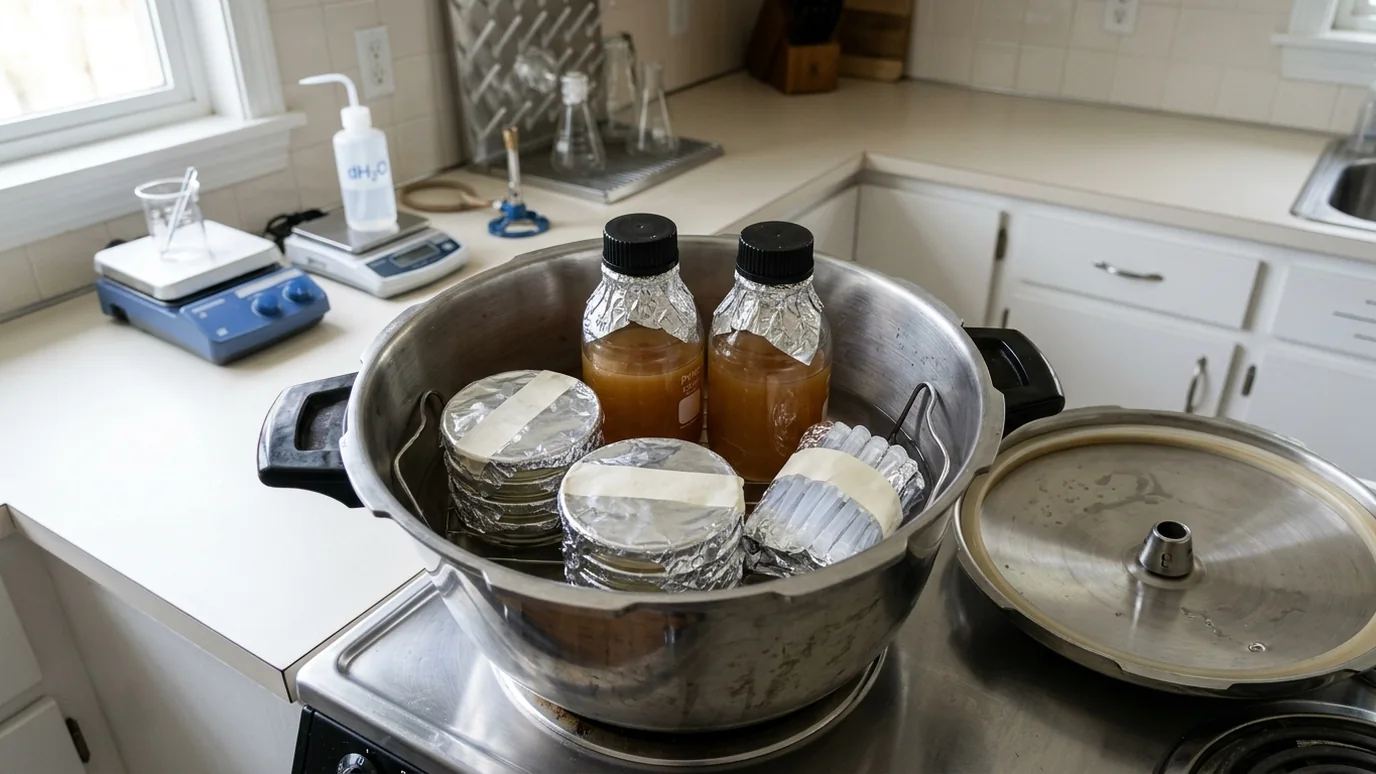
Cover the flask opening with foil. Place in pressure cooker on trivet. Pressure cook at 15 PSI for 20-30 minutes.
Why 20-30 minutes, not 90 minutes?: Liquid media sterilizes much faster than solid grain because heat penetrates uniformly throughout the liquid. 20 minutes is sufficient for most agar preparations; 30 minutes provides additional margin.
Foaming: Agar preparations foam significantly during sterilization. This is normal. The foil cover prevents foam from blocking the flask opening. Some cultivators add a small amount of antifoam agent; most don't bother.
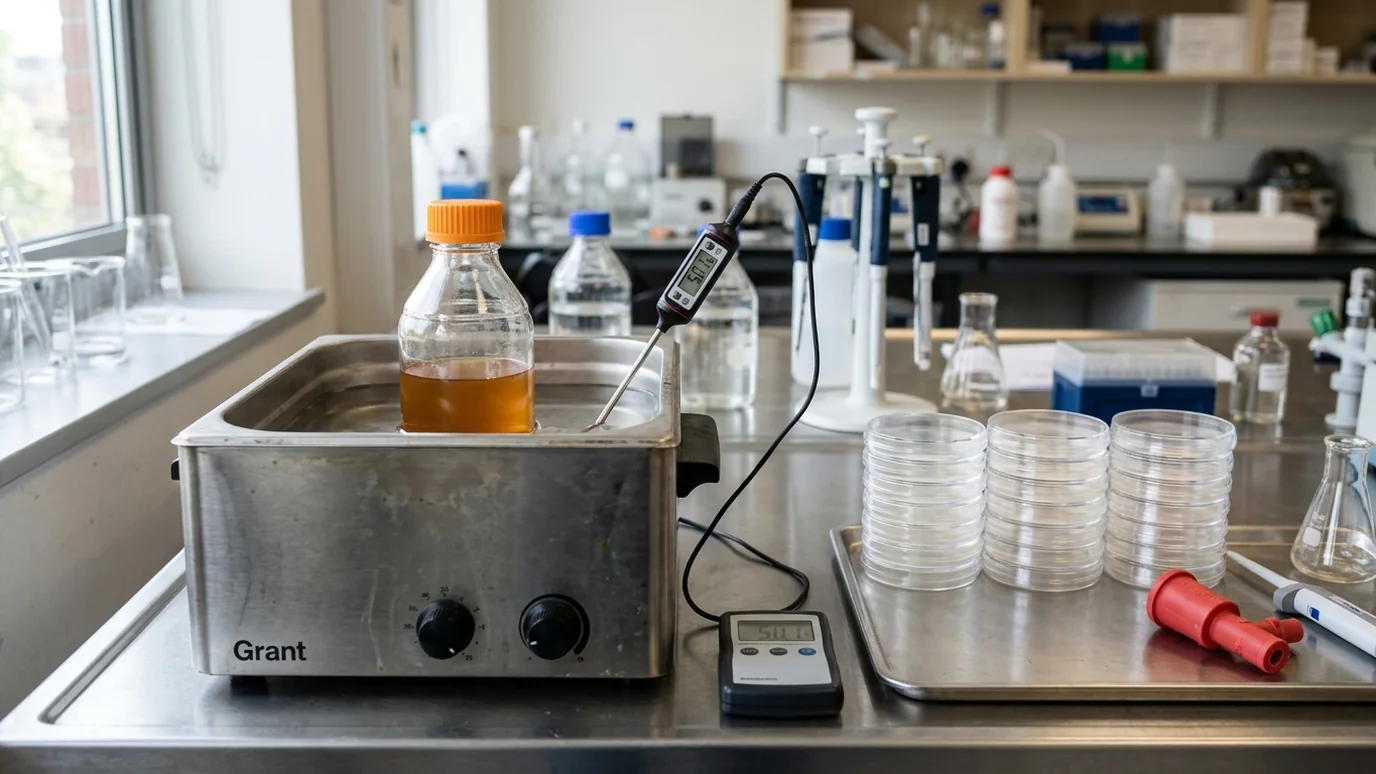
Step 3: Cool to Pouring Temperature
After sterilization, allow the agar to cool to approximately 50-55°C before pouring. At higher temperatures, the plates will steam excessively and produce condensation; below 45°C, the agar begins to solidify too quickly.
How to judge temperature: The flask should feel hot but not painfully hot to hold briefly. A contactless infrared thermometer reading 50-55°C is ideal if you have one.
Keeping warm: If you don't have a water bath, wrap the flask in a towel after cooling and pour relatively quickly. The agar will remain liquid for 30-45 minutes if kept warm.
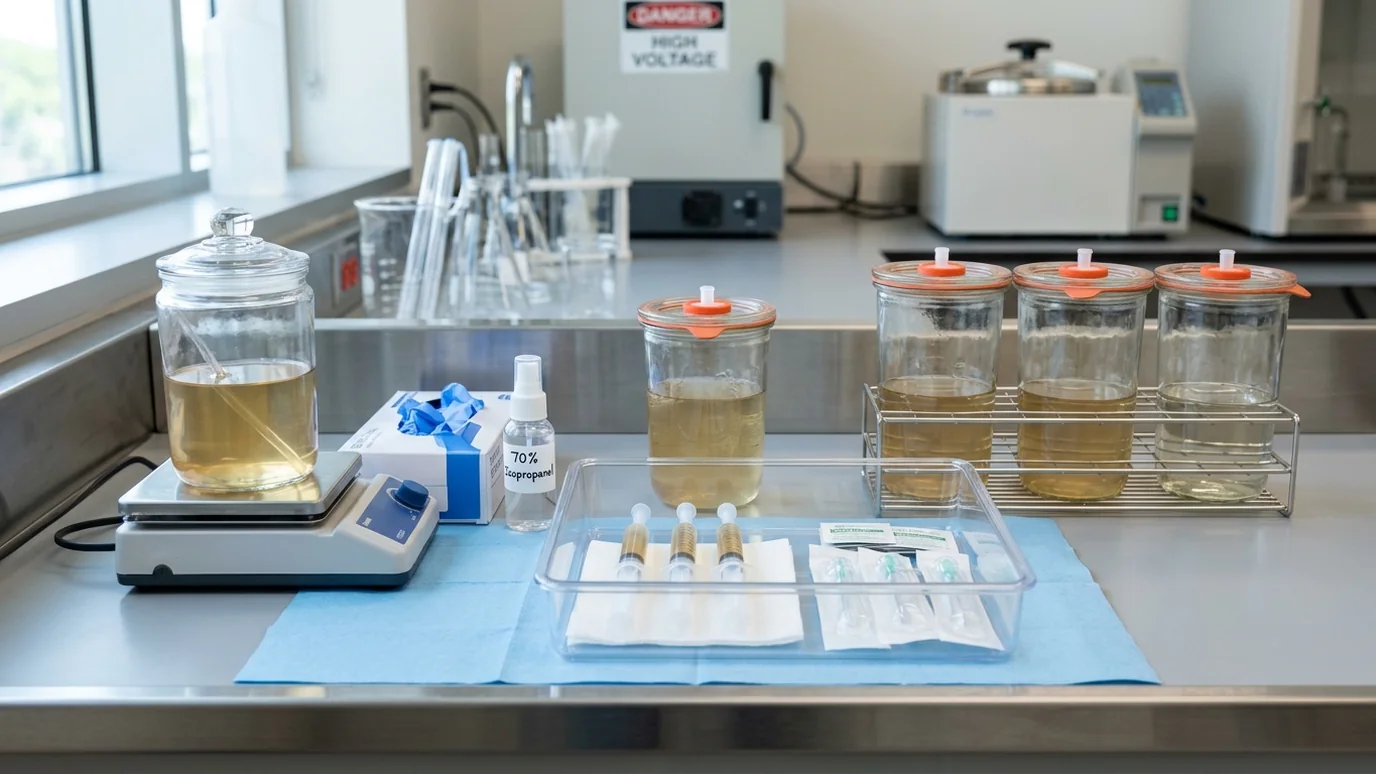
Step 4: Pour Plates
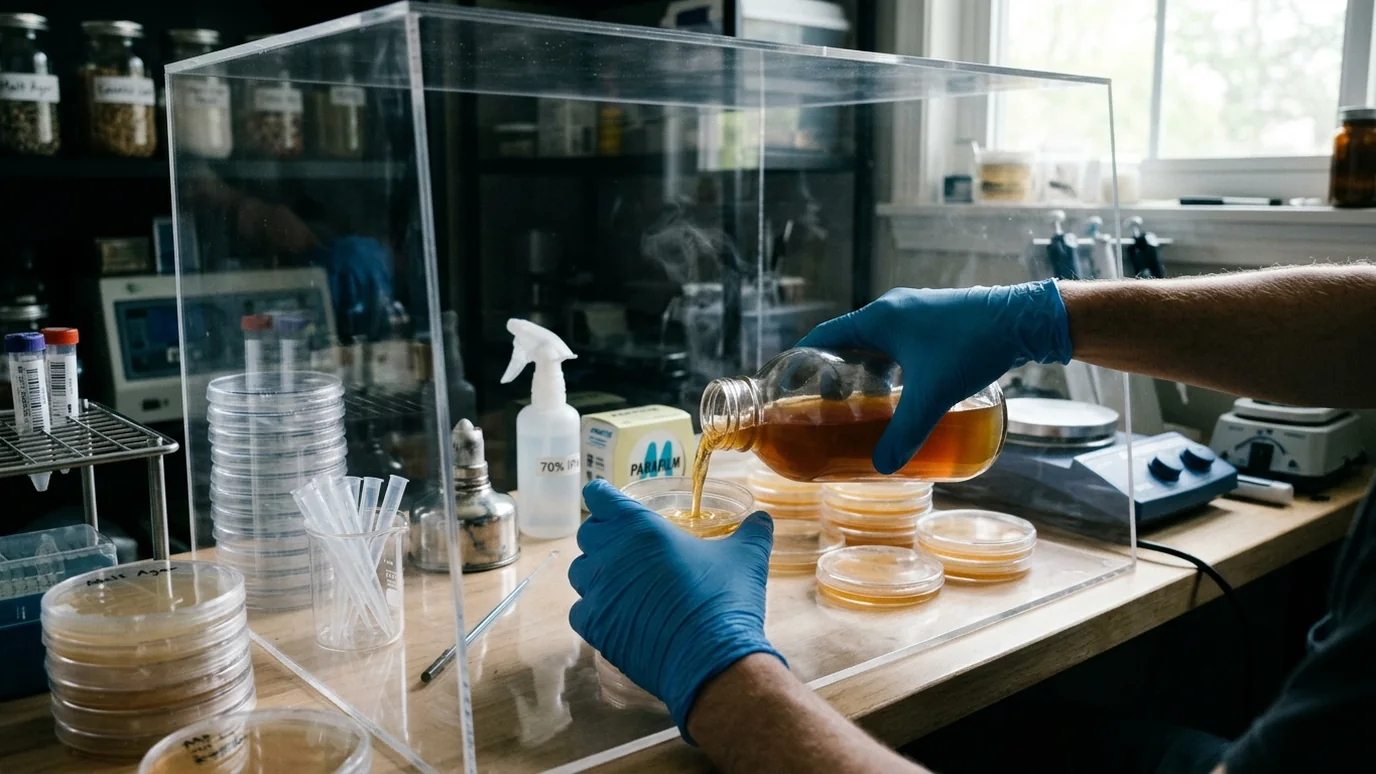
In your still air box or flow hood:
- Wipe the work surface with 70% IPA
- Arrange petri dishes in a row with lids slightly open
- Tilt the flask slightly toward you and pour 15-20ml into each plate (just enough to cover the bottom, approximately 3-5mm deep)
- Close the lid immediately after pouring each plate
- Allow to solidify undisturbed for 30-60 minutes
Bubble reduction: Lightly flaming the surface of poured plates (passing a lighter over without touching) pops surface bubbles. Do this immediately after pouring, before the agar begins to set.
Condensation management: Stack the solidified plates lid-side down (inverted) once solidified to prevent condensation dripping onto the surface.
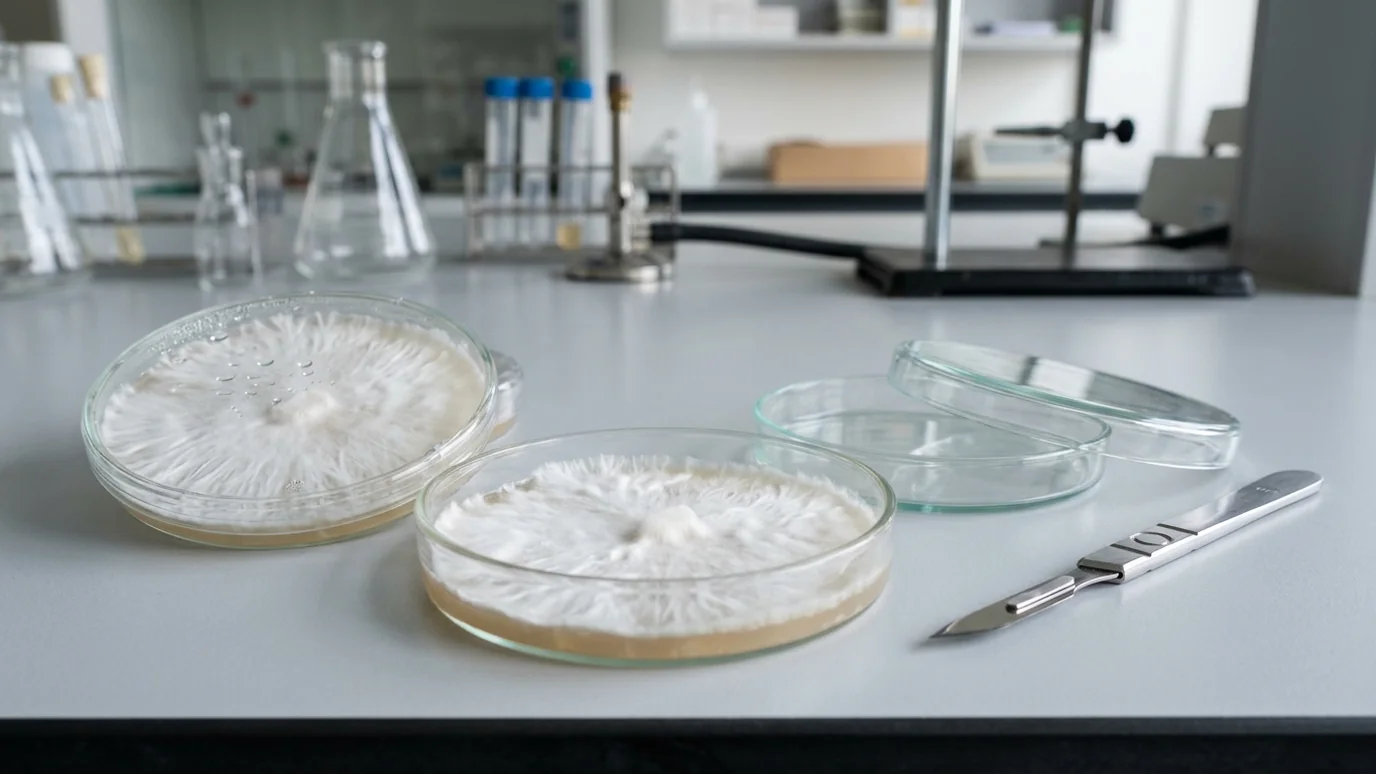
Quality Control
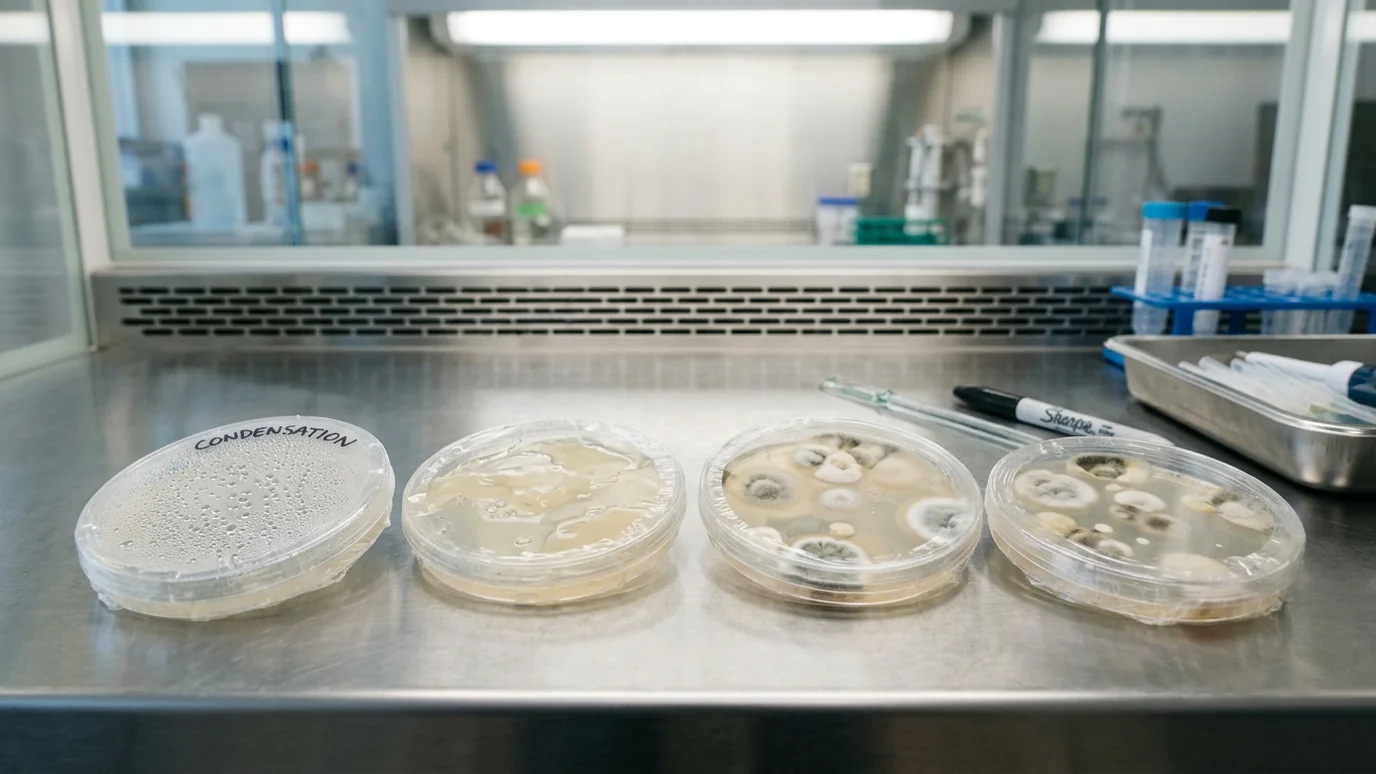
Before using plates, inspect for:
- Even, smooth surface (no bubbles or pitting)
- No visible contamination (no color variation, fuzzy growth, or unusual spots)
- Good solid set (plates should be firm and not crack when flexed)
Storage: Sealed (with Parafilm or taped edges) in the refrigerator. Properly prepared MEA plates last 2-3 months refrigerated.
Troubleshooting
Agar too soft: Add more agar powder (up to 25g/L). Also check that you measured accurately — imprecise weighing is common with kitchen scales.
Agar too hard/brittle: Reduce agar to 15g/L. Very hard agar is difficult to cut cleanly for transfers.
Plates contaminated immediately: The agar was too hot when poured (steam condensed and settled with spores), or the pouring environment had high airborne contamination. Ensure adequate cool-down time and use a SAB or flow hood.
Agar won't set: Usually caused by the agar not dissolving properly before sterilization, or insufficient agar quantity. Heating and re-dissolving can sometimes rescue a batch.
Advanced Formulations
Once comfortable with basic MEA, other agar formulations serve different purposes:
Water Agar (WA): Agar only, no nutrients. Used to slow-grow mycelium for observation, making growth characteristics more visible. Also used to "starve" cultures to promote fruiting initiation in some species.
Potato Dextrose Agar (PDA): Boiled potato extract + dextrose + agar. Rich in growth factors from the potato. Available as a commercial premix. Some cultivators prefer PDA for faster initial germination from spores.
Brown Rice Flour + Agar: Budget alternative when malt extract isn't available. Not as nutritious but functional.
Oatmeal Agar: Rolled oats extract + agar. Provides complex carbohydrates. Some cultivators claim better tissue culture results with oatmeal agar.
For most home cultivation agar work, standard MEA is the starting point and often the endpoint. Specializing in other formulations is worthwhile only after mastering MEA technique.
Common Problems & Troubleshooting
See the Contamination Guide for common issues.
Tips for Success
Take notes at every stage. Consistency beats perfection.