Pressure Cooker Sterilization: A Complete Guide
Everything you need to know about Pressure Cooker Sterilization: A Complete Guide — from materials to first harvest.
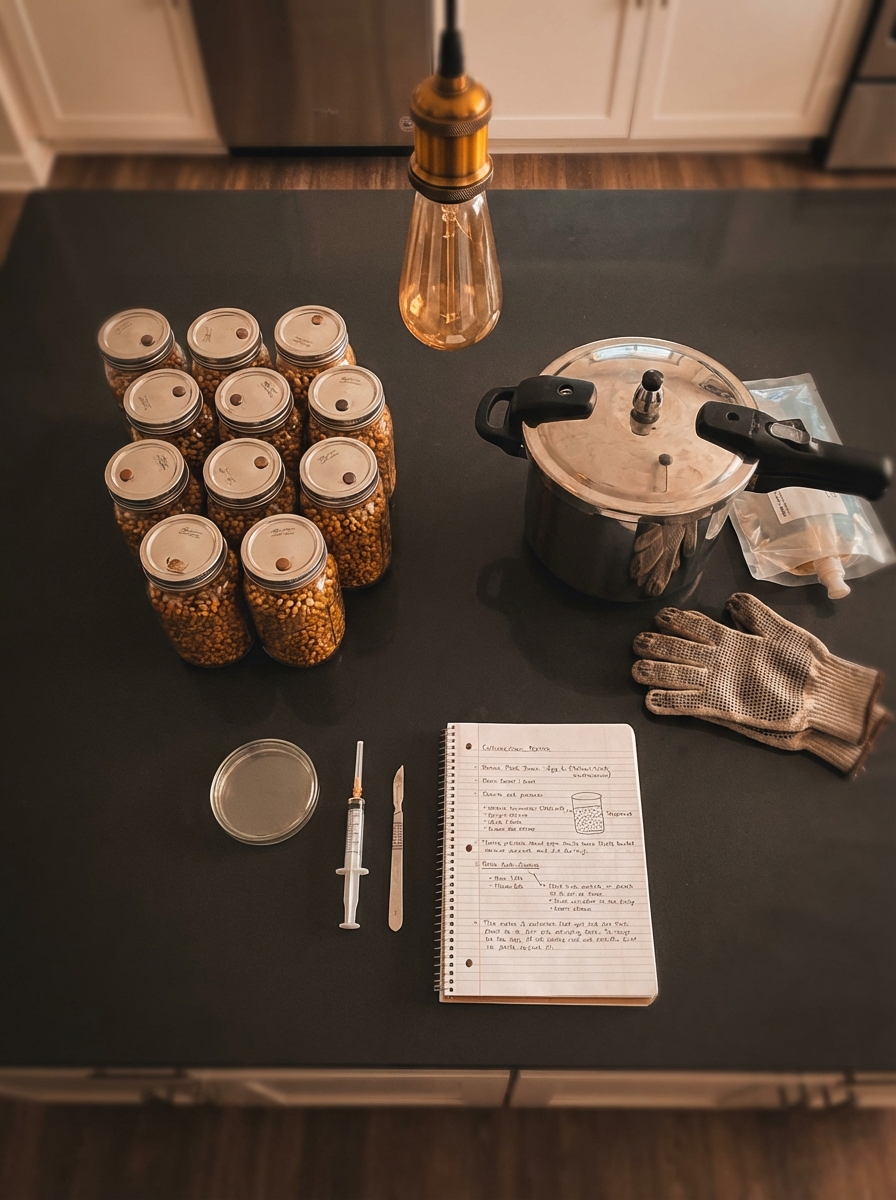

What You'll Need
- See full supply list in guide below.
Find grow supplies at vendors in our Directory.
Step-by-Step Process
Pressure Cooker Sterilization: A Complete Guide
Sterilization is the foundational skill of mushroom cultivation. Everything else — inoculation, colonization, fruiting — depends on starting with sterile substrate. Inadequate sterilization is the #1 cause of contamination in home cultivation. This guide covers pressure cooker sterilization from equipment selection to troubleshooting.
Why Pressure Cooking, Not Boiling
Boiling water reaches 212°F (100°C) at sea level. This temperature kills bacteria and many molds but does NOT kill bacterial endospores (like Bacillus subtilis), which survive boiling and germinate once the substrate cools.
A pressure cooker at 15 PSI raises the boiling point to 250°F (121°C). At this temperature, endospores are reliably killed within 30–60 minutes. This is the same principle used in autoclaves in medical and laboratory settings.
Critical point: Pasteurization (used for bulk substrate like straw) uses lower temperatures to reduce pathogen load but does not achieve sterilization. Grain spawn requires sterilization, not just pasteurization.
Equipment Selection
Pressure Cooker Size
6-quart: Too small for most grain jar batches. Can do 2–4 half-pint jars per load. Not recommended for cultivation use.
8-quart: The minimum practical size. Fits 4–6 quart jars per load.
16-quart (recommended): Fits 6–8 quart jars or 8–12 half-pint jars per load. The most common choice in the cultivation community.
23-quart: For larger operations. Fits 10–14 quart jars per load.
Recommended Models
All American pressure cookers (15.5, 21.5, 25, or 30 qt): The gold standard for cultivation. All-metal seal (no rubber gasket that fails over time), built for laboratory use, extremely durable. Expensive ($150–400) but lasts decades.
Presto or T-fal 23-quart: Budget option ($60–90). Works well but rubber gasket requires monitoring and eventual replacement.
Mirro or similar: Generally adequate but quality control less consistent.
Instant Pot: NOT recommended for sterilization. Most Instant Pots do not actually reach 15 PSI consistently, and the lid seal can degrade with frequent high-pressure use. An Instant Pot on "pressure cook" mode is not a substitute for a dedicated pressure cooker.
Pre-Sterilization Substrate Preparation
Proper substrate preparation before sterilization is as important as the sterilization itself.
For Grain Spawn (WBS, Rye, Wheat, Millet)
- Rinse grain thoroughly until water runs clear — removes surface dust and debris
- Soak overnight (8–16 hours) in clean water — hydrates grain evenly
- Simmer 10–20 minutes (species-dependent; harder grains need longer) — brings moisture into the grain
- Drain and dry on towels or paper for 20–40 minutes until surface-dry but cores still moist
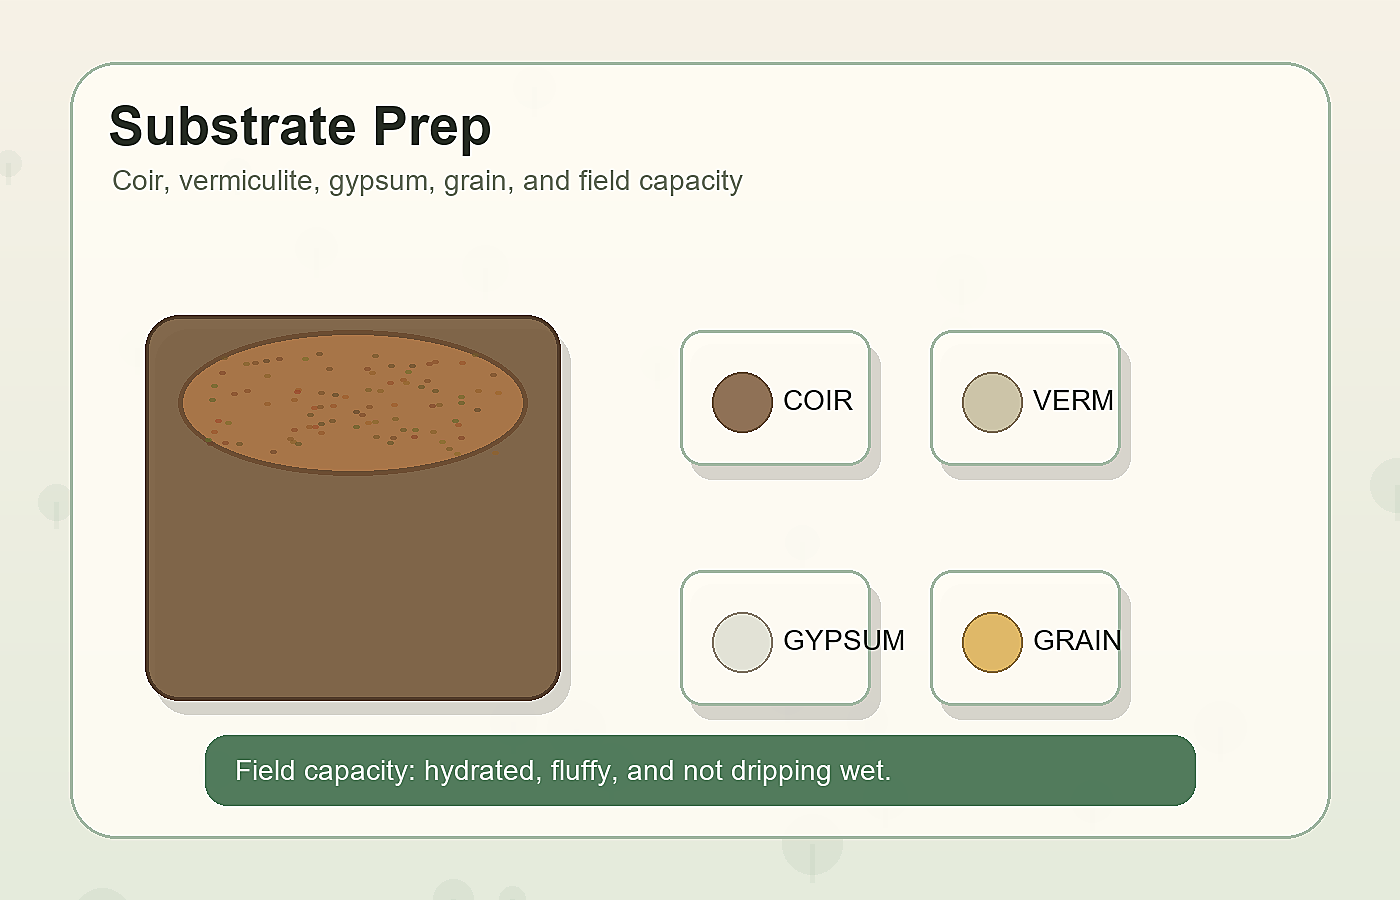
Field capacity test: Squeeze a handful of grain. It should hold shape briefly then crumble. No free water should drip. Too wet = anaerobic conditions and bacterial contamination; too dry = slow colonization.
For Supplemented Sawdust / Masters Mix
- Mix materials (hardwood sawdust + wheat bran, or Masters Mix) with water to field capacity
- Pack loosely into bags or jars
- Sterilize immediately — don't let supplemented substrate sit before sterilization
The Sterilization Process
Jar Preparation
- Fill jars 2/3 to 3/4 full — headspace allows steam movement
- Lids: tighten finger-tight, then back off a quarter turn to allow steam in/out during pressurization, OR use self-healing injection port lids (silicone-plugged holes in lids for needle injection post-sterilization)
- Cover lids with heavy-duty foil — prevents condensation from entering during cooling
In the Pressure Cooker
- Add 2–4 cups of water to the cooker base — never run dry
- Place jars on a trivet or rack (prevents direct heat contact, ensures even steam circulation)
- If stacking jars, place a silicone mat or folded towel between layers to prevent breakage
- Lock lid, heat on high until steam venting begins (the jiggler or weight lifts and vents)
Achieving and Maintaining Pressure
- Once venting begins, reduce heat to maintain a slow, steady vent — not full-blast jiggling
- Maintain 15 PSI for the required time (see table below)
- Adjust heat as needed — the goal is steady low steam release, not aggressive venting
Processing Times at 15 PSI
| Substrate | Volume | Time | |-----------|--------|------| | Grain spawn (quart jars) | ≤1 qt each | 90 minutes | | Grain spawn (large bags) | 2–5 lb each | 2.5–3 hours | | Supplemented sawdust / Masters Mix (quart jars) | ≤1 qt each | 2.5 hours | | Supplemented bags (5–10 lb) | Large | 3.5–4 hours | | Lightly supplemented hardwood (quart jars) | ≤1 qt | 2 hours |
Altitude adjustment: At higher elevations, water boils at lower temperatures, reducing sterilization effectiveness. Add 30 minutes per 2,000 feet above sea level for grain jars.
After Sterilization
- Turn off heat; allow pressure to drop naturally — do NOT rush by running cold water over the cooker
- Once pressure reaches zero and the safety button drops, wait an additional 15 minutes before opening
- Allow jars to cool on a clean surface for 12–24 hours minimum before inoculating
Critical: Never inoculate warm jars. Warmth creates condensation inside the jar when the cooler syringe contacts the headspace, providing an ideal environment for contamination.
Self-Healing Injection Port Lids
The standard lid modification for grain jars is the self-healing injection port:
- Drill a 5/16" hole in the center of the mason jar lid
- Push a silicone rubber stopper (from homebrew suppliers) into the hole from the top
- The silicone self-seals around needle punctures — allows repeated inoculation without opening the lid
- Often combined with a polyfill-stuffed ½" hole for gas exchange
These lids allow inoculation with minimal contamination risk and are reusable across many sterilizations.
Troubleshooting
Green/blue contamination (Trichoderma): Most common grain contaminant. Sources: insufficient sterilization time, wet grain (anaerobic conditions favor Trichoderma), contaminated spore syringe. Prevention: confirm you're reaching 15 PSI, ensure grain is at proper field capacity.
Black spots (Aspergillus): Often present on grain surface before sterilization. Prevention: rinse grain very thoroughly; ensure cooker reaches full pressure.
Yellow slimy patches (Bacillus): Wet rot bacteria. Almost always caused by insufficient sterilization time or grain too wet. Prevention: longer sterilization, proper field capacity.
Jars not fully colonizing: Not a contamination issue but may indicate grain too dry, spore syringe viability problems, or temperature too low for colonization.
Safety
Pressure cookers operated correctly are safe. Key safety practices:
- Never fill more than 2/3 full (water + contents) — overfilling can block the pressure relief valve
- Always confirm the pressure gauge reads 15 PSI before starting the timer
- Never force open a pressurized cooker — wait for pressure to fully release
- Inspect the gasket before each use (for rubber-sealed models) — cracked or hardened gaskets don't seal properly
- Do not use damaged or cracked jars — pressure can cause them to fail
Common Problems & Troubleshooting
See the Contamination Guide for common issues.
Tips for Success
Take notes at every stage. Consistency beats perfection.