Second and Third Flush Guide: Maximizing Multiple Harvests
Everything you need to know about Second and Third Flush Guide: Maximizing Multiple Harvests — from materials to first harvest.

What You'll Need
- See full supply list in guide below.
Find grow supplies at vendors in our Directory.
Step-by-Step Process
Second and Third Flush Guide: Maximizing Multiple Harvests
A single colonized substrate is capable of producing multiple harvests — called flushes. The first flush is typically the largest; subsequent flushes produce progressively smaller yields but are an essential part of maximizing what you get from each grow. This guide covers the biology of flushing, the rehydration techniques that trigger additional flushes, and what to expect across 3–5 flush cycles.
Why Multiple Flushes Are Possible
Mycelium doesn't die after producing the first flush. It remains viable in the substrate and, with rehydration and appropriate environmental cues, will produce additional flushes as the substrate nutrients are progressively consumed.
What happens after the first flush:
- The mushrooms you harvested drew moisture out of the substrate surface and mycelium
- The substrate has now lost significant moisture — often enough to stress the mycelium
- The mycelium is intact but "resting"
- Rehydration signals the mycelium that moisture is available again and triggers another pinning cycle
Why yields decrease each flush:
- Substrate nutrients (nitrogen, carbohydrates) are consumed with each flush
- Senescent mycelium accumulates in the upper substrate layer
- The substrate pH changes over time in ways that may inhibit pinning
- Contaminants have more time to establish with each flush
First Recovery: After the First Flush
Immediately after harvest:
- Remove all remaining pins — any pins that didn't develop fully should be pulled, not left to rot. Rotting pins create contamination entry points.
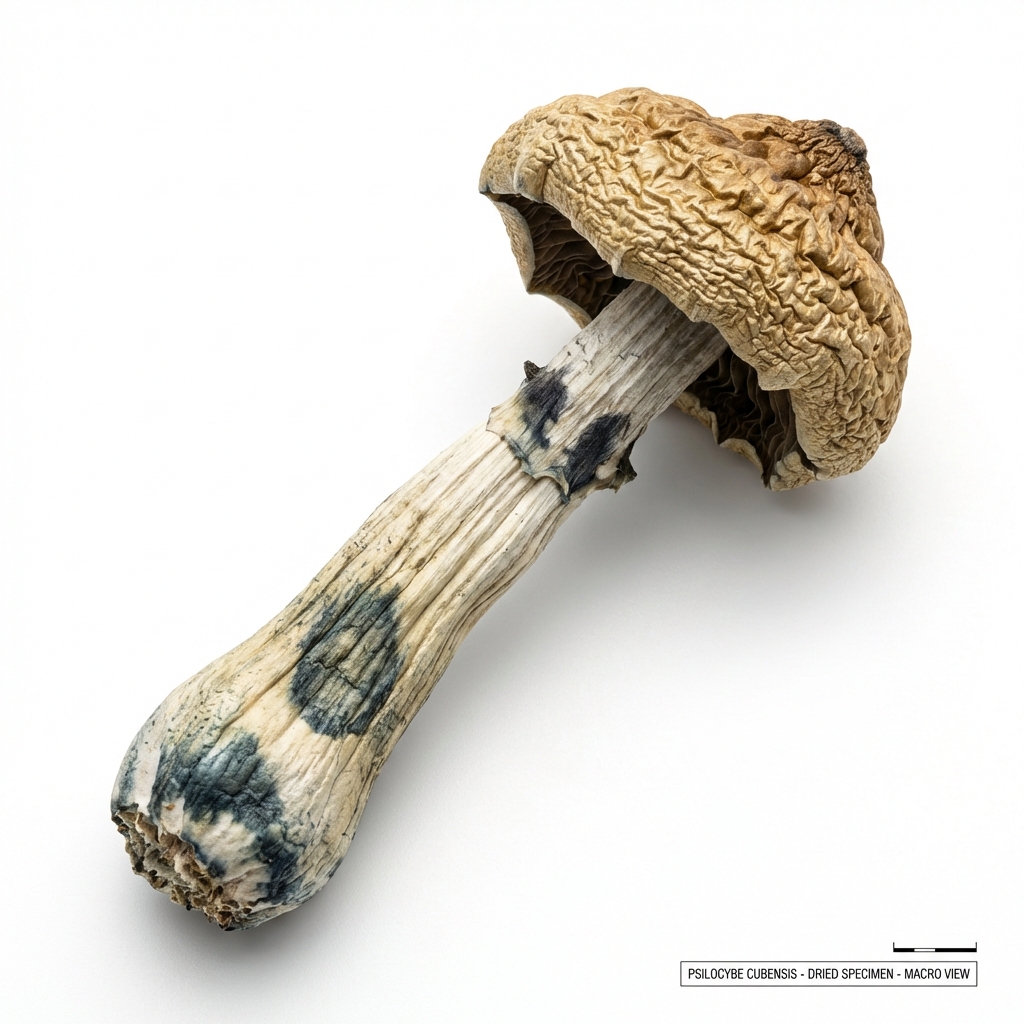
- Inspect for contamination — look for green mold (trichoderma), brown patches (bacterial blotch), or unusual colors. A small contamination spot can be covered with salt or isolated; extensive contamination means the substrate should be discarded before it spreads.
- Scratch the surface (optional for bulk substrates) — light raking of the substrate surface removes the dead, senescent mycelium layer (called "oldies") and exposes fresh mycelium below. Use a fork or skewer. This step is debated — some cultivators find it improves subsequent flushes; others skip it without apparent effect.
Rehydration Techniques
The core of triggering additional flushes is rehydration. Several methods work depending on your grow format.
Method 1: Dunking (PF Tek Cakes)
The classic PF Tek second-flush technique:
- Remove the colonized cake from its fruiting chamber
- Submerge in cold water — a bowl or Tupperware large enough to hold the cake. Weight it down with a plate if it floats.
- Soak for 12–24 hours — cold water (40–50°F, near refrigerator temperature) is preferred; it provides a temperature shock that helps trigger pinning
- Rolling in dry perlite — after soaking, roll the wet cake in dry perlite granules. The perlite provides a humidity reservoir on the cake surface without sitting in liquid.
- Return to fruiting chamber and proceed to fruiting conditions
The wet weight of a cake after dunking should be noticeably heavier than before — this water has been absorbed into the substrate and will sustain the second flush.
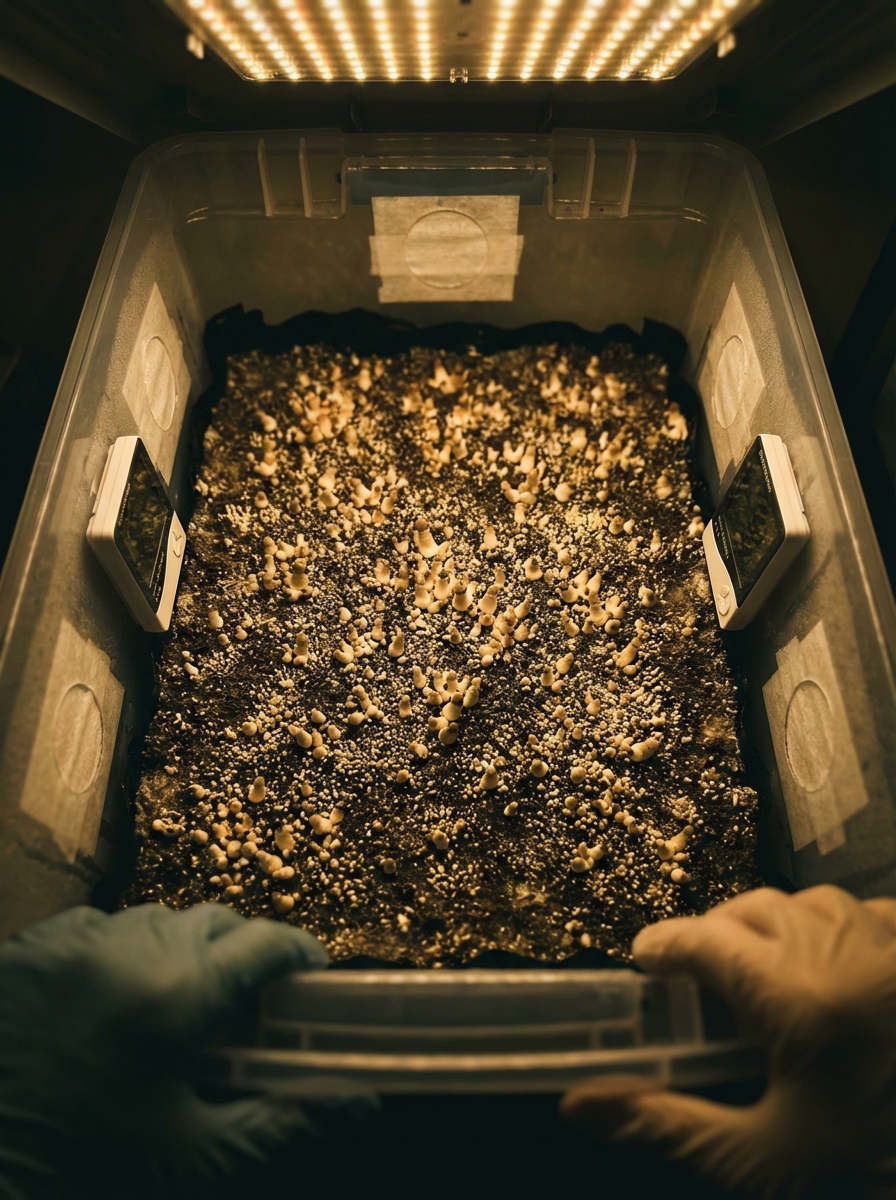
Method 2: Surface Rehydration (Bulk Substrates)
For monotubs and other bulk substrate formats:
- Pool method: Pour 1–2 cups of cold water onto the substrate surface. Tilt the tub to allow water to pool, then pour off excess after 30–60 minutes. The substrate absorbs what it needs.
- Cold wet towel: Lay a water-saturated paper towel across the substrate surface overnight, then remove before pinning begins.
- Field capacity check: After rehydration, the substrate should be at field capacity — squeeze a small piece; it should release a few drops, not a stream.
Method 3: Cold Shock (All Formats)
A temperature cold shock — placing the substrate in the refrigerator for 12–24 hours — provides an environmental trigger that many cultivators find improves pinning density and speed.
Mechanism: The temperature drop mimics the conditions (cool wet weather) that mushrooms experience in nature before fruiting. The temperature gradient between the cold substrate and room-temperature air creates condensation on the substrate surface that can initiate pinning.
Cold shocking alone without rehydration is less effective — combine both for best results.
Expected Flush Performance
Flush 1: Largest harvest — typically 60–70% of total yield from the substrate. The most pins of any flush, usually the largest caps.
Flush 2: Second largest — typically 20–25% of total yield. Usually smaller mushrooms but still a meaningful harvest.
Flush 3: Moderate — typically 10–15% of total yield. Smaller mushrooms, more time between flushes.
Flush 4–5: Diminishing returns. The substrate is nutrient-depleted, and pin density is low. Many cultivators decide the contamination risk from additional flushes outweighs the small yield.
These are general averages. Well-prepared, nutrient-rich substrates (master's mix, supplemented grain) may produce more consistent yields across flushes than nutrient-poor substrates.
Between-Flush Timing
After rehydration:
- Pinning typically resumes within 5–10 days for a healthy substrate
- If no pins appear after 2 weeks: the substrate may be exhausted, too cold, or the mycelium may be stressed
- Do not extend the wait much beyond 14 days without environmental troubleshooting
Between flushes, maintain fruiting conditions — humidity (85–95% RH), fresh air exchange, ambient temperature (70–76°F for cubensis). The substrate should not be allowed to dry completely between flushes.
When to Stop Flushing
Consider ending the grow when:
Yield is negligible: If a flush produces very few pins or tiny mushrooms that don't develop, the substrate is likely exhausted.
Contamination appears: Even a small contamination outbreak becomes more significant with time. Dispose of contaminated substrate before it spreads to your grow space.
Flush 5+: Most cultivators find that 3–4 flushes is the practical limit before yields no longer justify the contamination risk.
What to Do With Spent Substrate
Spent substrate (post-flushing mycelium cake) has several uses:
Garden amendment: Spent substrate is an excellent compost addition. The mycelium continues to break down remaining organic matter and adds fungal diversity to soil.
Worm bin: Vermicomposters find that mushroom substrate is excellent worm food.
Casing layer for future grows: The colonized exterior of a spent cake can sometimes be used as a casing layer (covering for bulk substrate) if contamination-free.
Outdoor mushroom bed: Some cultivators bury spent cubensis substrate outdoors in mulch beds — particularly in warm, humid climates where cubensis can theoretically naturalize. Note that P. cubensis is not native to most of the US and feral populations are unlikely in most climates.
Troubleshooting Second Flush Issues
No pins after 2 weeks: Check temperature (too cold = slow or no pinning), humidity (too dry = aborted pins), CO₂ (too high = no pinning, only leggy growth). Try cold shock. If substrate smells sour or has contamination, dispose.
Pins abort before development: Humidity likely dropped during a critical period. Increase misting frequency. Check for gaps in fruiting chamber causing drafts.
Pins only at edges (sides and bottom) of tub: Normal for bulk substrates — known as "side pins." Consider field capacity was too high on the surface (waterlogged top layer prevents surface pinning); side pinning from the substrate through tub walls is normal and the pins can be harvested if accessible.
Very long stems, small caps: CO₂ too high. Increase fresh air exchange — more fanning, more holes in the fruiting chamber, or remove the lid briefly more frequently.
Common Problems & Troubleshooting
See the Contamination Guide for common issues.
Tips for Success
Take notes at every stage. Consistency beats perfection.