High-Yield Monotub Techniques: Optimizing for Maximum Flushes
Everything you need to know about High-Yield Monotub Techniques: Optimizing for Maximum Flushes — from materials to first harvest.

What You'll Need
- See full supply list in guide below.
Find grow supplies at vendors in our Directory.
Step-by-Step Process
High-Yield Monotub Techniques: Optimizing for Maximum Flushes
A standard monotub reliably produces several flushes of decent yield. But with dialed-in technique — optimized substrate, humidity control, and harvesting practices — the same footprint can produce significantly more. This guide covers the variables that matter most for maximizing yield over the full life of a monotub.
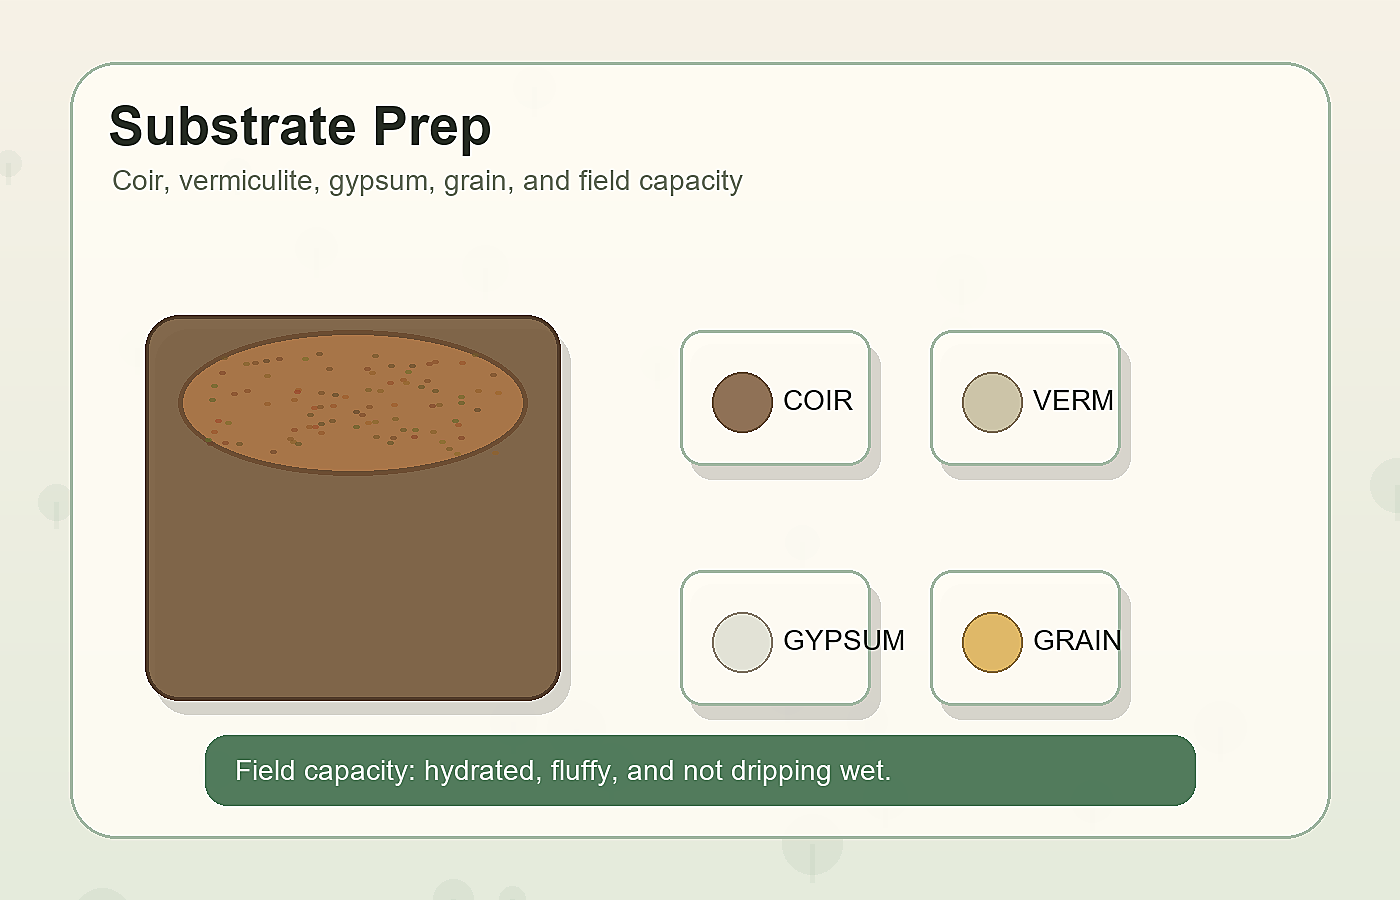
Substrate Composition and Moisture
Yield begins with the substrate. Most people start with a standard bulk substrate like coco coir and vermiculite (CVG), which works well. But several modifications can meaningfully improve performance.
Supplementation
Supplements add nitrogen-rich nutrients that mycelium can exploit for heavier fruiting. The trade-off: supplements increase contamination risk, which is why they're always used with fully pasteurized or sterilized substrate.
Wheat bran: Adding 10-15% wheat bran to a CVG mix adds nutrition that supports heavier caps and more pins. Works best with a pasteurization (180°F for 1-2 hours) rather than just field-capacity moisture.
Oat bran: Similar to wheat bran. Some cultivators prefer oat bran for its slightly lower contamination risk relative to wheat.
Gypsum: 1-2% food-grade gypsum (calcium sulfate) improves substrate structure and water retention. Not a significant nutritional supplement but improves physical properties.
Soy hulls (advanced): 5-10% soy hulls significantly increase yield but dramatically increase contamination risk. Only recommended for cultivators with strong sterile technique and experience.
Moisture Calibration
Standard advice is field capacity — squeeze test with 0-1 drops of water. But dialing in moisture is more nuanced:
- Slightly wetter toward field capacity supports heavier pins and larger caps
- Slightly drier reduces bacterial contamination risk and can sometimes increase flush count by preventing anaerobic pockets
- The optimal point varies by substrate composition and ambient conditions
Track your substrate moisture and outcomes systematically across multiple grows to find your personal sweet spot.
Spawn Rate
More spawn = faster colonization, less contamination window, and generally more aggressive fruiting.
Standard advice is 20-25% spawn by volume. High-yield approach: 30-40% spawn.
Trade-offs:
- Higher spawn rate shortens the colonization window, reducing contamination risk
- More mycelial mass means more aggressive fruiting
- Costs more per tub (more grain spawn)
- With certain strains, very high spawn rates produce overlay more readily
Practical approach: Try 30% spawn rate if your standard colonizations feel slow or you're fighting contamination. If overlay is a problem, back off slightly.
Colonization Temperature vs. Fruiting Temperature
Colonization
Most Psilocybe cubensis strains colonize optimally at 75-80°F (24-27°C). Temperatures above 82°F significantly increase contamination risk (bacteria prefer warmth too). Temperatures below 70°F slow colonization and extend the contamination risk window.
Fruiting
After introducing to fruiting conditions (typically 70-75°F for P. cubensis), many cultivators notice they've been fruiting at too warm a temperature. Slight cooling — 68-72°F — often produces more and smaller pins rather than fewer, larger ones. The trade-off: larger individual mushrooms vs. more total biomass.
For maximum yield, a slight temperature drop (5°F) from colonization to fruiting temperature triggers a better pinning response in most strains.
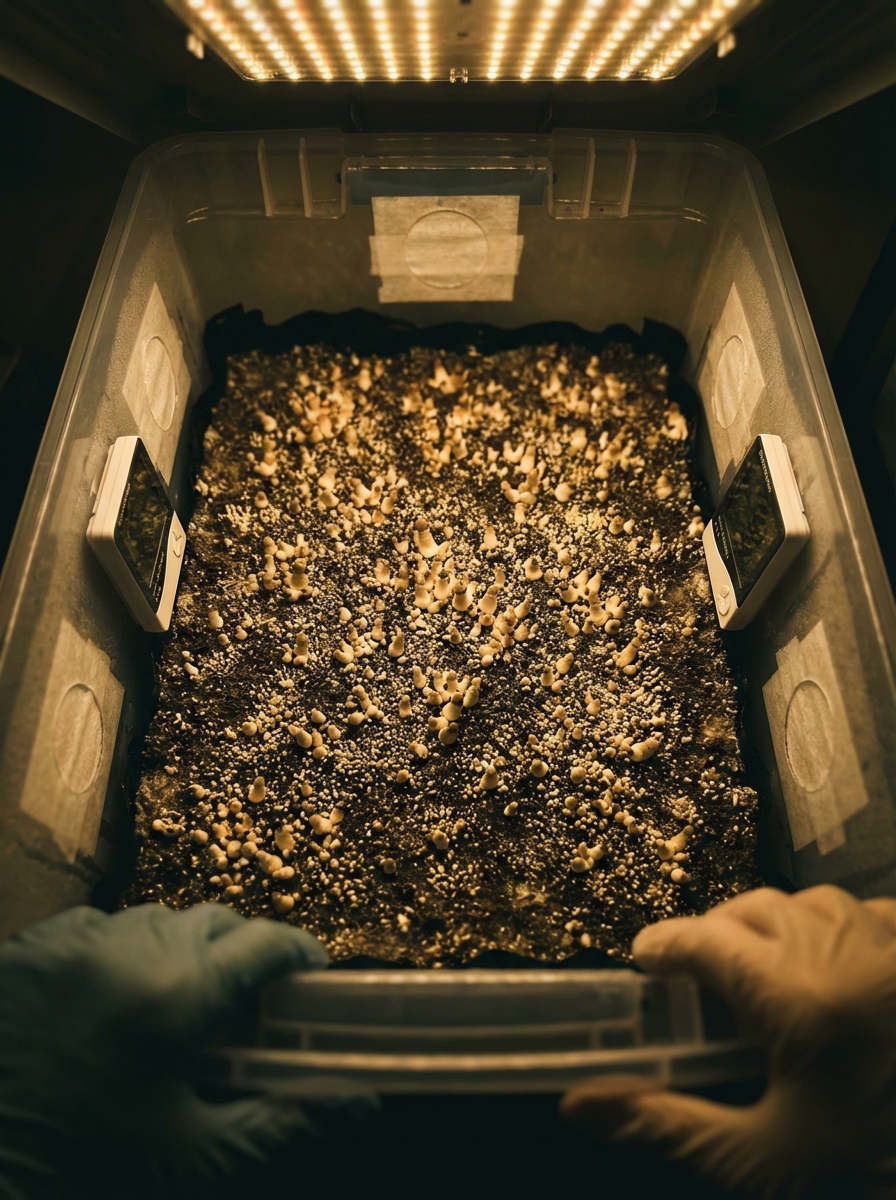
FAE and CO2 Management
This is the most underestimated variable in monotub yield.
Carbon dioxide buildup is the primary suppressor of fruiting in monotubs. Many cultivators' primary bottleneck is not nutrients or moisture but CO2 management.
Standard Monotub (Passive FAE)
Standard monotubs with filter disk holes rely on passive gas exchange. This works but produces lower CO2 removal than active exchange.
Enhancement: Fan over the monotub for 30 seconds twice daily. This dramatically reduces CO2 and typically increases pin count and flush weight.
Active FAE (Martha Tent / Automated Setup)
An automated setup with a fan on a timer providing active FAE several times hourly is the ceiling of CO2 management for monotubs. This approach produces the most pins and often the heaviest flushes.
Note: Active FAE requires more frequent misting — you're removing humid air and need to compensate.
Casing Layer for Extended Fruiting
A casing layer — a thin, non-nutritive, moisture-retaining layer applied to colonized substrate — can extend total yield over more flushes.
Standard casing: 50% peat moss, 50% vermiculite, adjusted to field capacity (2-3mm thick layer)
Benefits of casing for yield:
- Maintains moisture at the substrate surface between flushes
- Can stimulate pinning in blocks that have become reluctant
- Adds total flush count by extending substrate life
- Maintains more consistent fruiting conditions surface
Timing: Apply casing after second or third flush when the substrate surface has started to dry and crust.
Harvest Timing and Technique
Harvesting Before Veil Tear
For maximum total yield across flushes, harvest before the veil fully tears. Why?
- Post-veil-tear mushrooms drop spores, which accelerate substrate breakdown
- Open caps dry faster and lose more weight
- Spore prints on the substrate can trigger early senescence
Harvest when caps begin to flatten and the veil is still intact or just beginning to show tearing. The "popcorn cap" stage — still domed with veil intact — is ideal for large specimen strain varieties.
Twist-and-Pull vs. Cut
Twist-and-pull: Removes the entire stem base from the substrate, eliminating rotting stub that can harbor bacteria and molds.
Cut: Leaves a stub that must be removed afterward. The stub frequently becomes a contamination point.
Twist-and-pull is recommended for maintaining long-term substrate health and maximizing flush count.
Post-Harvest Cleaning
After each flush:
- Remove all remaining pins, stubs, and aborted pins promptly
- These leftovers rot and become contamination vectors if left
- Mist the surface gently after cleanup
- Allow a rest period of 3-5 days before the next flush begins
Flush Rejuvenation
After several flushes, substrate may slow down or stop pinning. Techniques to rejuvenate:
Cold shock: Place the substrate block in a sealed bag and refrigerate for 12-24 hours. Return to fruiting conditions with fresh air and moisture.
Rehydration soak: Submerge the substrate block in cold water for 12-24 hours. This rehydrates depleted substrate and commonly triggers another flush. Best for polyfil-lid tubs where the substrate can be removed and soaked.
Scrape and case: Scrape away the spent top layer of substrate (1/4 inch), apply a fresh casing layer, and return to fruiting conditions.
Strain Selection for Yield
Not all strains produce equal yields. For maximum total yield across flushes:
High-yield strains: Koh Samui, Thai Pink Buffalo, various commercial "fast" strains, Tasmanian, Alacabenzi
Moderate yield, exceptional potency: Penis Envy and PE variants — lower pin count, slower colonization, but dramatically higher psilocybin content
Good all-round (most balanced): Golden Teacher, B+, Mazatec, Cambodian
Selection depends on your priorities: maximum weight vs. maximum potency per gram vs. reliability and ease.
Common Problems & Troubleshooting
See the Contamination Guide for common issues.
Tips for Success
Take notes at every stage. Consistency beats perfection.