Why Contamination Is the Grower's Primary Enemy
Contamination is the leading cause of failed grows, yet most cases are preventable. Understanding contamination means understanding competition: the same substrate conditions that encourage mycelium growth are hospitable to dozens of other organisms — molds, bacteria, and yeasts that can outcompete, damage, or render useless an entire cultivation attempt.
The most common contaminants are Trichoderma (green mold), Cobweb mold, Verticillium (dry bubble disease in late fruiting), pin mold, and various bacterial blotch species. Each has distinct visual signatures, and identifying the type of contamination helps determine whether a remediation is possible or whether the substrate must be discarded.
The Source Points of Contamination
Contamination enters a grow from four primary vectors:
Substrate. Unpasteurized or under-sterilized substrate harbors dormant competitor spores. Grain substrate is particularly vulnerable because its nutrient density supports aggressive mold growth once temperature drops into the colonization range. Bulk substrate (coco coir, vermiculite mixtures) requires pasteurization at 160-180°F for 60-90 minutes, not full sterilization — and many beginners do not reach or sustain those temperatures long enough.
Inoculant. Contaminated spore syringes, liquid cultures, or grain-to-grain transfers introduce contamination at inoculation. This is why sourcing from reputable vendors matters, and why working with agar can help — growing out a culture on agar allows visual inspection before committing to a large grain batch.
The environment. Airborne spores and particles settle on exposed surfaces, colonizing any opening in your substrate or jars. Unfiltered air in a still-air box, a sneeze during inoculation, or a jar lid left open for even a moment creates an opportunity.
The grower. Hands, skin, and clothing carry bacteria and mold spores. Proper glove technique, face coverings during inoculation, and alcohol-wiped surfaces are not optional — they are the difference between a clean grow and a contaminated one.
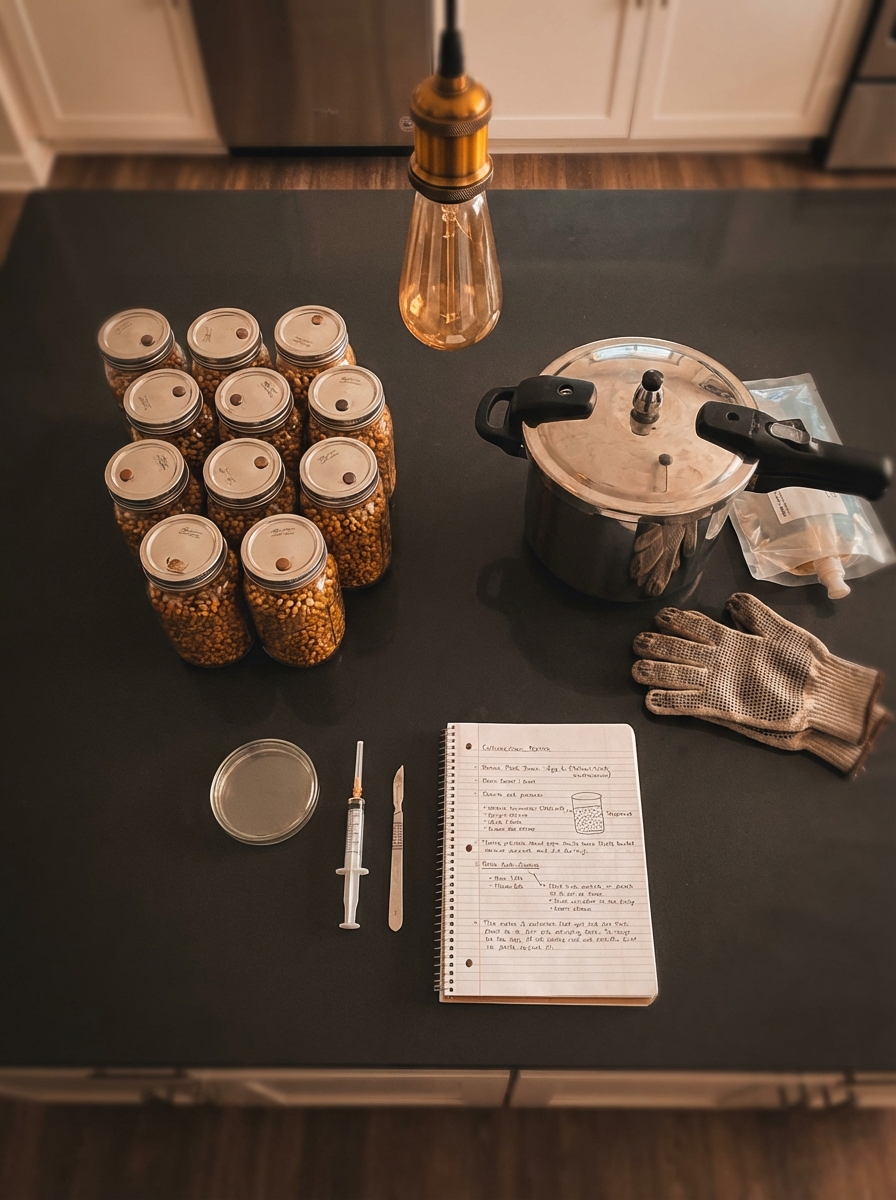
Sterile Technique: The Foundation
Sterile technique is a set of habits, not a single procedure. Experienced cultivators internalize these as automatic:
- Work in a still-air box (SAB) or near a laminar flow hood. A SAB is a large clear storage tote inverted over your workspace; it reduces airflow and particulate settling. A flow hood provides positive-pressure filtered air and is the professional standard.
- Wipe every surface with 70% isopropyl alcohol before work begins. Allow the alcohol to fully evaporate before introducing flame (for needle sterilization) near the area.
- Flame-sterilize your needle until the tip glows red, let it cool for five seconds, then inoculate. Do not cool the needle by touching the substrate — inject immediately.
- Wear nitrile gloves, change them if they contact non-sterile surfaces, and spray gloved hands with 70% isopropyl regularly during a session.
- Move slowly and deliberately. Rapid arm movements in a still-air box disturb the settled air layer; slow movements keep the microenvironment stable.
Identifying Contamination Early
Early detection is the difference between discarding one jar and discarding an entire batch. Check inoculated jars daily if possible, or every other day at minimum.
Green or blue-green patches are almost always Trichoderma, the most aggressive common contaminant. It spreads quickly and produces toxins that inhibit mycelium. There is no recovering from trich in a grain jar — isolate it immediately in a sealed bag and discard outdoors. Do not open the jar inside your grow space.
Yellow or brown liquid pooling on grain or near the inoculation point suggests bacterial contamination. Bacteria often arrive via dirty needles or improperly sterilized substrate. The liquid may have a sour or foul odor. Discard the jar.
Orange or rust-colored patches may indicate Neurospora (red bread mold) or bacterial blotch in late fruiting. Both require removal of the affected substrate section and evaluation of spread.
White fuzzy patches that do not match mycelium structure should be treated with suspicion. Compare the texture to your known-good mycelium: healthy cubensis mycelium is ropy and rhizomorphic, not powdery or discrete. Cobweb mold appears thinner and more diffuse than mycelium; fanning or misting often clears it. If it returns in the same spot, it is likely a contaminant.
Prevention Strategies by Grow Phase
Inoculation phase. This is your highest-risk moment. Prepare your workspace first. Use new needles when possible; if reusing, flame-sterilize between jars. Inoculate quickly and seal jars immediately.
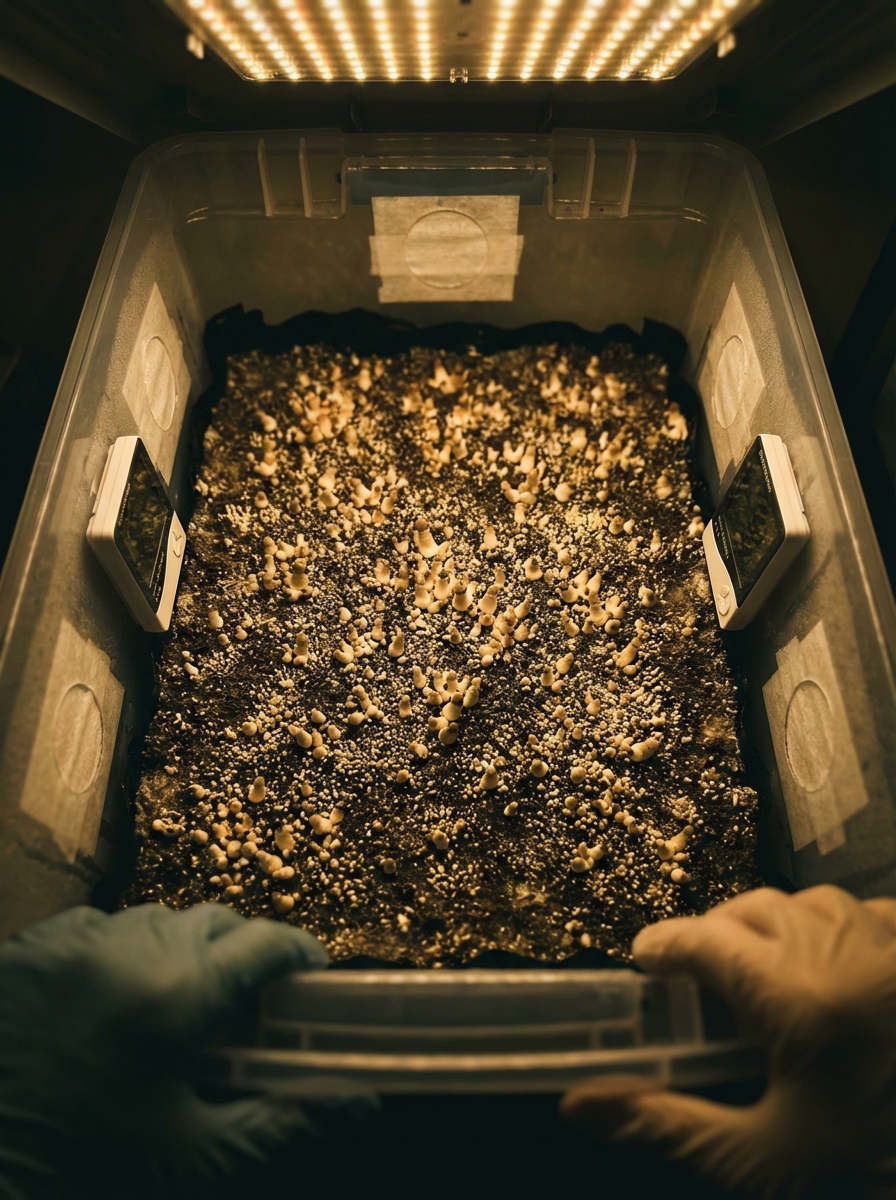
Colonization phase. Do not disturb colonizing jars more than necessary. Keep temperatures in the correct range for your strain (generally 70-75°F for most cubensis). High humidity during colonization is a risk factor — condensation inside a jar can harbor bacteria.
Birthing and bulk transfer. Birthing colonized cakes into a fruiting chamber is a high-contamination moment. Work quickly, maintain sterile surfaces, and do not over-handle cakes. Grain-to-bulk transfers should happen in a SAB or flow hood.
Fruiting phase. Contamination during fruiting is common but less catastrophic — you often have already harvested several flushes. Wet rot (bacterial blotch) on pins can be cut away if caught early. Green mold appearing on spent substrate usually means the substrate is exhausted; it is time to end the grow.
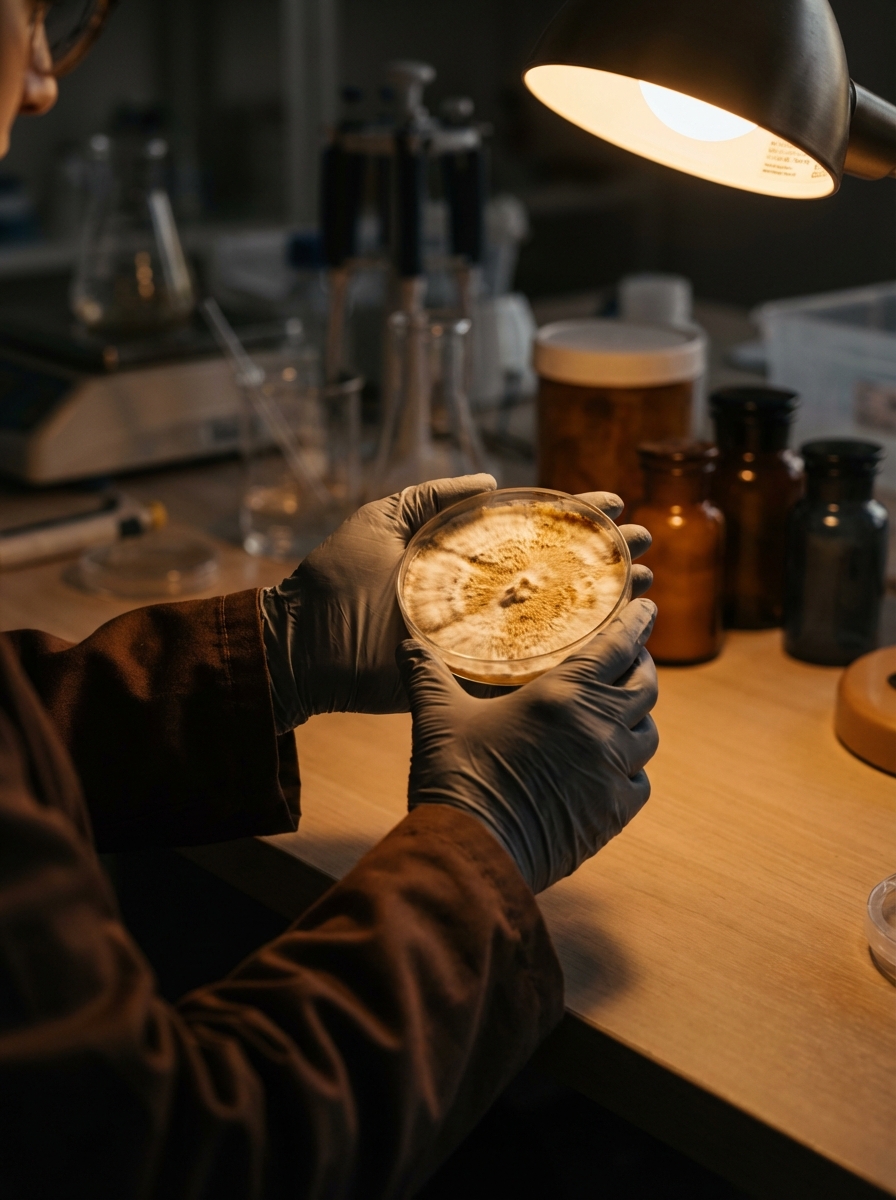
Agar Work as a Contamination Defense
Agar allows you to visually inspect cultures before committing substrate. A spore print or liquid culture grown out on agar plates reveals contamination that would otherwise remain invisible until a full grain jar is lost. Contaminated sectors appear as discolored, differently textured, or odorous growth.
Agar work also enables cloning from healthy mushroom tissue, preserving genetics that can be verified contamination-free before expansion. Growers who incorporate agar into their workflow consistently report lower contamination rates and more predictable outcomes.
When to Discard Versus Remediate
The default answer is discard, especially for beginning growers who may not correctly identify the contaminant type. The cost of letting a trich-contaminated jar sit in your grow space is high — Trichoderma spores can spread to adjacent jars and persist in your environment.
The rare case for remediation is cobweb mold during fruiting, which can sometimes be addressed by increasing airflow and reducing surface humidity. Everything else should be sealed, bagged, and removed.