My First Monotub Grow: A Beginner's Complete Journal
This is a week-by-week account of my first successful monotub grow of Psilocybe cubensis (Golden Teacher strain). I'm writing it because when I started, I couldn't find an honest journal that included the mistakes and problems alongside the wins. Here's the real version.
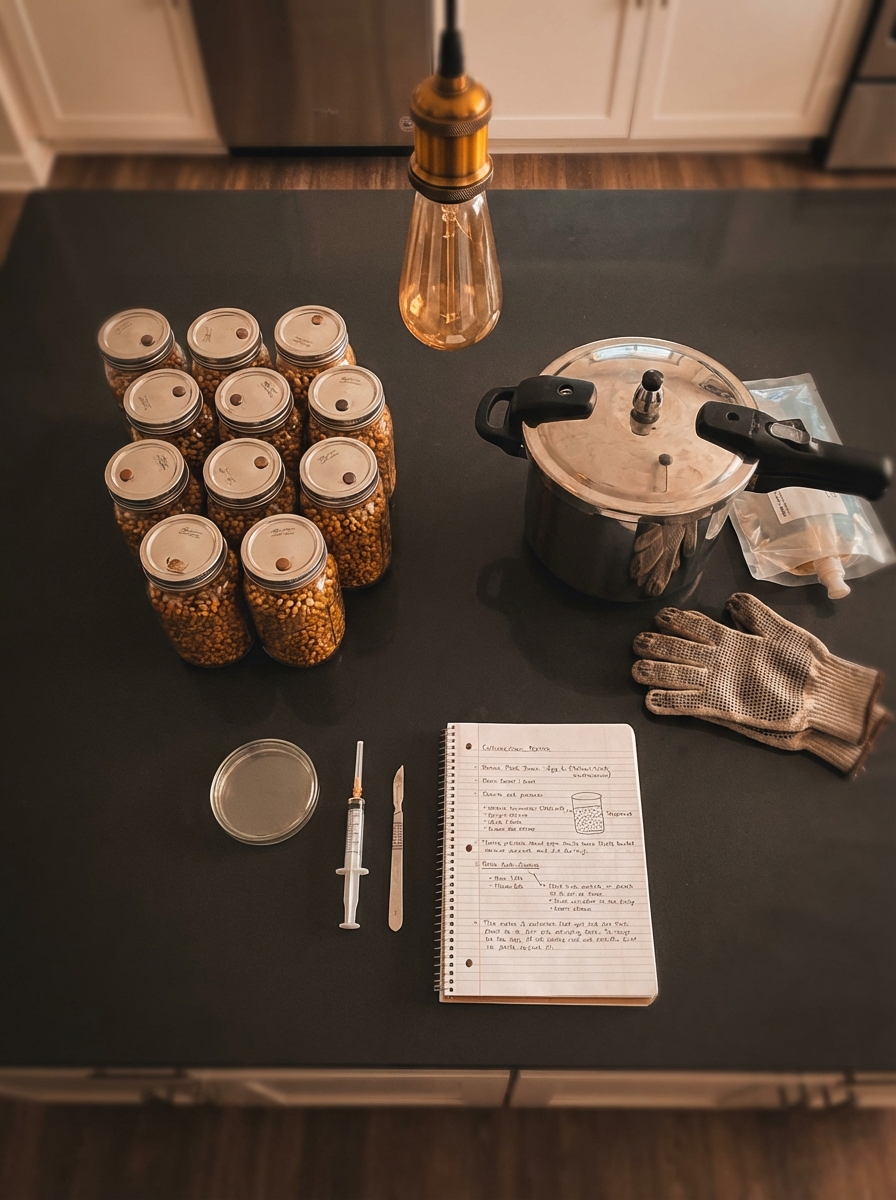
Setup and Materials
Strain: Golden Teacher (spore syringe from a reputable vendor)
Grain spawn: Rye grain, pressure cooked in quart mason jars (6 jars)
Substrate: CVG (coco coir, vermiculite, gypsum) bulk substrate
Container: 66-quart monotub with polyfill holes for FAE (fresh air exchange)
Total materials cost: approximately $80
Week 1: Inoculation
Inoculated 6 quart jars of rye grain with the spore syringe using a needle injection through self-healing injection ports. The process took about 90 minutes including flame sterilizing the needle between jars.
Mistake made: I didn't let the jars cool fully before inoculating — they were still warm from pressure cooking. The heat likely killed some spores in the first two jars. Those jars colonized noticeably slower.
Stored jars in a dark cabinet at 72°F. No visible growth in week 1.
Week 2: Early Colonization
By day 10, three jars showed white mycelial growth visible through the glass. The two rushed jars showed slower, patchier growth. One jar developed a faint green tinge near the top — contamination. Discarded it immediately.
Learning: The one contaminated jar was the result of the needle not being hot enough during one transfer. Proper flaming is non-negotiable.
By end of week 2: 4 jars healthy, 1 discarded, 1 colonizing slowly.
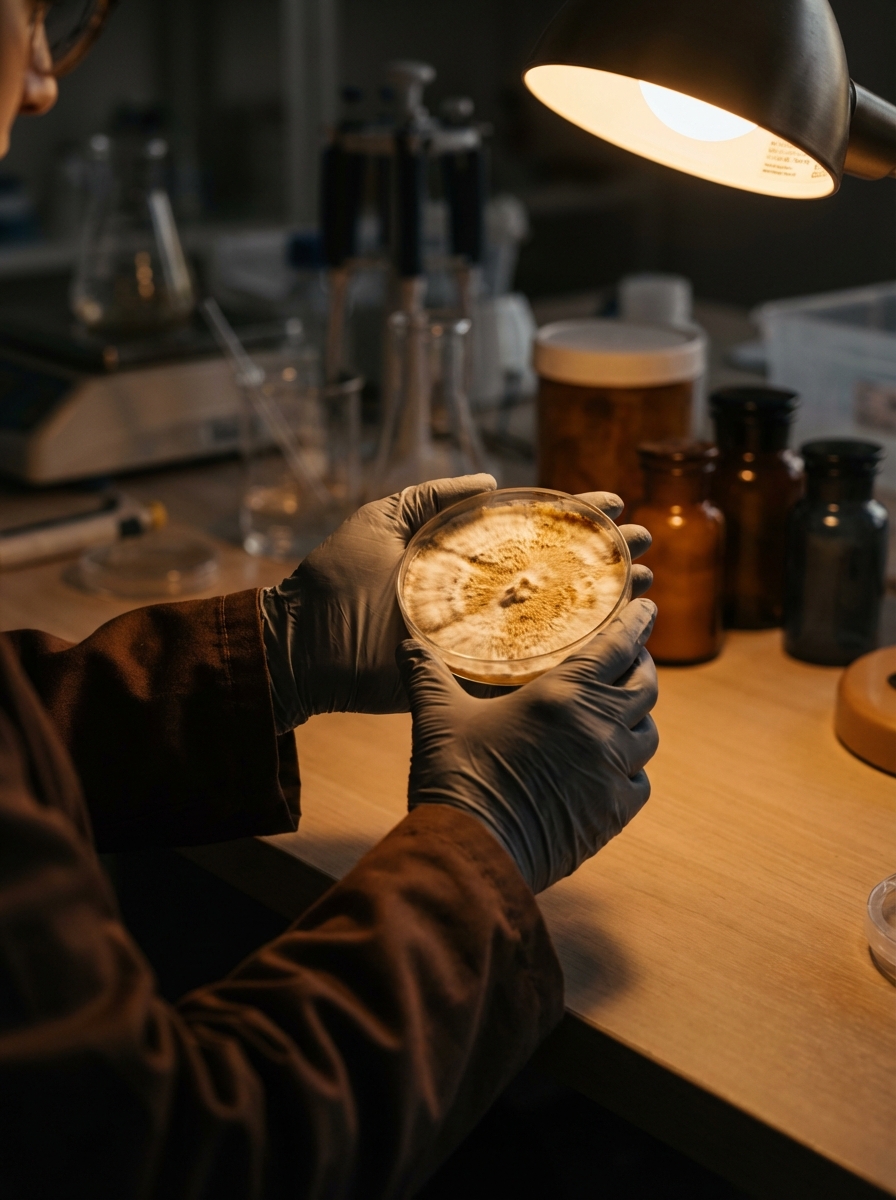
Week 3: Full Colonization
By day 17, four jars were fully colonized — dense white mycelium throughout, no green or black patches. The slow jar reached about 70% colonization.
I waited for full colonization before mixing. The partially colonized jar was mixed in at week 4 with the slow jar completing colonization by then.
Week 4: Bulk Spawn
Mixed colonized grain spawn into CVG substrate at approximately 1:3 ratio (grain to substrate by volume). Mixed in a plastic bin, then transferred to the monotub and leveled. Applied a thin CVG casing layer (about 12mm) on top.
The tub went into fruiting conditions: 70–75°F, 90–95% humidity maintained with light misting twice daily, FAE from polyfill holes.
Week 5: Colonization of Substrate
The bulk substrate colonized over 6–10 days. I could see white mycelium appearing in the casing layer by day 7. By day 10 the surface was nearly fully colonized — white and dense.
Mistake made: I got impatient and fanned the tub several times per day. This dried the casing surface. Had to carefully mist back to proper moisture. Learned that FAE from polyfill holes is sufficient — active fanning isn't necessary.
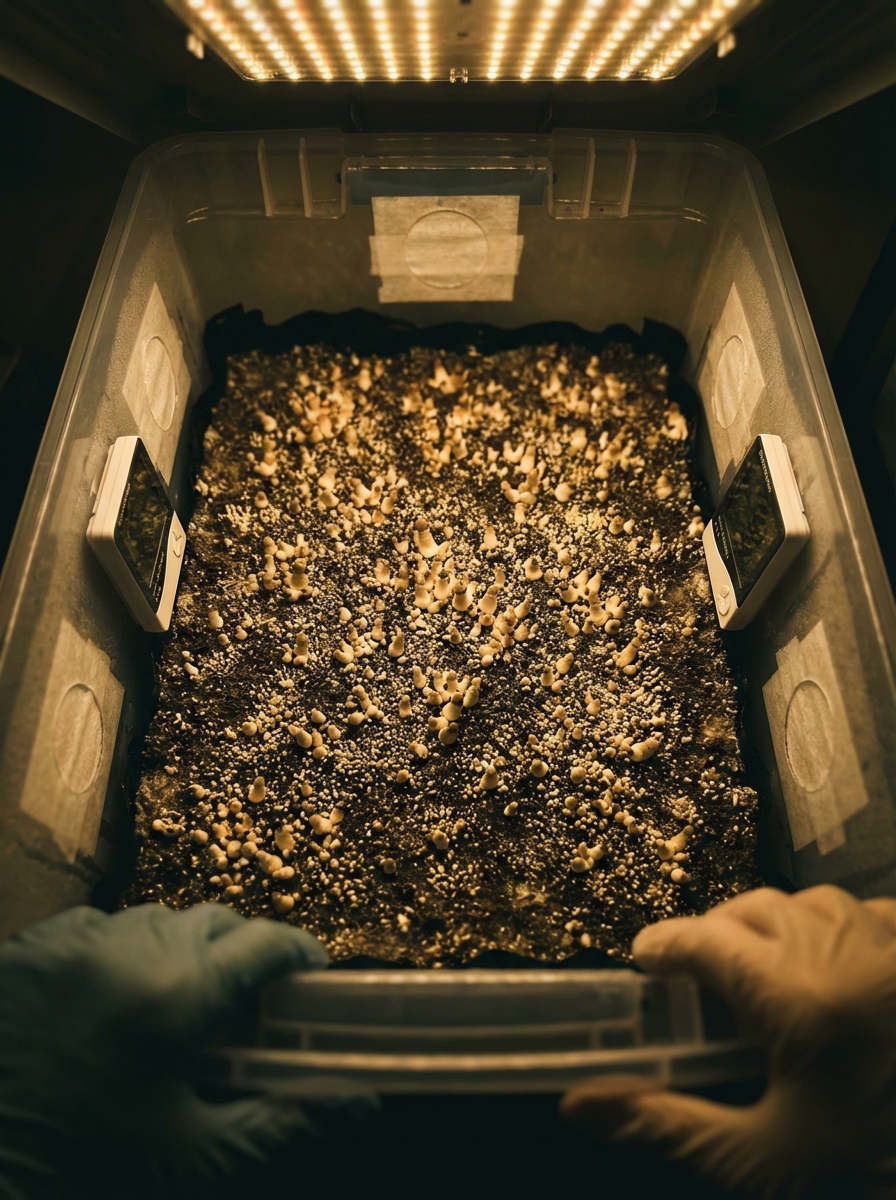
Week 6: Pinning
First pins appeared on day 14 post-casing — little whitehead bumps across the casing surface. Within 3 days they had developed into recognizable mushroom primordia (early-stage mushrooms with visible caps forming).
The feeling when I saw pins: genuinely exciting. All the weeks of waiting paid off in this moment.
Week 7: First Flush
Mushrooms developed rapidly over 4–5 days. Harvested when the veils beneath the caps began to crack but before the caps opened fully. This is the harvest window — post-veil tear, potency may decrease slightly as spores drop.
First flush yield: 78 grams fresh weight. After drying (48 hours in a food dehydrator at 95°F): 7.2 grams dry.
This is lower than average for a first flush — the contamination loss of one jar and my initial overaeration probably cost some yield.
Weeks 8–10: Flushes 2 and 3
After harvest 1, I removed all remaining pins (including aborts), re-misted the surface, and returned the tub to fruiting conditions.
Flush 2: 95g fresh / 9.1g dry — better yield as the mycelium was fully established.
Flush 3: 62g fresh / 5.9g dry — declining as expected.
By flush 4 I saw contamination starting at the substrate edges. The tub had run its course.
Total Yield
Over 3 productive flushes: approximately 22 grams dry from 5 quart jars of grain spawn and one 66-quart monotub. A decent first grow.
What I'd Do Differently
- Let jars cool fully before inoculating — rushing this cost me one jar
- Less fanning — polyfill FAE is sufficient; active fanning dries surfaces
- Better jar labeling — I got confused about which jars were ahead in colonization
- Start with 6–8 jars to account for contamination losses
The second grow produced 40% more yield applying these lessons.
Resources for Beginners
- The monotub guide on this site:
/grow/monotub/ - Substrate mixing guide:
/grow/substrate/ - Contamination identification:
/grow/contamination/